Introduction: Rediscovering Wood-Fired Cooking at Home
There’s an ageless allure to the crackle of firewood, the deep aromas of smoldering embers, and the robust flavors that only true wood-fired cooking can impart. While the modern kitchen offers countless conveniences, a growing number of culinary enthusiasts are turning back to ancient techniques—reviving the craft of wood-fired cooking in their own homes. Whether you’re drawn by the rustic romance of a fire-roasted meal, the challenge of mastering flame and smoke, or the desire to create memorable gatherings around a glowing hearth, wood-fired cooking promises a world of taste and tradition.
But venturing into this realm requires more than just enthusiasm. Understanding the right tools, mastering fire management, and planning menus that make the most of wood-fired heat are crucial. This guide explores the essentials of home wood-fired cooking: from selecting and maintaining the perfect oven or grill, to sourcing firewood, to designing seasonal, fire-friendly menus. You’ll find practical tips for setup, safety, and maintenance, as well as inspiration for elevating your everyday meals. Whether you’re a beginner or a seasoned home cook seeking new challenges, embrace the journey from hearth to table—and discover how wood-fired cooking can transform your culinary craft and lifestyle.
Choosing Your Wood-Fired Appliance: Ovens, Grills, and Alternatives
Wood-Fired Ovens: The Classic Heart of the Hearth
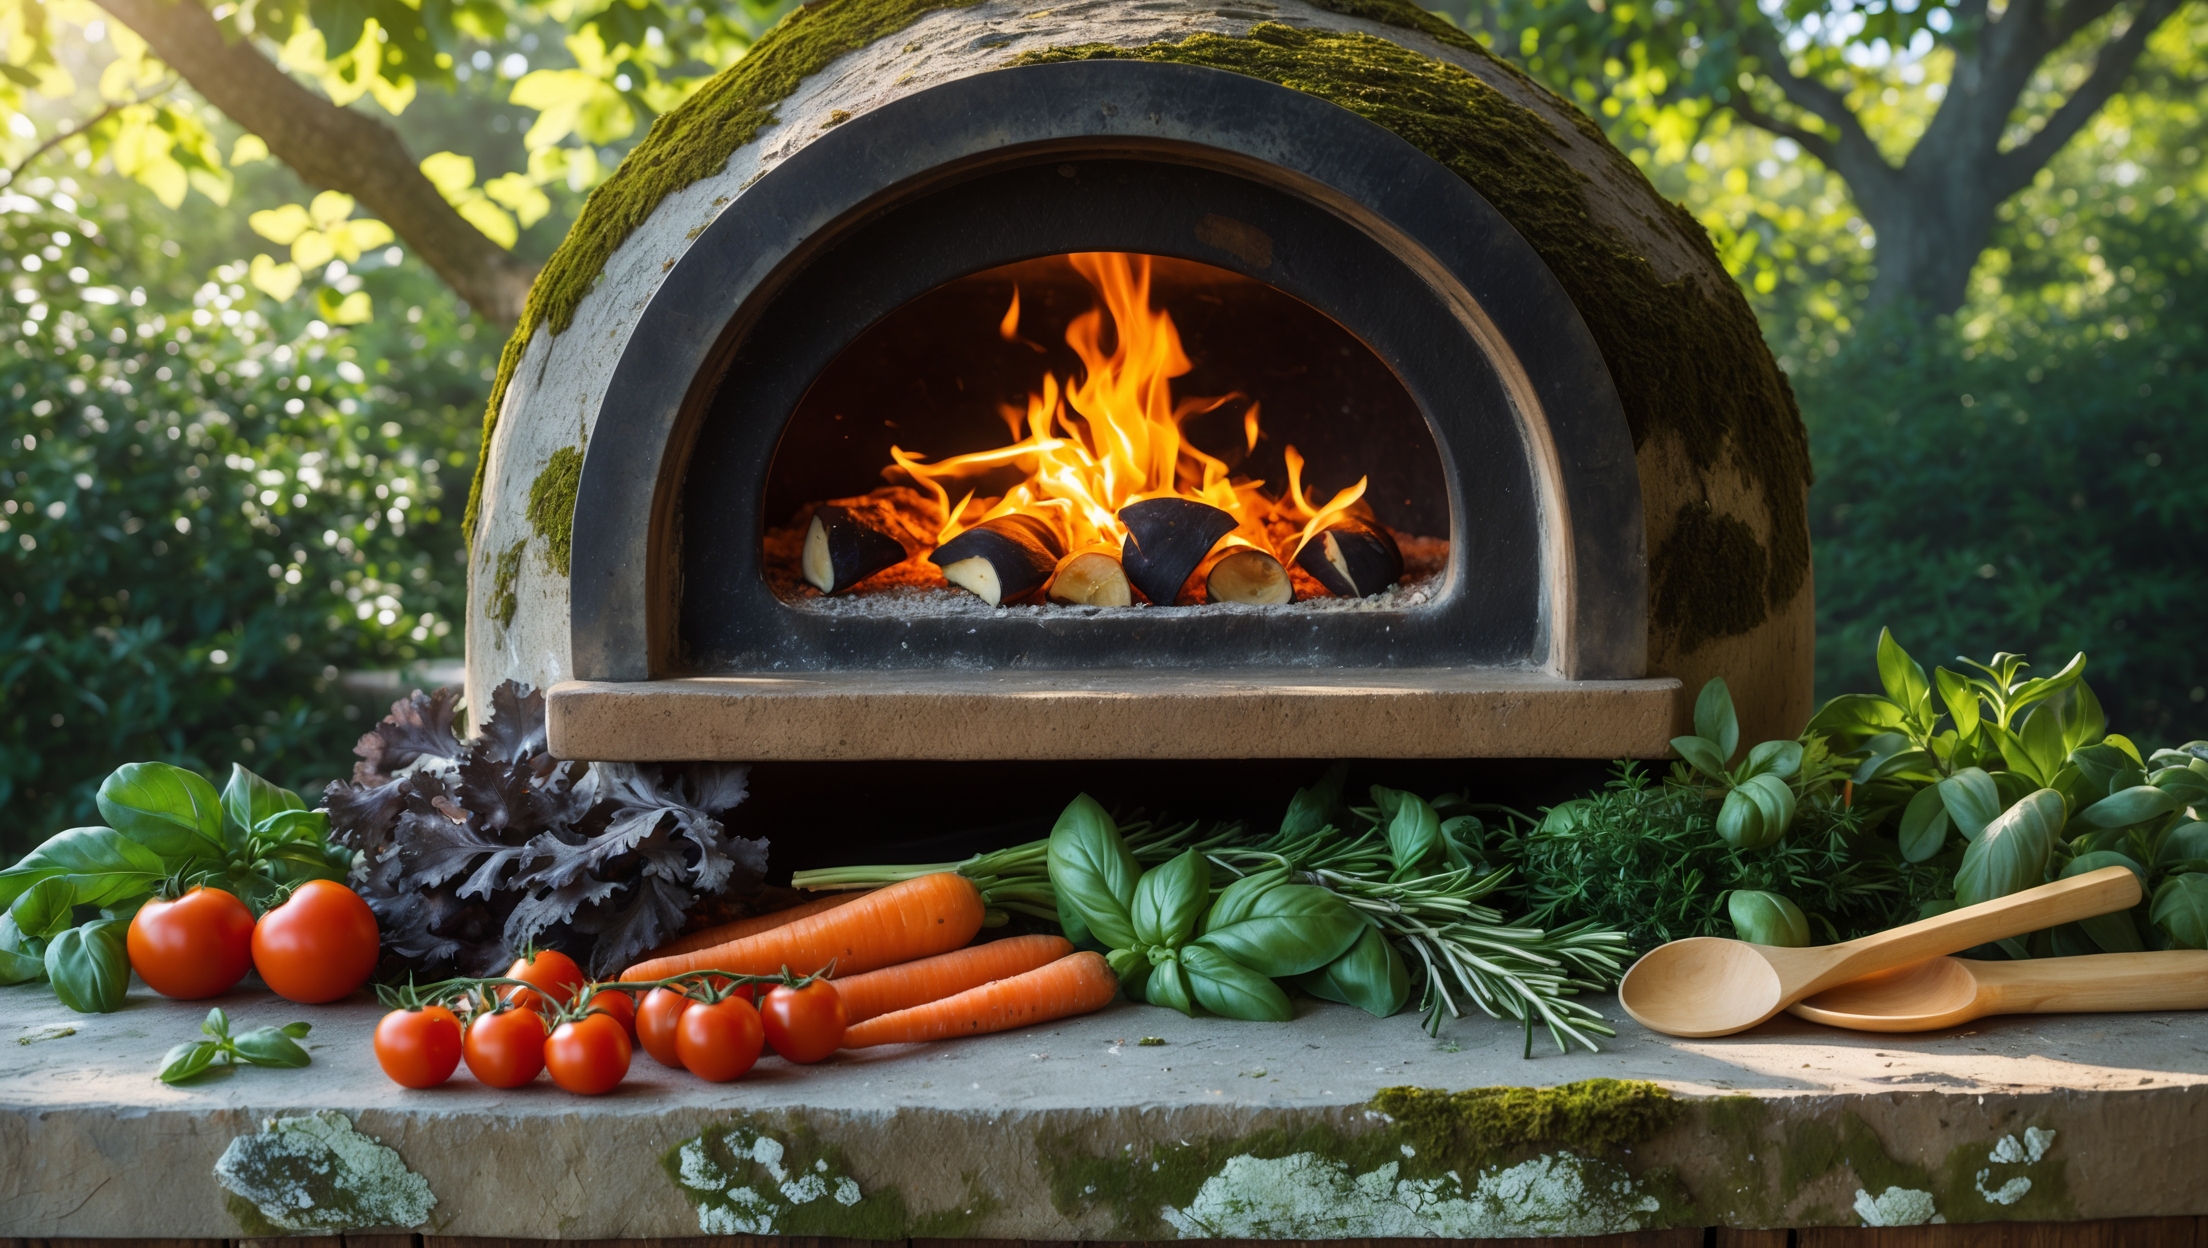
Wood-fired ovens, often called pizza ovens, are the gold standard for authentic fire-based cooking. Their dome-shaped, refractory brick construction allows for intense, even heat that’s perfect for baking pizzas, breads, roasts, and even desserts. When choosing an oven:
- Materials Matter: Brick, clay, or refractory concrete are preferred for heat retention and even cooking.
- Size & Placement: Consider your space—freestanding outdoor models are ideal for gardens or patios, while smaller countertop versions work for compact areas.
- Insulation: Well-insulated ovens maintain steady temperatures and use less wood.
- Chimney Design: A good flue ensures proper airflow and smoke control.
Wood-Fired Grills and Smokers
For those seeking versatility, wood-fired grills and smokers offer different approaches to harnessing live fire. Grills use direct radiant heat for searing, while smokers employ slow, indirect heat for deep flavor infusion. Key considerations:
- Adjustable Grates: Allow you to control distance from the fire.
- Lid and Vent Control: Essential for managing temperature and smoke levels.
- Combination Models: Some appliances function as both grills and smokers, offering flexibility for varied menus.
Alternative Setups: Fire Pits and DIY Solutions
If you’re exploring wood-fired cooking without a dedicated oven, a fire pit or a simple cast iron Dutch oven over coals can produce stellar results. Ensure your setup is stable, safe, and away from flammable materials. Always check local fire regulations before building outdoor fires.
Essential Tools and Accessories for Wood-Fired Cooking
- Long-Handled Peel: For safely sliding pizzas, breads, or roasts into and out of the oven.
- Infrared Thermometer: Crucial for checking oven floor and dome temperatures—consistency is key.
- Cast Iron Cookware: Skillets, Dutch ovens, and grill pans withstand high heat and retain flavorful juices.
- Heat-Resistant Gloves: Protect hands and arms from intense radiant heat.
- Fire Tongs and Ash Tools: For managing logs, embers, and cleaning out ash between cooks.
- Wood Storage Rack: Keep seasoned wood dry and organized, away from moisture and pests.
- Oven Brush: For sweeping out ashes and cleaning the oven floor before and after use.
- Pizza Turning Peel: Allows you to rotate pizzas or flatbreads for even charring.
Firewood Fundamentals: Types, Sourcing, and Storage
Choosing the Right Wood
Not all firewood is created equal. Hardwoods like oak, hickory, maple, and fruitwoods (apple, cherry) burn hot and long, producing aromatic smoke without excessive soot. Softwoods (pine, spruce) ignite quickly but produce resinous smoke and are better suited for kindling—not cooking.
- Seasoned Wood: Use wood that has been air-dried for at least 6–12 months. Green or wet wood smolders, producing bitter flavors and excess smoke.
- Never Use Treated or Painted Wood: These release harmful chemicals when burned—always opt for natural, untreated wood.
Sourcing Firewood
- Purchase from reputable local suppliers; ask about the wood’s origin and seasoning process.
- If foraging or harvesting your own, ensure compliance with local regulations and sustainable practices.
- For specialty flavors, experiment with small bundles of fruitwoods or wine barrel staves (found at gourmet shops).
Proper Storage
- Stack wood off the ground on a rack or pallets to prevent rot and pests.
- Cover the top but leave sides exposed for airflow—never wrap wood tightly in plastic.
- Store close to your cooking area for convenience, but always a safe distance from open flames.
Fire Management: Building, Maintaining, and Controlling the Blaze
Building the Perfect Fire
Start with dry kindling and small splits of hardwood, stacking them in a Jenga-like structure for airflow. Light from the bottom and allow the fire to build gradually. Once burning steadily, add larger logs to achieve your target temperature.
Temperature Zones and Control
- Hot Zone (700–900°F): For Neapolitan pizzas and flash-searing.
- Medium Zone (500–700°F): Ideal for breads, flatbreads, and roasting vegetables.
- Low Zone (300–500°F): Suited for slow roasting, braises, and baking desserts.
Manage temperature by adjusting log size, fire position, and airflow. Use an infrared thermometer to verify oven floor and dome temperatures before adding food.
Maintaining the Fire
- Feed small amounts of wood regularly for steady heat rather than large logs that can smother the flame.
- Push embers to the side or back to create indirect heat zones.
- Remove excess ash regularly to avoid choking the fire and imparting off-flavors.
Safety Checklist for Home Wood-Fired Cooking
- Install fire extinguishers and keep a bucket of sand or water nearby.
- Clear the area of flammable materials (leaves, paper, overhanging branches).
- Never leave a burning fire unattended.
- Install carbon monoxide detectors if using a wood-fired oven indoors or in a semi-enclosed area.
- Wear heat-resistant gloves and use long-handled tools to avoid burns.
- Check local regulations regarding outdoor wood fires, especially during drought or windy conditions.
- Educate all household members on fire safety protocols and emergency procedures.
Maintenance Best Practices: Keeping Your Equipment in Top Shape
Oven and Grill Care
- Brush out ash and debris after every session, once the oven is cool.
- Inspect for cracks or damage in brick or refractory materials; repair promptly to prevent heat loss and structural issues.
- Clean flues and chimneys regularly to prevent creosote buildup.
- Oil or season cast iron accessories to prevent rust.
- Store removable tools indoors or in a dry shed to prolong their lifespan.
Firewood Maintenance
- Rotate your wood supply to use older, seasoned logs first.
- Check regularly for mold, pests, or excessive moisture.
Crafting Seasonal Wood-Fired Menus
Spring and Summer: Fresh, Fast, and Flame-Kissed
- Pizzas and Flatbreads: Top with young greens, asparagus, peas, and fresh cheeses.
- Charred Vegetables: Zucchini, eggplant, peppers, and tomatoes develop smoky sweetness.
- Grilled Stone Fruits: Peaches and apricots caramelize beautifully over embers—perfect for salads or desserts.
- Quick-Seared Fish and Shellfish: Wood-fired heat imparts subtle flavor, especially with fruitwood smoke.
Autumn and Winter: Hearty, Slow-Cooked Comforts
- Roasted Root Vegetables: Carrots, beets, and parsnips mellow and sweeten in the oven’s gentle heat.
- Braised Meats: Short ribs, pork shoulder, or lamb shanks become meltingly tender in cast iron Dutch ovens.
- Rustic Breads: Sourdough boules and focaccias develop perfect crust and crumb in wood-fired conditions.
- Fire-Baked Apples and Squash: Fill with nuts, dried fruits, and spices for warming desserts.
Building Balanced Wood-Fired Menus
- Start with quickly cooked appetizers (flatbreads, grilled veggies) while the oven is hottest.
- Move to mains as the temperature drops—roasts, casseroles, or hearty grains.
- Finish with slow-baked desserts that thrive in gentle, fading heat.
Plan your cooking order to match the oven’s heat curve—this maximizes efficiency and flavor while minimizing wood use.
Fire and Flavor: Techniques for Standout Results
Harnessing Smoke for Subtlety
Use small amounts of aromatic wood (apple, cherry, hickory) for gentle smoke; avoid over-smoking, which can overpower delicate flavors. For extra nuance, add soaked wood chips or wine barrel staves during cooking.
Controlling Char and Crust
Rotate dishes regularly for even charring. Use a pizza turning peel or long tongs to adjust position. For breads, spray the oven walls with water (using a dedicated spritzer) to generate steam for a glossy, crackling crust.
Layering Flavors
- Marinate meats, vegetables, and fruits ahead of time to let fire intensify their natural flavors.
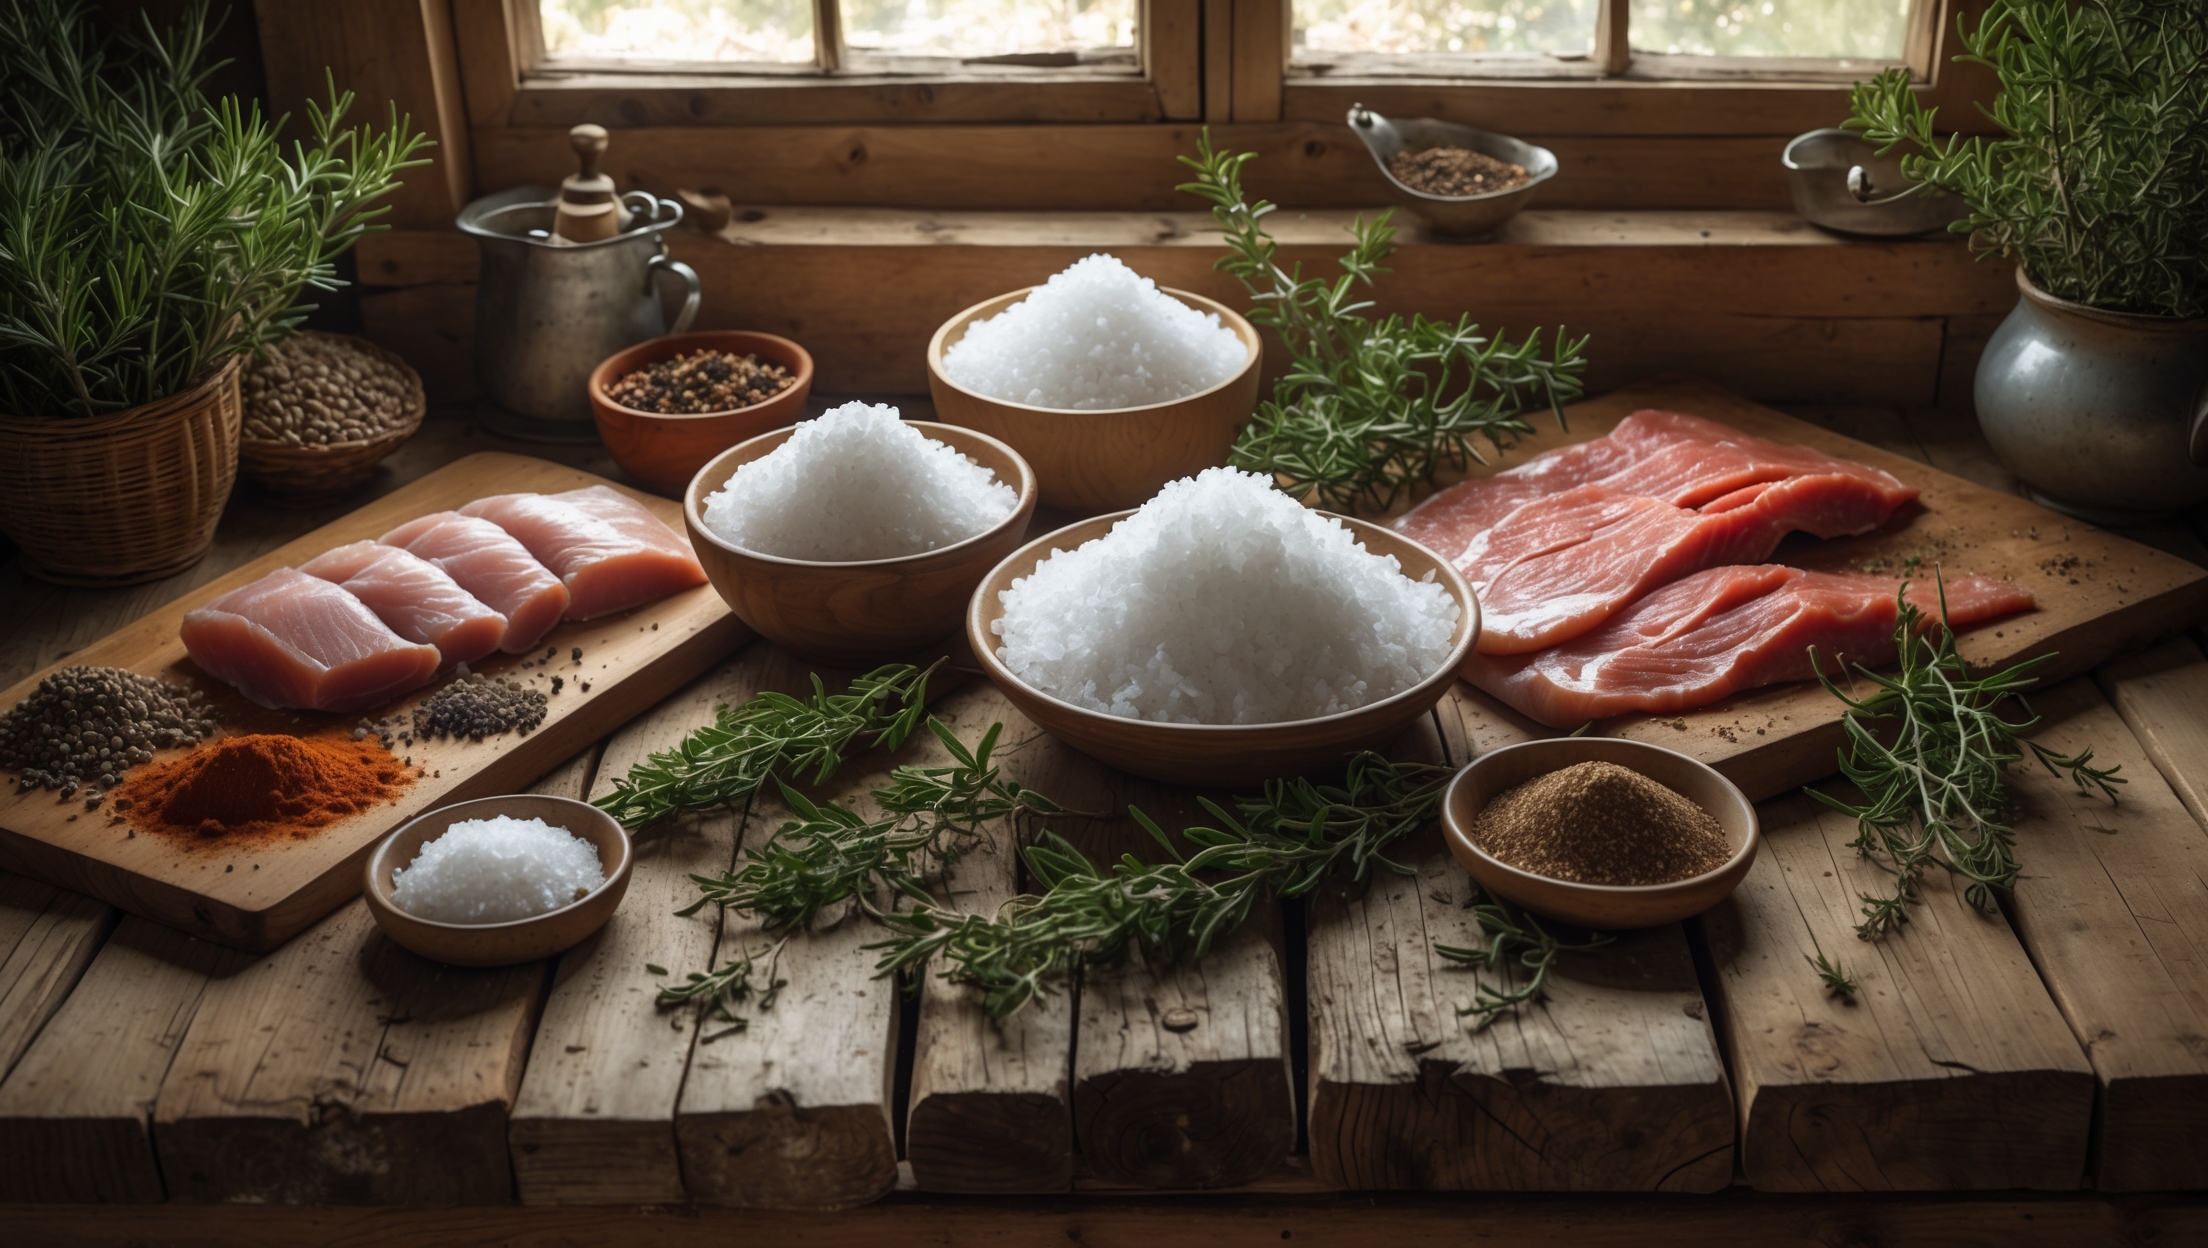
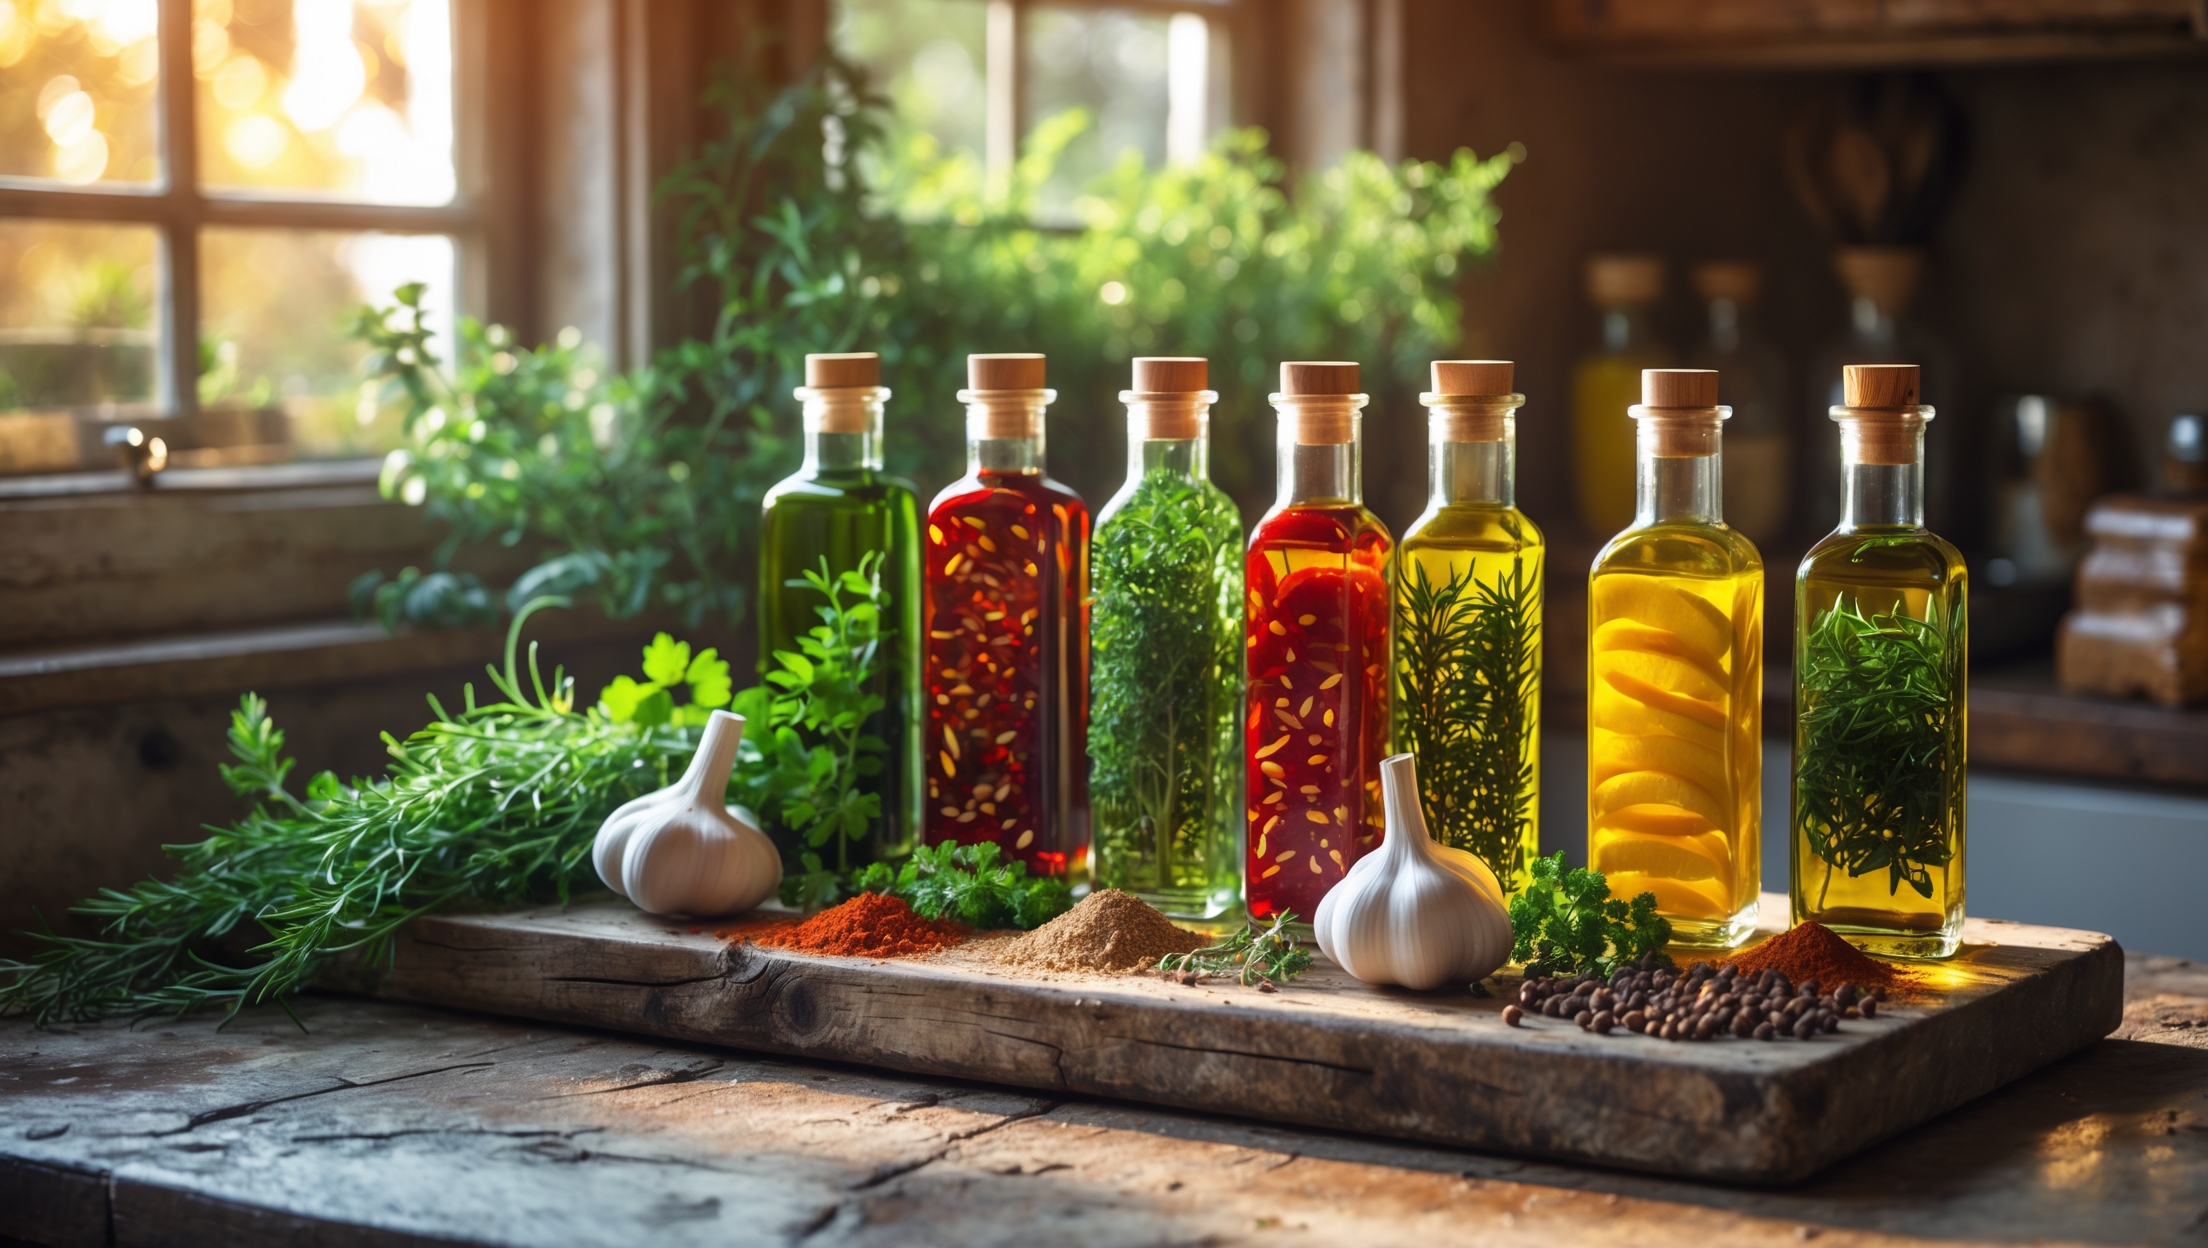
- Season simply—good salt, fresh herbs, olive oil—so the wood and smoke shine.
- Finish dishes with fresh toppings after baking for contrast in texture and temperature.
Case Study: Hosting a Seasonal Wood-Fired Feast
The Summer Garden Gathering
- Setting: Outdoor garden patio, wood-fired oven at center, local hardwood and cherry wood for fuel.
- Menu Highlights:
- Charred asparagus and spring onion flatbreads
- Wood-fired lemon-herb chicken thighs
- Caramelized stone fruit with honey and mascarpone
- Fire Sequence:
- Oven fired to 900°F for flatbreads and appetizers
- Main course roasted as oven cools to 600°F
- Desserts baked at 400°F as embers fade
Results: Bold flavors, convivial atmosphere, and minimal stress thanks to careful planning and strategic fire management. Guests raved about the smoky undertones and the sense of culinary adventure.
Marketing Your Wood-Fired Craft: Sharing and Inspiring
- Document your cooking process on social media—short videos of fire building, dough shaping, and finished dishes generate excitement.
- Host seasonal pop-up tastings for friends and neighbors; offer mini classes or demos to share knowledge.
- Collaborate with local farms or markets by featuring their produce in your menus, building community and sourcing premium ingredients.
- Blog about your journey—highlight successes, lessons learned, and seasonal inspiration to encourage others.
Conclusion: Embracing the Hearth—A Lifelong Culinary Journey
Wood-fired cooking is more than a culinary technique—it’s a celebration of tradition, craftsmanship, and the visceral pleasures of fire and flavor. By investing in the right tools, mastering the language of flame, and curating seasonal menus, you create meals that are as memorable as they are delicious. The process invites mindfulness: from selecting firewood, to tending embers, to savoring the first bite of a dish kissed by smoke and heat.
As you refine your craft, you’ll discover that every cookout or feast becomes an event—an opportunity to gather, share stories, and reconnect with the elemental roots of cooking. The skills you develop will serve you across seasons, menus, and moods, opening the door to endless exploration. Whether you’re baking bread on a frosty morning or charring summer vegetables at sunset, wood-fired cooking invites you to slow down, experiment, and infuse every meal with a sense of place and occasion.
So, light your fire, embrace the journey from hearth to table, and let the timeless magic of wood-fired flavor transform not just your food, but your entire approach to culinary living.