
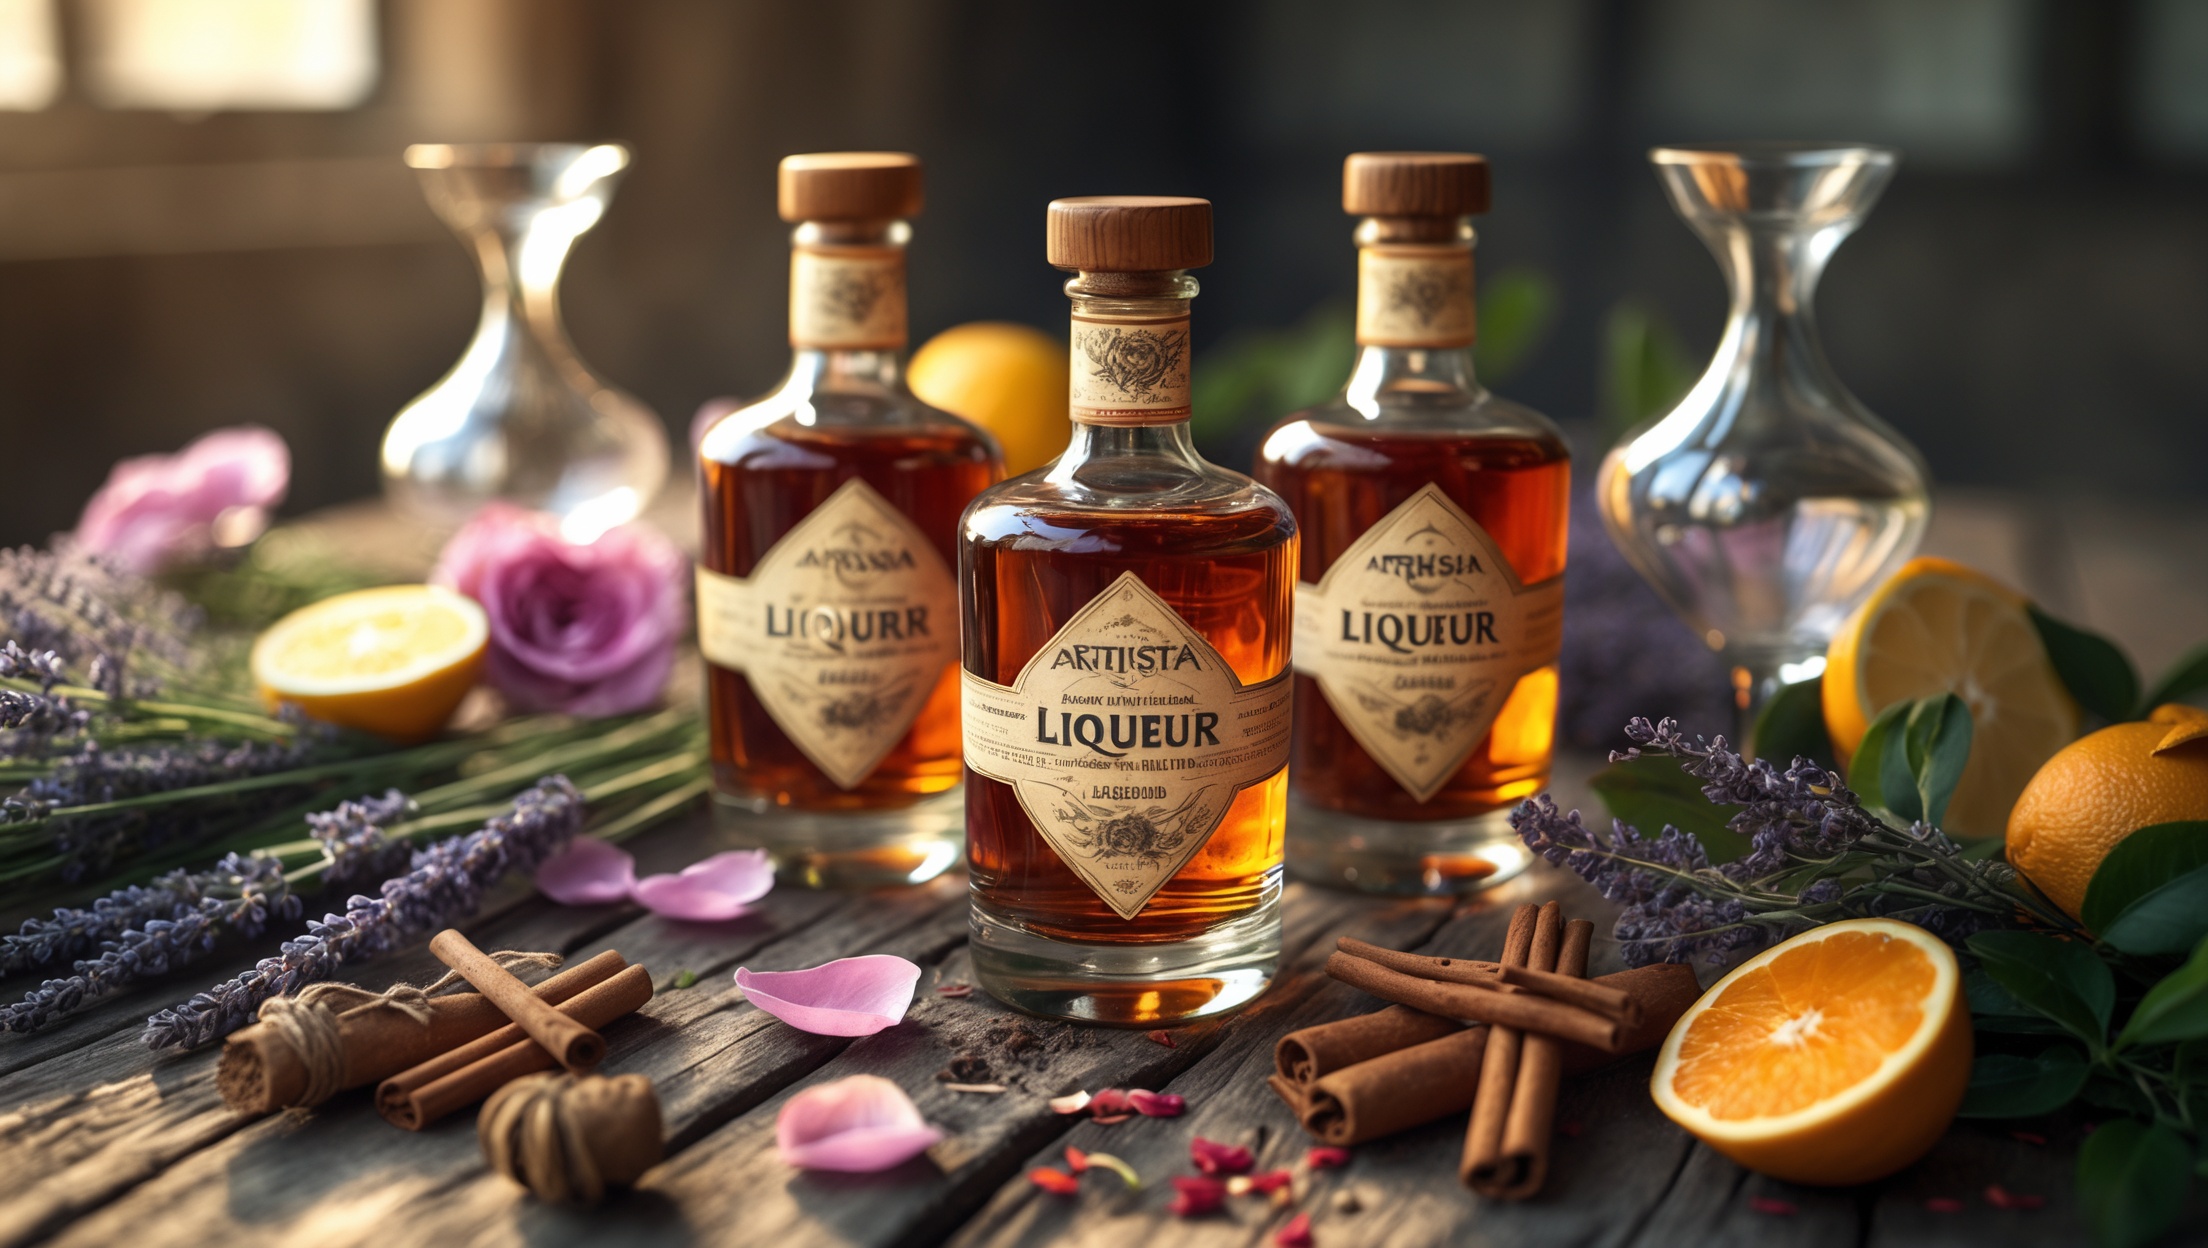
Introduction: The Allure of Homemade Liqueurs
Few culinary crafts embody the spirit of taste and creativity like small-batch liqueur making. Whether you’re a devoted food enthusiast, a seasoned home cook, or a curious beginner, diving into the world of homemade liqueurs promises a journey filled with sensory delight and rewarding experimentation. Unlike commercial spirits, which often prioritize consistency and shelf-stability, home-crafted liqueurs open the door to personalized aromas, seasonal flavors, and the satisfaction of transforming simple ingredients into refined elixirs. From the zesty bite of citrus to the floral whisper of elderflower, infusing your own spirits allows you to celebrate each season’s bounty and express your culinary vision in a glass.
However, the path to crafting exquisite liqueurs isn’t without its challenges. Beginners often stumble over avoidable mistakes, from imprecise measurements to hasty infusions that yield muddled flavors. The right tools and a clear understanding of the process are critical for success. This comprehensive guide delves into the essential equipment, common pitfalls, and innovative flavor strategies that elevate your home liqueur craft. With an emphasis on practical advice, seasonal inspiration, and the science behind infusion, you’ll gain the confidence to create distinctive liqueurs that reflect your taste and culinary culture.
Understanding the Basics: What is a Liqueur?
A liqueur is a spirit-based beverage sweetened and flavored with herbs, fruits, spices, flowers, or nuts. Unlike straight spirits, liqueurs are typically lower in alcohol and higher in sugar, making them versatile for sipping, cocktails, or culinary applications. Classic examples include limoncello, coffee liqueur, and herbal digestifs. At home, you’re free to experiment with unique combinations and local produce, resulting in small-batch creations that are truly one-of-a-kind.
Essential Tools and Equipment for Small-Batch Liqueur Craft
Before gathering your ingredients, assembling the right tools ensures safety, precision, and ease throughout the process. Here’s what you’ll need:
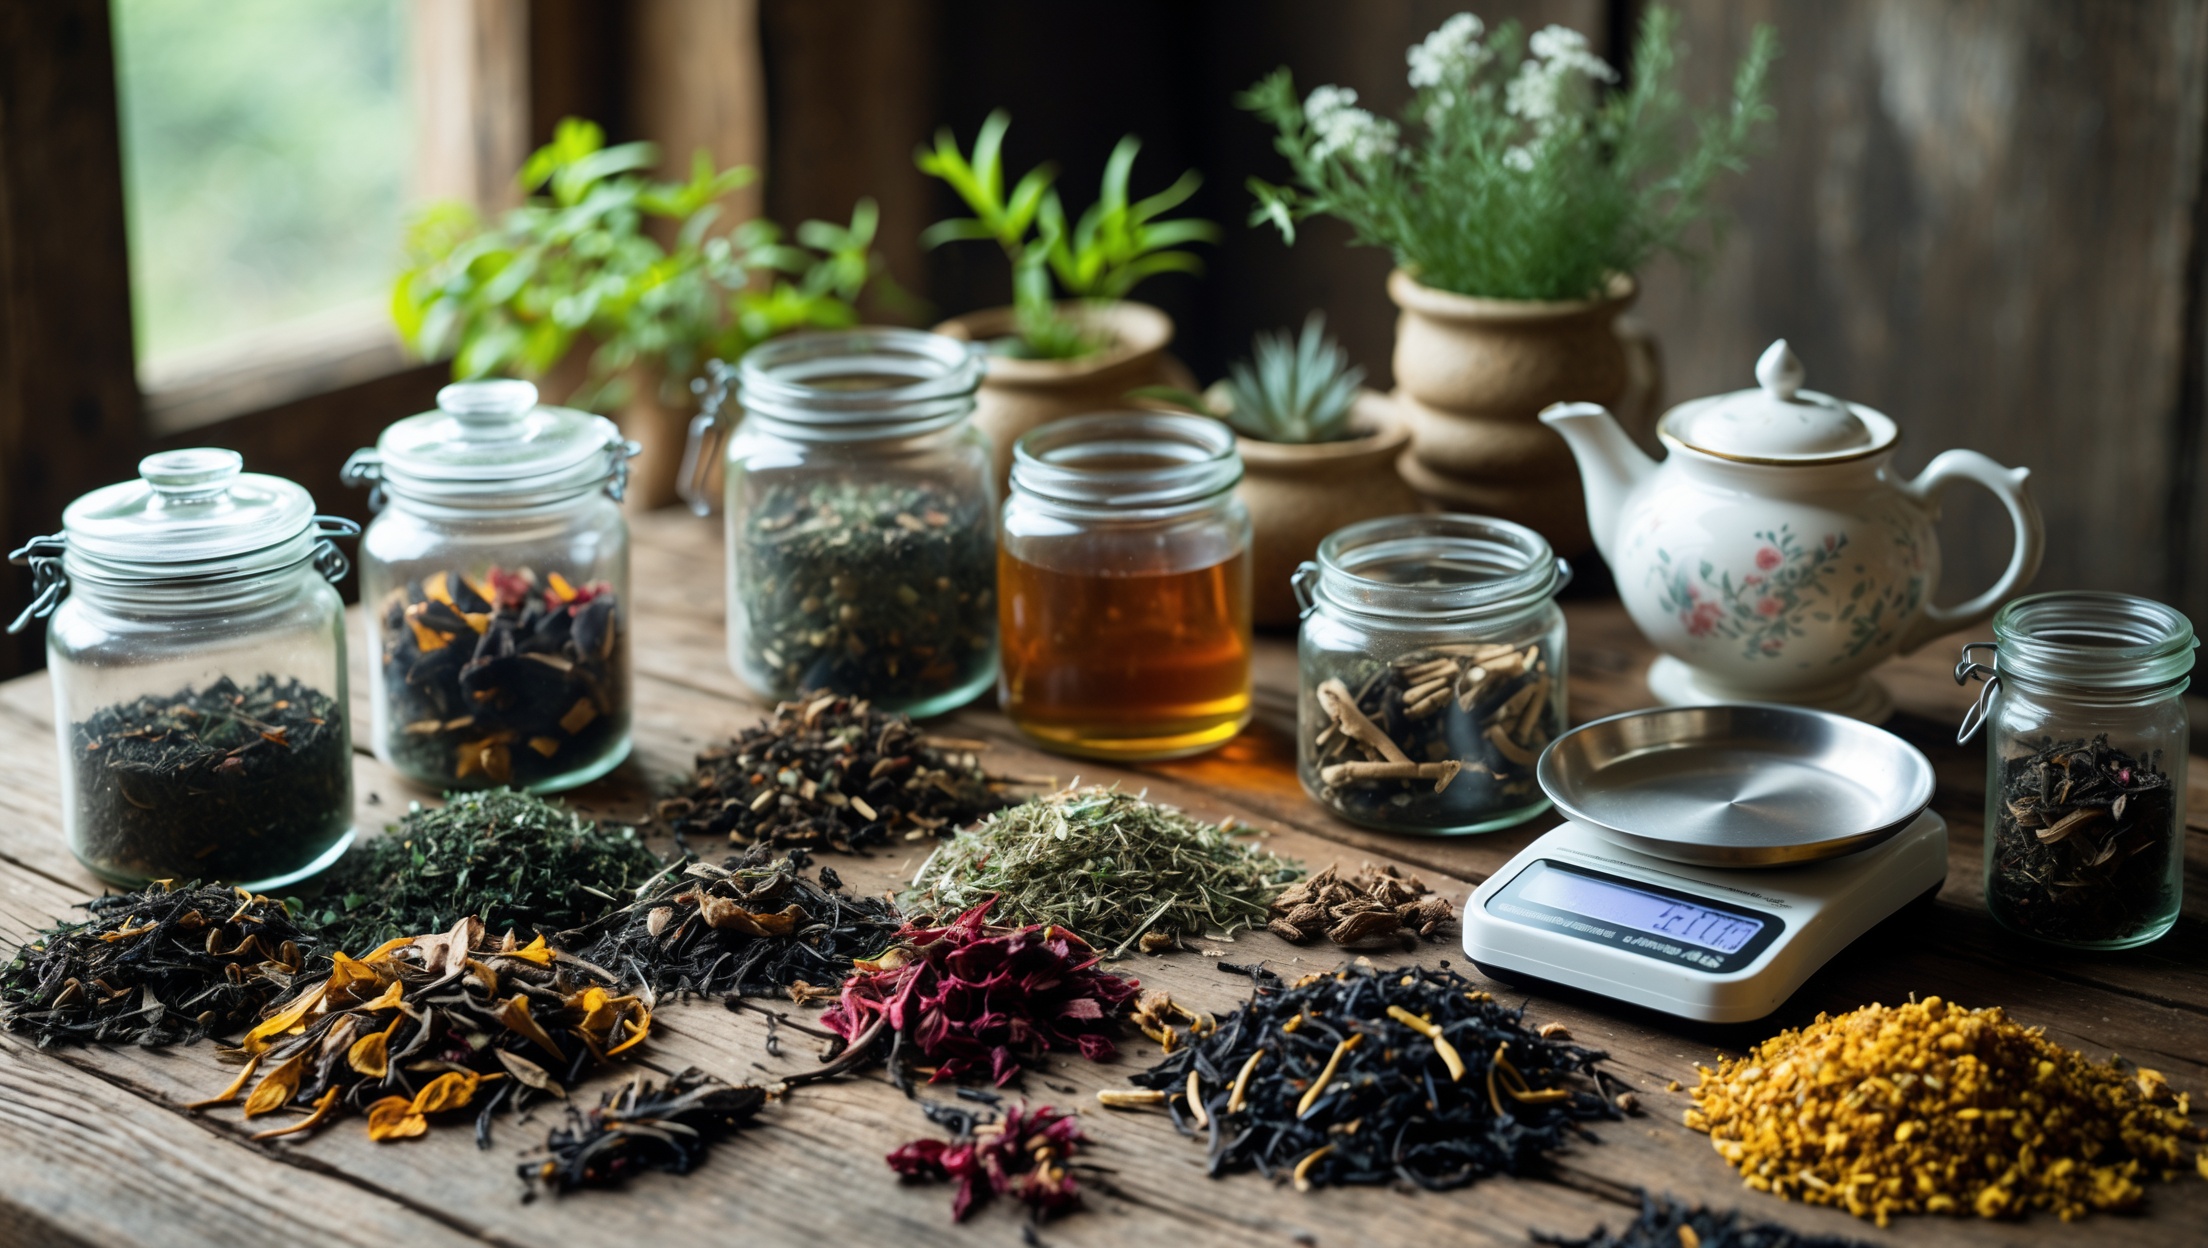
- Glass Jars or Bottles (with tight-fitting lids): Mason jars are ideal for infusing, as they’re inert and easy to sterilize. Clear glass lets you observe the infusion process.
- Fine Mesh Strainer or Cheesecloth: For removing solids after infusion to ensure clarity and smoothness.
- Funnel: Essential for transferring liquids without spills.
- Digital Scale: Accurate measurement of ingredients is vital for balanced flavor and repeatable results.
- Measuring Cups and Spoons: For precise ratios of spirits, sweeteners, and flavorings.
- Peeler, Zester, or Microplane: To extract zest or peel from fruits without bitter pith.
- Mortar and Pestle or Spice Grinder: For crushing spices or botanicals to release their oils.
- Labels and Marker: Date and identify your infusions to track aging and flavor development.
- Sanitation Supplies: Hot water and unscented soap, or food-safe sanitizer, to clean all surfaces and tools.
Optional Tools for Advanced Craft
- pH Meter: For those experimenting with acidity (citrus, coffee liqueurs, etc.).
- Refractometer: To measure sugar concentration for precise sweetness.
- Vacuum Sealer: For rapid infusions via vacuum extraction, though not essential for traditional methods.
Beginner Mistakes to Avoid: Ensuring Success from the Start
- Using Low-Quality Base Spirits: The foundation of your liqueur matters. Cheap or harsh spirits impart off-flavors. Opt for mid-range vodka, brandy, or rum with a clean profile.
- Over- or Under-Infusing: Time is critical. Over-infusing leads to bitterness (especially with citrus pith or spices); under-infusing can yield weak, muddled flavors. Taste-test every few days.
- Neglecting Sanitation: Even trace contaminants can spoil your batch. Always sterilize jars, utensils, and hands to prevent off-flavors or mold.
- Not Measuring Ingredients: Eyeballing quantities results in inconsistent flavor. Record exact amounts for future reference or tweaks.
- Ignoring Sweetener Variations: Different sweeteners (sugar, honey, agave) affect viscosity and taste. Dissolve sugar fully to prevent gritty texture.
- Skipping Filtration: Residual solids create haze and accelerate spoilage. Double-strain through fine mesh and cheesecloth for a clear, stable liqueur.
- Rushing the Resting Period: Even after straining, liqueurs benefit from a few weeks of mellowing. Flavors integrate and harsh notes fade.
- Improper Storage: Direct sunlight and heat degrade flavors. Store liqueurs in cool, dark places, preferably in glass bottles with tight closures.
Step-by-Step Setup: Crafting Your First Small-Batch Liqueur
Step 1: Choose Your Base Spirit and Flavor Profile
Select a neutral spirit (vodka) for delicate flavors (fruits, herbs) or a characterful spirit (brandy, bourbon, rum) for robust infusions (spices, coffee, nuts). Consider the season: spring for floral blends, summer for berries, autumn for spices and nuts, winter for citrus and chocolate.
Step 2: Prepare and Measure Ingredients
- Wash and dry all produce.
- Zest or peel fruits, avoiding bitter white pith.
- Lightly toast spices or nuts to enhance aroma, if desired.
- Weigh all ingredients for accuracy and repeatability.
Step 3: Infuse
- Add flavorings to sterilized jar.
- Pour in base spirit, ensuring ingredients are fully submerged.
- Seal tightly and label with date and contents.
- Store in a cool, dark place. Shake gently every 1–2 days to distribute flavors.
Step 4: Taste and Strain
- Begin tasting after 3–5 days for delicate flavors; spices and nuts may take 2–4 weeks.
- Once optimal flavor is achieved, strain through mesh and cheesecloth into a clean jar.
- For maximum clarity, repeat filtration.
Step 5: Sweeten and Adjust
- Prepare a simple syrup (equal parts sugar and water, heated until dissolved) or use honey/agave.
- Add gradually, tasting after each addition. Remember, flavors will mellow over time.
- If desired, add a splash of acid (lemon juice, vinegar) for brightness.
Step 6: Rest and Bottle
- Transfer to final sterilized bottles.
- Let liqueur rest for 2–4 weeks in a cool, dark place to allow flavors to marry.
- Label bottles with batch details and intended use (sipping, cocktails, desserts).
Seasonal Flavor Inspiration: Creative Liqueur Ideas
- Spring: Rhubarb & Ginger, Strawberry-Basil, Elderflower-Vanilla
- Summer: Blueberry-Lemon Verbena, Peach-Thyme, Cucumber-Mint
- Autumn: Spiced Apple-Cinnamon, Toasted Hazelnut, Fig-Cardamom
- Winter: Blood Orange-Coriander, Coffee-Cocoa, Spiced Pear-Brandy
Don’t hesitate to experiment with local or foraged ingredients—herbs from your garden, wild berries, or even edible flowers can yield spectacular results.
Advanced Flavor Layering: Techniques for the Ambitious Crafter
Multiple-Step Infusions
Layer flavors by infusing ingredients sequentially. For instance, steep citrus peel first, strain, then infuse spices for a complex, balanced liqueur.
Fat-Washing
Infuse spirits with flavors from nuts, seeds, or even brown butter. Mix melted fat with alcohol, steep, then freeze and strain to remove solids, leaving behind nuanced aromas.
Smoke Infusions
Add depth by briefly exposing your base spirit to culinary smoke before infusing. This is excellent for autumnal or savory liqueurs.
Cost Breakdown: Budgeting for Small-Batch Success
Liqueur crafting is surprisingly cost-effective, especially for small batches. Here’s a sample breakdown for a 750ml batch:
- Base Spirit (750ml mid-range vodka): $12–$18
- Produce/Flavorings: $3–$8 (varies by season and source)
- Sugar/Sweetener: $1–$2
- Miscellaneous (bottles, labels): $2–$5
Total: $18–$33 per batch. Costs decrease when sourcing bulk ingredients or using garden produce. Compare this to specialty store-bought liqueurs—homemade versions are often more affordable and customizable.
Maintenance Best Practices: Ensuring Quality and Safety
- Regularly Check Bottles: Inspect for cloudiness, gas buildup, or off-odors—signs of spoilage.
- Long-Term Storage: High-proof liqueurs (over 20% ABV) are shelf-stable for 1–2 years if stored properly. Lower-proof or cream-based liqueurs should be refrigerated and consumed within 2–3 months.
- Keep Records: Note all ingredient ratios, infusion times, and tasting notes for each batch. This allows for precise replication or adjustment in future iterations.
- Sharing and Gifting: Homemade liqueurs make thoughtful gifts—ensure bottles are clean, sealed, and clearly labeled with ingredients and best-by date.
Common Myths Debunked: Liqueur Lore vs. Reality
- “All liqueurs take months to make.” While aging enhances complexity, many fruit or herb infusions reach peak flavor within 1–3 weeks.
- “You need expensive spirits.” A clean, mid-range spirit is perfect. Overly complex or aged spirits can overpower delicate flavors.
- “Homemade liqueurs are unsafe.” With proper sanitation and high-proof alcohol, spoilage risk is minimal. Always use clean tools and monitor for signs of fermentation or mold.
- “Only sugar works as a sweetener.” Honey, maple syrup, or agave provide unique flavor profiles—just ensure they’re fully dissolved and well-integrated.
Conclusion: Elevate Your Culinary Culture with Home-Crafted Liqueurs
Mastering the craft of small-batch liqueur making is more than a kitchen experiment—it’s an invitation to celebrate flavor, creativity, and the seasons themselves. Each bottle is a canvas for your culinary imagination, shaped by the care you invest in selecting ingredients, measuring meticulously, and honoring the process from infusion to final pour. By understanding the essentials—avoiding common pitfalls, using the right equipment, and embracing innovative flavor ideas—you can confidently craft liqueurs that delight the palate and enrich your refined lifestyle.
As you explore the world of homemade liqueurs, remember that patience and curiosity are your greatest allies. The subtle alchemy of infusion rewards those who taste, tweak, and trust their senses. Whether you’re savoring a sip on a quiet evening, creating signature cocktails for friends, or gifting a bottle of your latest creation, you’re participating in a rich tradition of craft and hospitality. Let each batch inspire new stories of taste, discovery, and culinary culture—one glass at a time.
I saw that the right tools are really important for making small-batch liqueurs. As a beginner trying to keep costs low, which pieces of equipment are absolutely essential, and which ones could I skip or improvise with basic kitchen items for my first few batches?
For your first batches, you’ll definitely need glass jars or bottles for infusing and storing, a fine strainer or cheesecloth for filtering, and a funnel to make pouring easier. You can improvise with a standard kitchen knife for prepping ingredients and use measuring cups you already have. Specialized items like a hydrometer, fancy bottling tools, or unique filters can be skipped until you decide to refine your process.
If I want to involve my kids in the process by letting them help pick fruits or herbs, are there any safety or food handling tips you recommend, especially during the infusion and bottling stages?
Involving your kids in picking fruits or herbs can be a fun and educational activity. Make sure everyone washes their hands thoroughly before handling ingredients. Wash all fruits and herbs well to remove dirt or chemicals. During infusion and bottling, sterilize jars and bottles with hot water to prevent unwanted bacteria. Keep kids away from hot liquids and glassware during bottling to avoid burns or cuts. Supervision is important throughout the process.
I’m curious about the essential tools section—do you need specialized equipment to get started, or can you improvise with what most college students already have in their kitchens?
You don’t need much-specialized equipment to start making small-batch liqueurs. Most college kitchens already have the basics: clean jars or bottles with tight lids, a fine mesh strainer or cheesecloth, and a measuring cup. While items like funnels and zesters make things easier, you can usually improvise with alternatives like a spoon or a regular grater. The most important thing is ensuring everything is very clean.
I’m just starting out and wondering how precise I really need to be with my ingredient measurements. The article mentions imprecise measurements as a beginner pitfall—does being off by a little bit really make a big difference in the final flavor, or is there some wiggle room?
A little bit of wiggle room is usually fine, especially when you’re experimenting with flavors and personal tastes. However, for balance—especially with sugar and alcohol—being too far off can affect the final result, making it too sweet, too strong, or not extracting enough flavor. Try to measure as accurately as you can, but don’t stress over a small difference. As you gain experience, you’ll get a feel for how much precision matters.