Introduction: Rediscovering the Art of Heirloom Grains
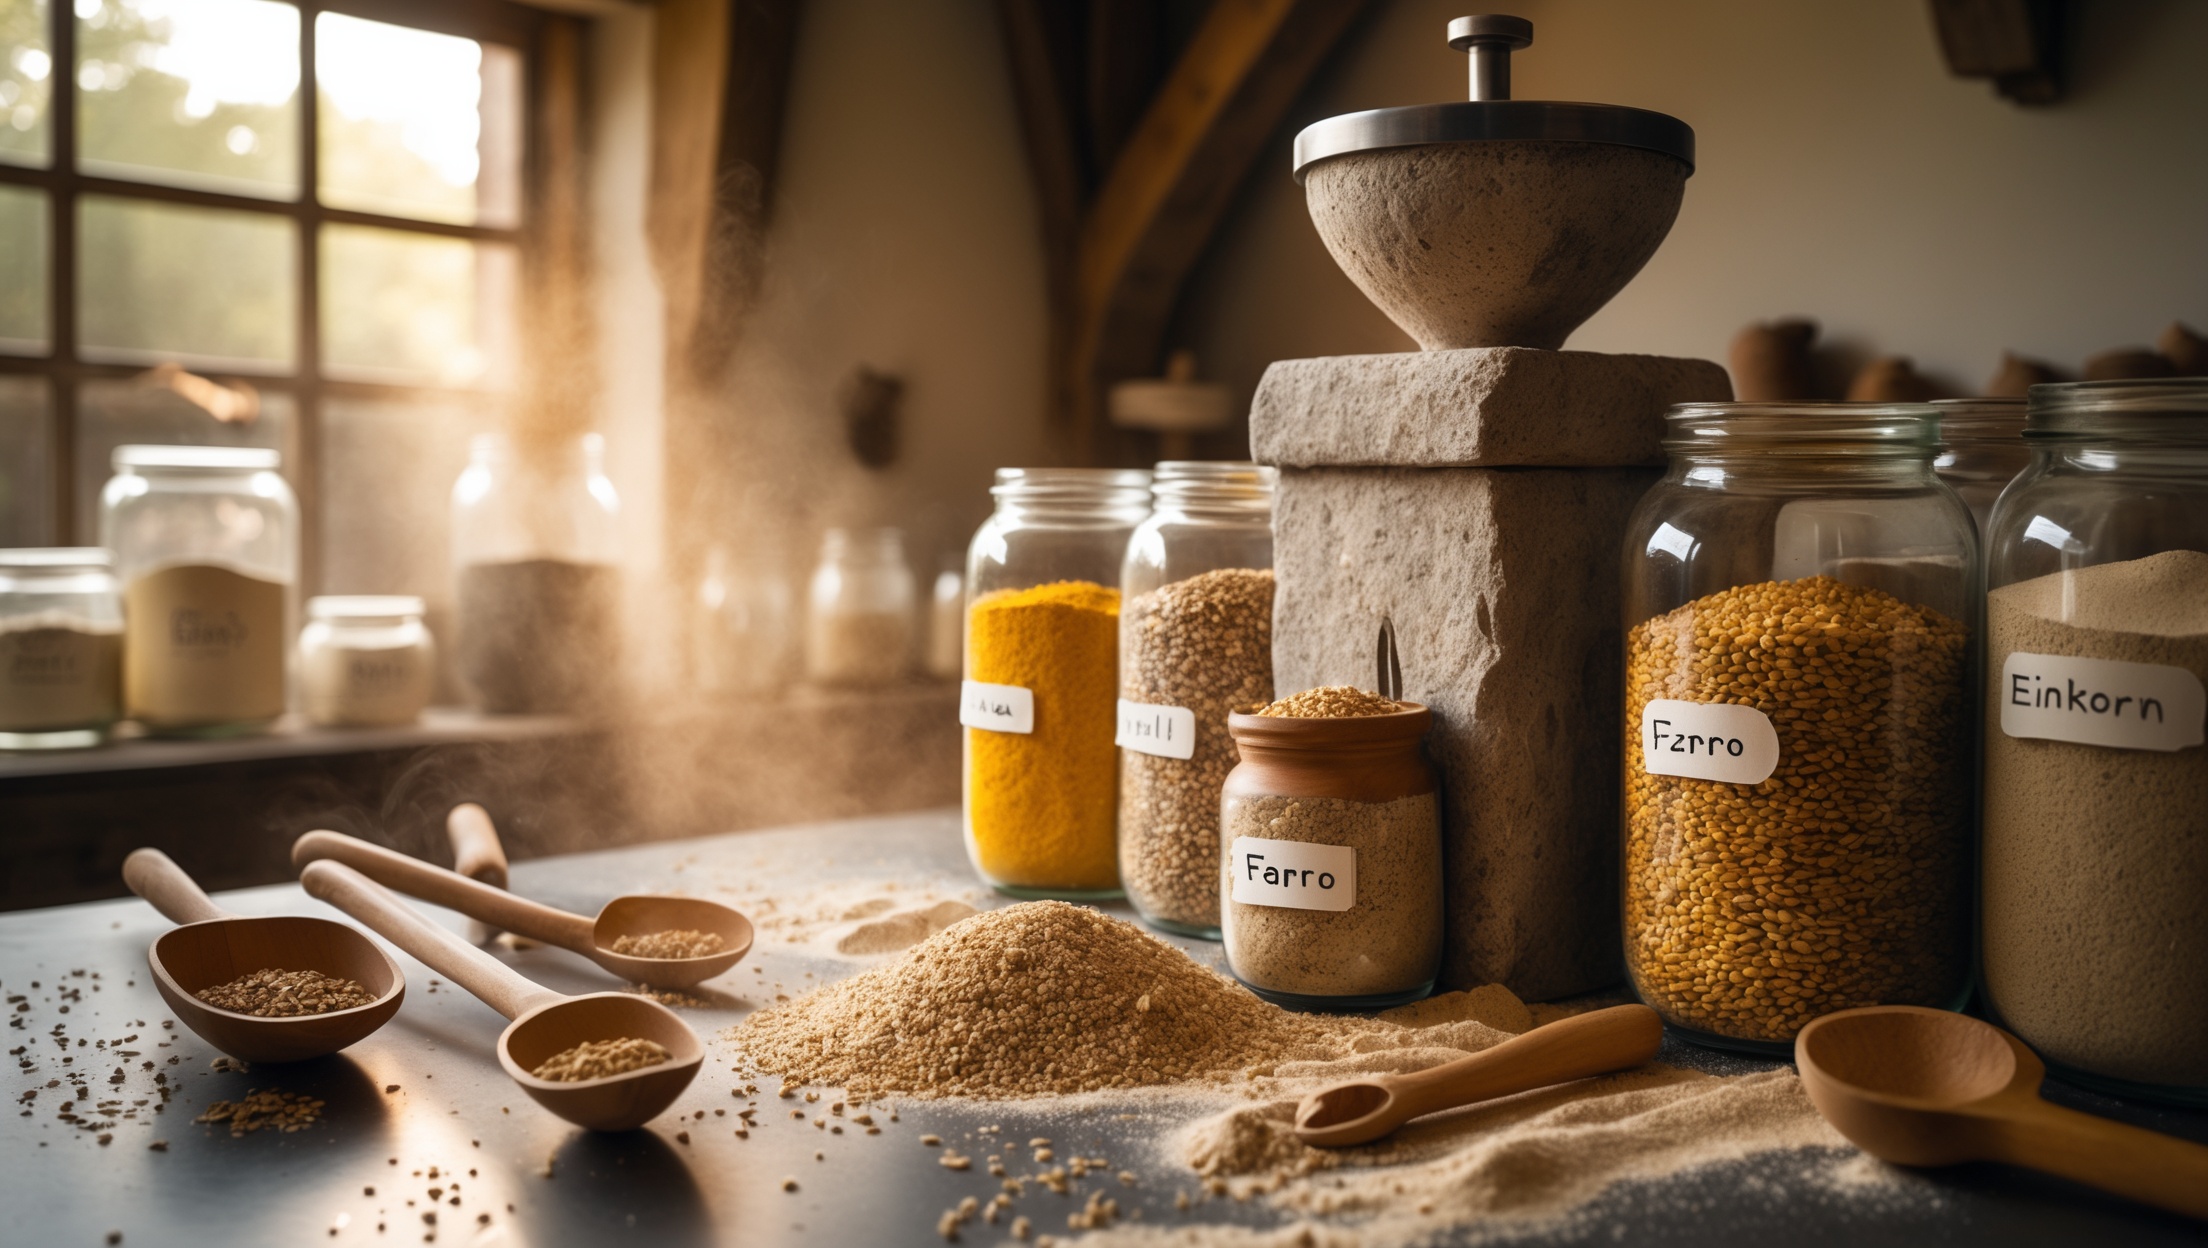
The modern culinary world is abuzz with the rediscovery of heirloom grains—ancient varieties like spelt, einkorn, emmer, and farro that have nourished civilizations for millennia. These grains not only offer distinctive flavors and textures but also connect us to sustainable food practices and a more refined, wholesome approach to cooking. Yet for many home cooks, the prospect of sourcing, storing, and transforming heirloom grains into gourmet staples can seem daunting. Which grains are worth seeking out? How much does it actually cost to make fresh flour at home? Can a compact, affordable mill truly deliver the nuanced flavors promised by these grains, or is it all just culinary hype? This guide dives deep into the practicalities, costs, common misconceptions, and essential tools involved in crafting heirloom grains into everyday culinary delights. Whether you’re a passionate home baker, a health-conscious cook, or a flavor explorer, you’ll find actionable insights here to elevate your pantry—no matter your skill level or kitchen size.
Heirloom Grains 101: Varieties, Benefits, and Flavor Profiles
What Are Heirloom Grains?
Heirloom grains are pre-industrial cereal crops that have been passed down through generations with minimal genetic modification. Unlike modern wheat, these grains retain their original genetics, offering unique flavors, nutritional profiles, and baking characteristics.
- Spelt: Slightly sweet, nutty, and easy to digest.
- Einkorn: Soft, buttery flavor with a golden hue.
- Emmer (Farro): Earthy, chewy, and rich in fiber.
- Kamut: Large kernels, buttery flavor, and high protein.
- Red Fife: Robust, malty flavor, prized for artisan breads.
Nutritional and Culinary Benefits
Heirloom grains are often richer in micronutrients, antioxidants, and fiber than modern, mass-produced wheat. Many varieties are easier to digest and lower in gluten, making them attractive to those with sensitivities (though not suitable for celiac sufferers). Their flavors range from delicate and floral to robust and nutty, lending depth to breads, pastas, porridges, and even desserts.
Cost Breakdown: Sourcing, Milling, and Baking with Heirloom Grains
Sourcing Heirloom Grains
The first step is finding reliable sources. Heirloom whole grains cost more than conventional wheat but can be cost-effective when purchased in bulk or direct from growers.
- Specialty Online Retailers: $5–$8 per pound for small quantities; bulk discounts possible.
- Local Mills and Co-ops: $2–$5 per pound, especially if you join a grain CSA or bulk buying group.
- Farmers’ Markets: Varies; often pricier, but you support local agriculture.
Cost of Home Milling vs. Pre-Milled Flour
Pre-milled heirloom flours are convenient but command premium prices, often $8–$12 per pound. Whole grains, in contrast, store longer and are 20–50% less expensive by weight—plus, freshly milled flour retains more nutrients and flavor.
- Example: 10 lbs of organic whole einkorn berries at $35 ($3.50/lb) yields roughly 10 lbs of fresh flour (minus minor milling loss), versus $70–$100 for the same amount of pre-milled flour.
Upfront Investment: Milling Equipment
- Manual Mill: $60–$150. Durable, but requires effort and time; best for small batches.
- Electric Mill: $200–$400. Fast and consistent output; ideal for frequent bakers.
- High-Speed Blender with Grain Attachment: $80–$250. Versatile, but may not achieve super-fine flour.
With moderate home use, most mills pay for themselves within 1–2 years compared to buying pre-milled flour.
Essential Tools & Equipment Guide
Choosing the Right Grain Mill
- Burr Mills: Favorable for consistent, fine flour. Look for adjustable settings.
- Stone Mills: Traditional, gentle on grains, and preserve nutrients. Ideal for flavor-focused bakers.
- Impact Mills: Fast and efficient, but can heat grains and affect delicate flavors.
Consider space, frequency of use, desired flour fineness, and ease of cleaning. For hobbyists, a compact countertop electric stone mill is usually the best balance of quality and convenience.
Supporting Equipment
- Grain Storage: Airtight containers, ideally glass or BPA-free plastic, to keep grains fresh and pest-free.
- Sifting Screens: For separating bran if you prefer lighter flour for pastries.
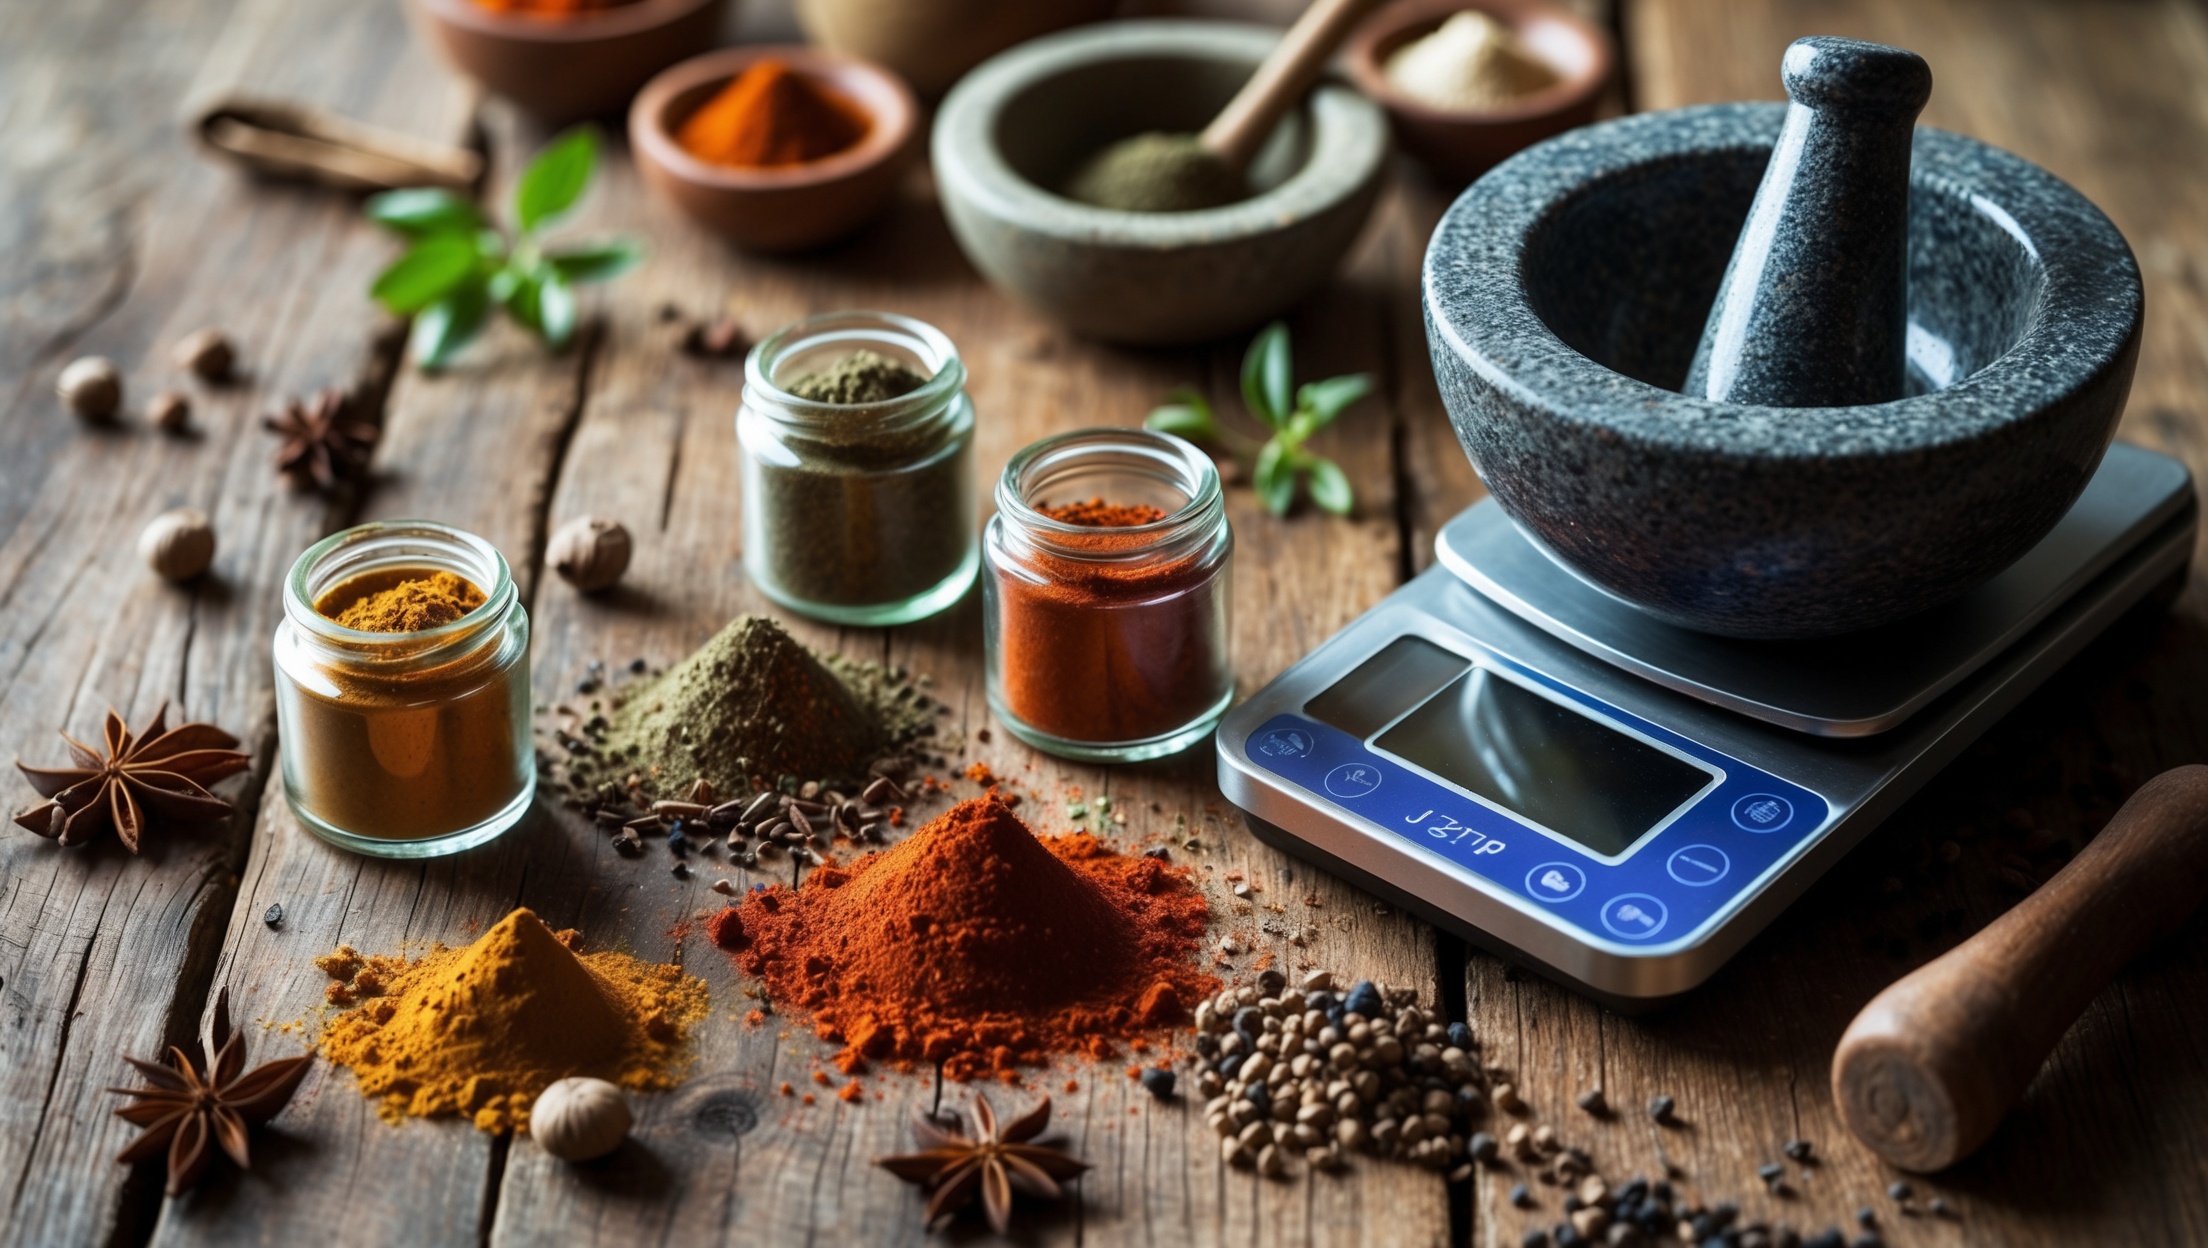
- Accurate Digital Scale: Essential for consistent baking results.
- Baking Tools: Dutch oven, banneton baskets, and quality loaf pans to showcase the unique crumb and crust of heirloom breads.
Maintenance Best Practices
- Clean the mill after each use; brush out flour dust and wipe down surfaces.
- Inspect stones/burrs for wear every few months if you mill frequently.
- Store the mill in a dry area to prevent rust and extend lifespan.
Step-by-Step Setup: Milling and Baking with Heirloom Grains
Step 1: Select and Prep Your Grains
- Choose a grain that suits your recipe—e.g., einkorn for delicate cakes, spelt for rustic breads.
- Inspect for debris. Rinse and thoroughly dry if necessary; grains must be bone-dry before milling.
Step 2: Mill Your Grains
- Set your mill to the desired coarseness.
- Mill in small batches to avoid overheating and preserve flavor.
- Sift if a lighter flour is needed; save bran for cereals or toppings.
Step 3: Store Fresh Flour
- Use immediately for optimal flavor and nutrition.
- For later use, refrigerate or freeze in airtight containers for up to 2 weeks.
Step 4: Bake and Experiment
- Heirloom flours absorb water differently—start with less liquid and adjust as needed.
- Allow longer fermentation times for breads; ancient grains often benefit from slow rises.
- Don’t be afraid to blend different heirloom flours for custom flavor and texture.
Debunking Common Myths about Heirloom Grains
- Myth 1: Heirloom grains make baking too dense or heavy.
Fact: Properly milled and handled, many heirloom flours yield light, aromatic breads and pastries. Adjusting hydration and fermentation is key. - Myth 2: Only professional bakers achieve good results with heirloom grains.
Fact: With basic tools and some experimentation, home bakers can easily produce gourmet-quality results. - Myth 3: All ancient grains are gluten-free.
Fact: Most heirloom wheats contain gluten, though it’s often less allergenic and easier to digest. Always research specific varieties if gluten is a concern. - Myth 4: Milling at home is messy and time-consuming.
Fact: Modern electric mills are compact, easy to clean, and can process enough flour for a loaf in under five minutes. - Myth 5: Heirloom grains don’t taste different from regular wheat.
Fact: Each variety offers unique aromas, flavors, and textures—from honeyed sweetness to earthy complexity—making them a true gourmet upgrade.
Seasonal Checklist: Heirloom Grain Cooking Inspiration
- Spring: Einkorn crepes with garden herbs and fresh goat cheese.
- Summer: Emmer grain bowls with grilled vegetables and lemon dressing.
- Fall: Spelt sourdough with roasted squash and sage.
- Winter: Kamut porridge with dried fruits, nuts, and honey.
Rotate your grain choices to match seasonal produce and keep your culinary repertoire vibrant and exciting.
Marketing Strategies for Sharing Your Craft
- Host tasting events or bread swaps with friends and neighbors to spark curiosity about heirloom grains.
- Share recipes and photos on social media—focus on the story behind each grain and your hands-on process.
- Partner with local farmers’ markets or food co-ops to source grains and showcase your creations.
- Offer small workshops or tutorials in your community for those interested in home milling.
Educating others about the taste, history, and nutrition of heirloom grains not only builds community but reinforces your own culinary journey.
Safety Checklist: Milling and Storing Grains at Home
- Always inspect grains for signs of mold, pests, or spoilage before milling.
- Keep all equipment dry and clean to prevent bacterial growth.
- Store grains in cool, dry, airtight containers away from direct sunlight.
- Label containers with purchase date; use oldest grains first.
- Unplug electric mills before cleaning or maintenance.
Conclusion: Elevate Your Culinary Craft with Heirloom Grains
Bringing heirloom grains into your kitchen is more than a culinary trend—it’s a reconnection with tradition, sustainability, and the true flavors of the earth. The journey from whole grain to gourmet staple is not as complicated or expensive as it may seem: with thoughtful sourcing, a reliable home mill, and a spirit of experimentation, you can unlock new dimensions of taste and nutrition in your daily cooking. By understanding the practicalities—budgeting, tool selection, and safe storage—you gain both confidence and creative freedom. Don’t let myths or the intimidation of ancient grains hold you back. Start small, perhaps with a single bag of spelt or einkorn, and let your senses guide you. Revel in the satisfaction of a loaf that sings with flavor, a porridge that warms you from within, or a cake that surprises you with its depth. As you share your creations and knowledge, you contribute to a growing community that values craft, taste, and a mindful approach to food. Embrace the story of each grain—and make it part of your own culinary story.

I have a small kitchen and not much counter space. Are there any compact milling tools you recommend for making fresh flour from heirloom grains, especially for families who want to try this without a huge investment up front?
For small kitchens and beginners, a hand-crank grain mill or a compact electric mill like the NutriMill Mini or Mockmill 100 could be a good fit. These models are designed to take up minimal space and are generally more affordable than commercial-grade mills. Hand-crank models are budget-friendly and portable, while compact electrics offer convenience. Both can handle heirloom grains well for family-sized batches.