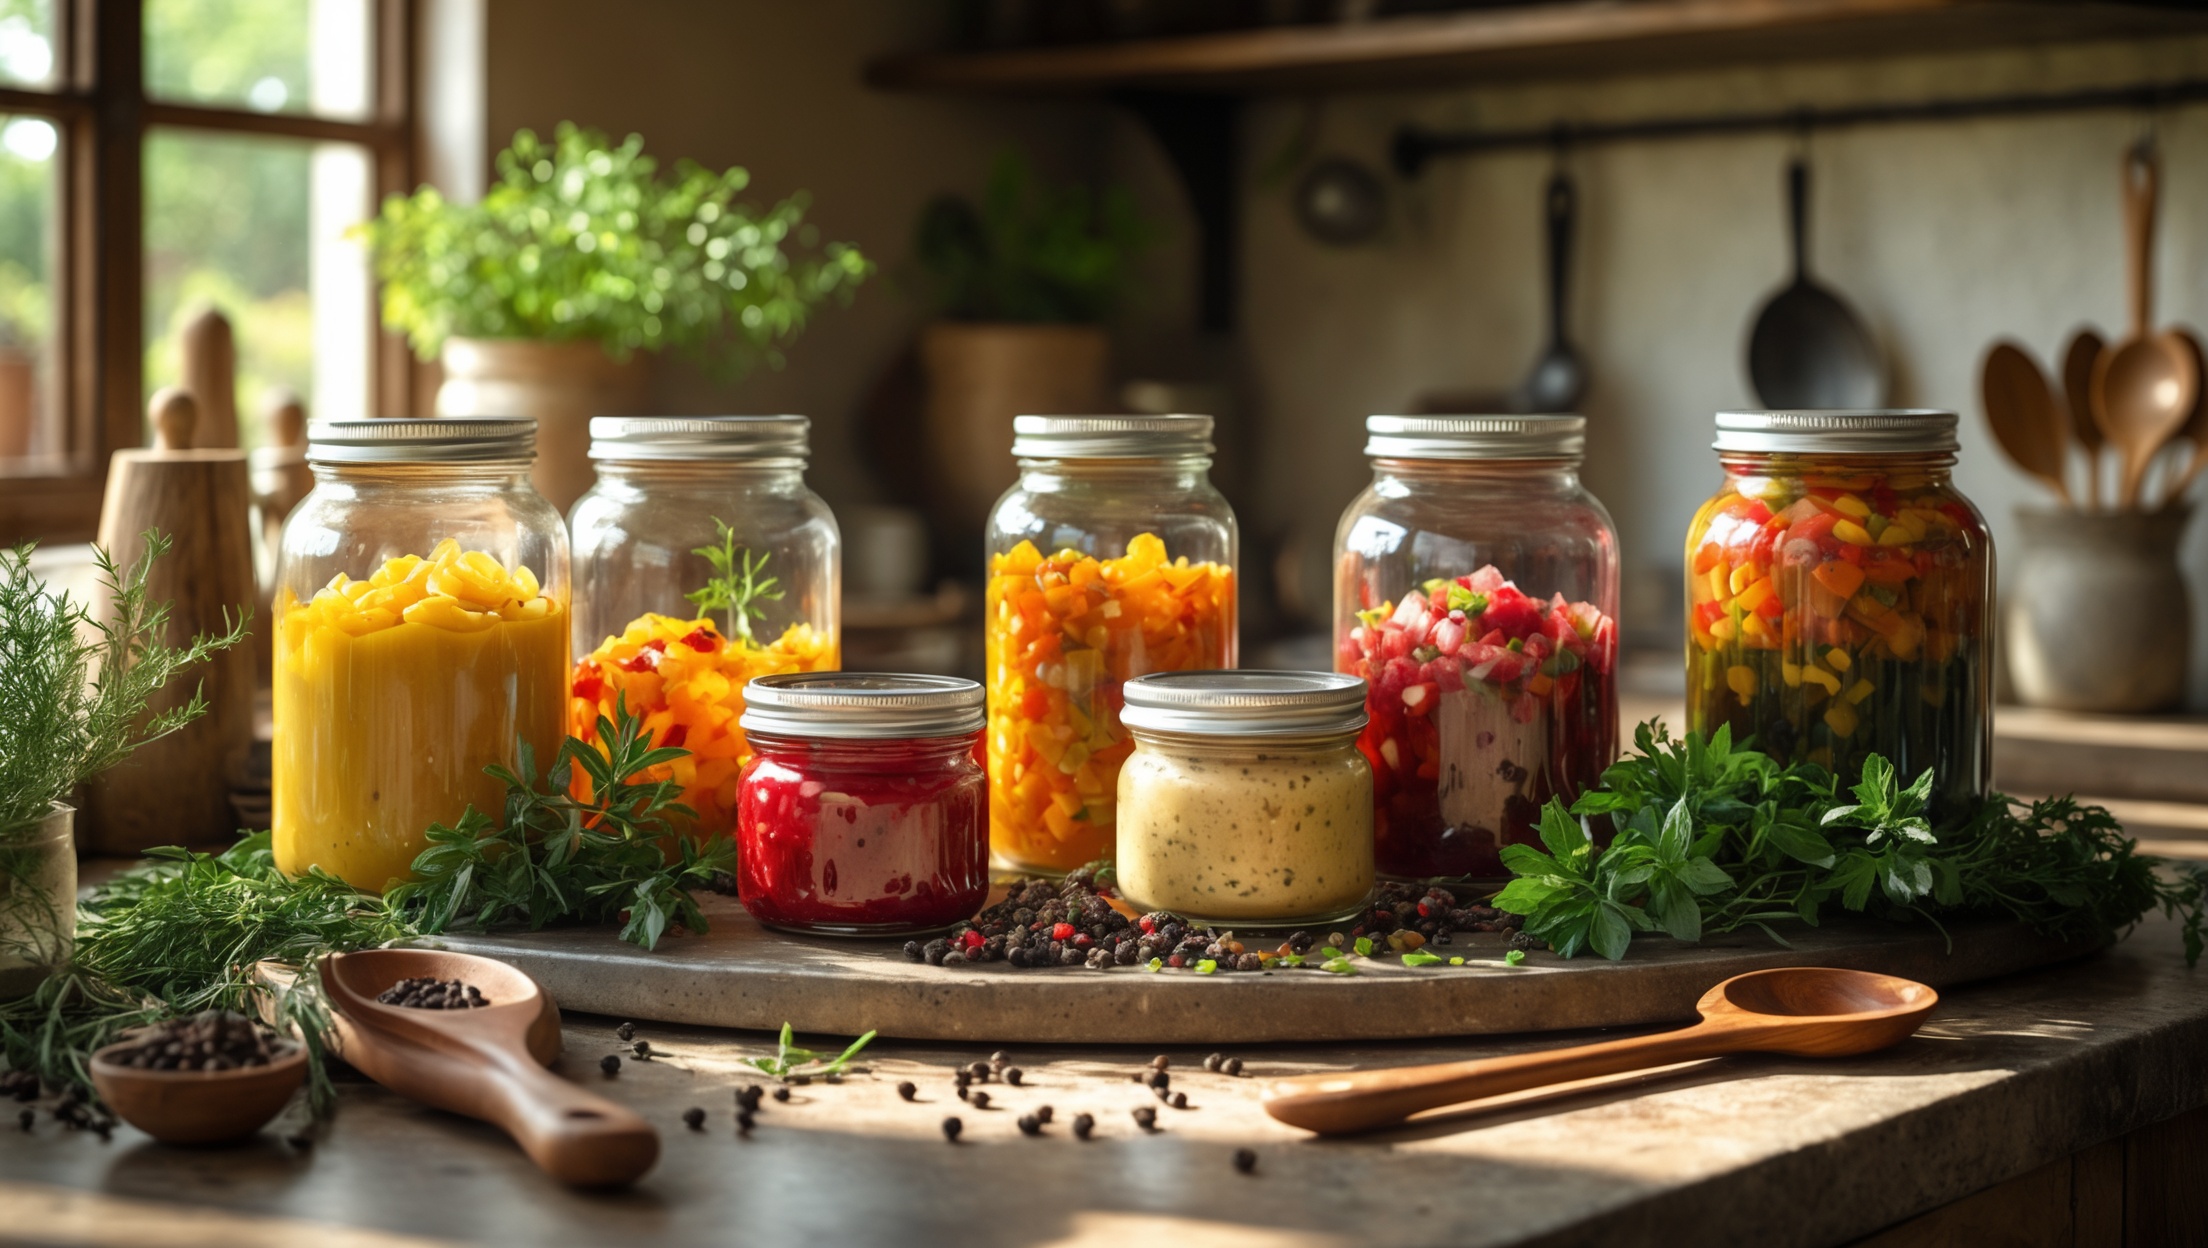
Introduction: The Culinary Magic of Homemade Condiments
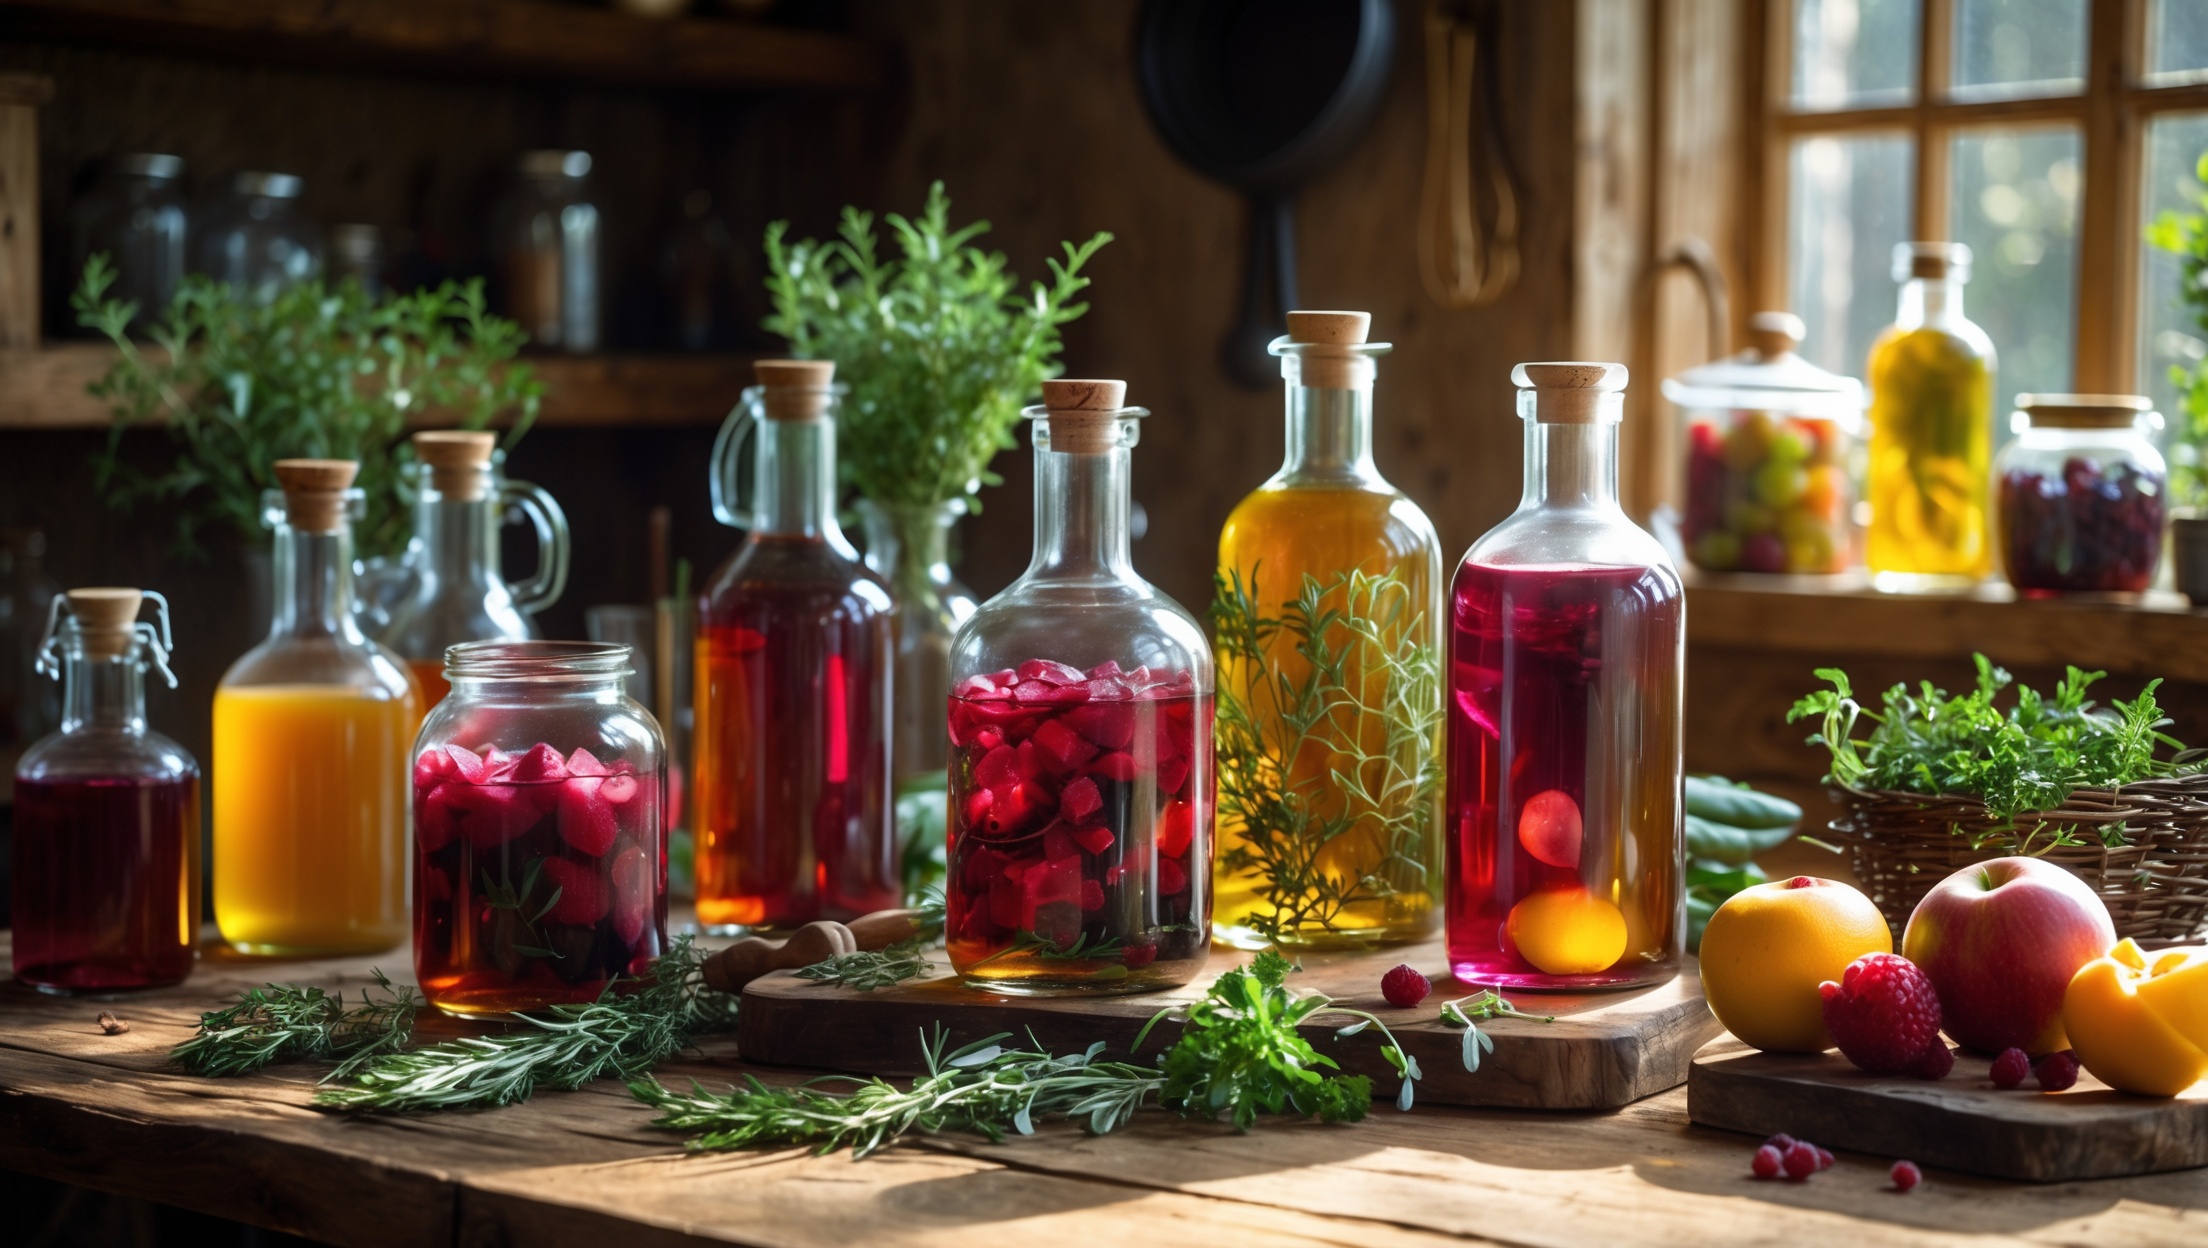
Condiments are the unsung heroes of the culinary world. While a perfectly cooked steak or a lovingly baked loaf of bread can stand on its own, it’s often the vibrant zing of a homemade mustard or the sweet complexity of a well-crafted chutney that transforms a meal into a memorable experience. In the era of artisanal food culture, crafting your own gourmet condiments at home not only elevates your dishes but also connects you to centuries-old culinary traditions, seasonal rhythms, and the creative possibilities of your pantry. Whether you’re a seasoned cook or just beginning your culinary journey, making condiments from scratch invites you to explore the alchemy of taste, texture, and aroma in a way that store-bought jars simply cannot match.
This deep-dive guide is designed for food lovers seeking to master the craft of gourmet condiments—from bold mustards and tangy chutneys to inventive relishes and fruit-forward compotes. We’ll explore how to harness the best of each season, what tools and equipment you actually need (and what you can skip), and how to keep your condiment experiments both safe and budget-friendly. Practical tips, cost breakdowns, and troubleshooting advice will ensure that every batch is a success, whether you’re making a single jar for a dinner party or stocking your pantry for the months ahead. Let’s unlock the secrets of flavor layering, shelf-life, and creative pairing in the vibrant world of homemade condiments!
Understanding Condiment Craft: Types & Flavor Profiles
What Qualifies as a Gourmet Condiment?
Gourmet condiments go beyond basic ketchup and yellow mustard. They are flavor-packed accompaniments—mustards, chutneys, relishes, aiolis, fruit compotes, savory jams, and more—each crafted to complement, contrast, or elevate core dishes. The hallmarks of a gourmet condiment include thoughtful ingredient sourcing, balance of flavors (sweet, sour, spicy, umami), and often a connection to seasonality or tradition.
- Mustards: From classic Dijon to beer-infused whole-grain, mustards are versatile, ranging from sharp and spicy to mellow and sweet. Mustard seeds, vinegar, and aromatics are the foundation.
- Chutneys: Originating from South Asian cuisine, chutneys blend fruits, vegetables, vinegar, sugar, and spices. They run the gamut from fiery hot to delicately sweet-tart.
- Relishes: Typically chunkier, relishes highlight fresh or pickled vegetables with a vinegar-forward tang. Think cucumber relish, corn salsa, or tangy tomato-onion blends.
- Compotes & Jams: These condiment cousins focus on fruit, often cooked down with sugar and spices. They can be savory or sweet, and pair beautifully with cheeses, roasted meats, or pastries.
Flavor Layering Secrets
Balance is key. Gourmet condiments rely on combining sweet, sour, salty, and spicy elements in harmonious ratios. Don’t be afraid to experiment—add warm spices to chutney, infuse mustard with local honey, or stir in roasted garlic for depth. Always taste as you go, adjusting acidity, sweetness, and seasoning until the flavors sing.
Seasonal Inspiration: Crafting with the Calendar
Spring
Spring offers tender herbs, young alliums, and early berries. Try a chive-mustard, rhubarb compote, or mint-pea relish. Freshness and brightness are the themes.
Summer
With an abundance of tomatoes, peppers, stone fruits, and cucumbers, summer is prime time for vibrant chutneys, salsas, and classic pickled relishes. Experiment with peach-mustard or spicy tomato chutney.
Autumn
Root vegetables, apples, pears, and late harvest chiles come into play. Think apple-cider mustard, pear-ginger chutney, or roasted beet relish. Warm spices (cinnamon, clove, star anise) shine here.
Winter
Winter calls for condiments that add brightness to hearty meals—citrus-mustard, cranberry compote, or preserved lemon chutney. Dried fruits, nuts, and warming spices can make winter condiments extra special.
Essential Tools & Equipment: What You Really Need
Homemade condiments require minimal but intentional investment in equipment. Here’s what matters most:
- Heavy-Bottomed Saucepan: Ensures even heat distribution for simmering and reducing without scorching.
- Nonreactive Mixing Bowls: Stainless steel or glass are ideal for preventing acidic reactions, especially when working with vinegars.
- Fine-Mesh Sieve or Cheesecloth: For straining seeds from mustards or excess liquid from chutneys.
- Jars & Lids: Mason jars in various sizes (4oz to 16oz) are reusable, seal well, and are perfect for gifting.
- Wide-Mouth Funnel: Makes filling jars clean and efficient.
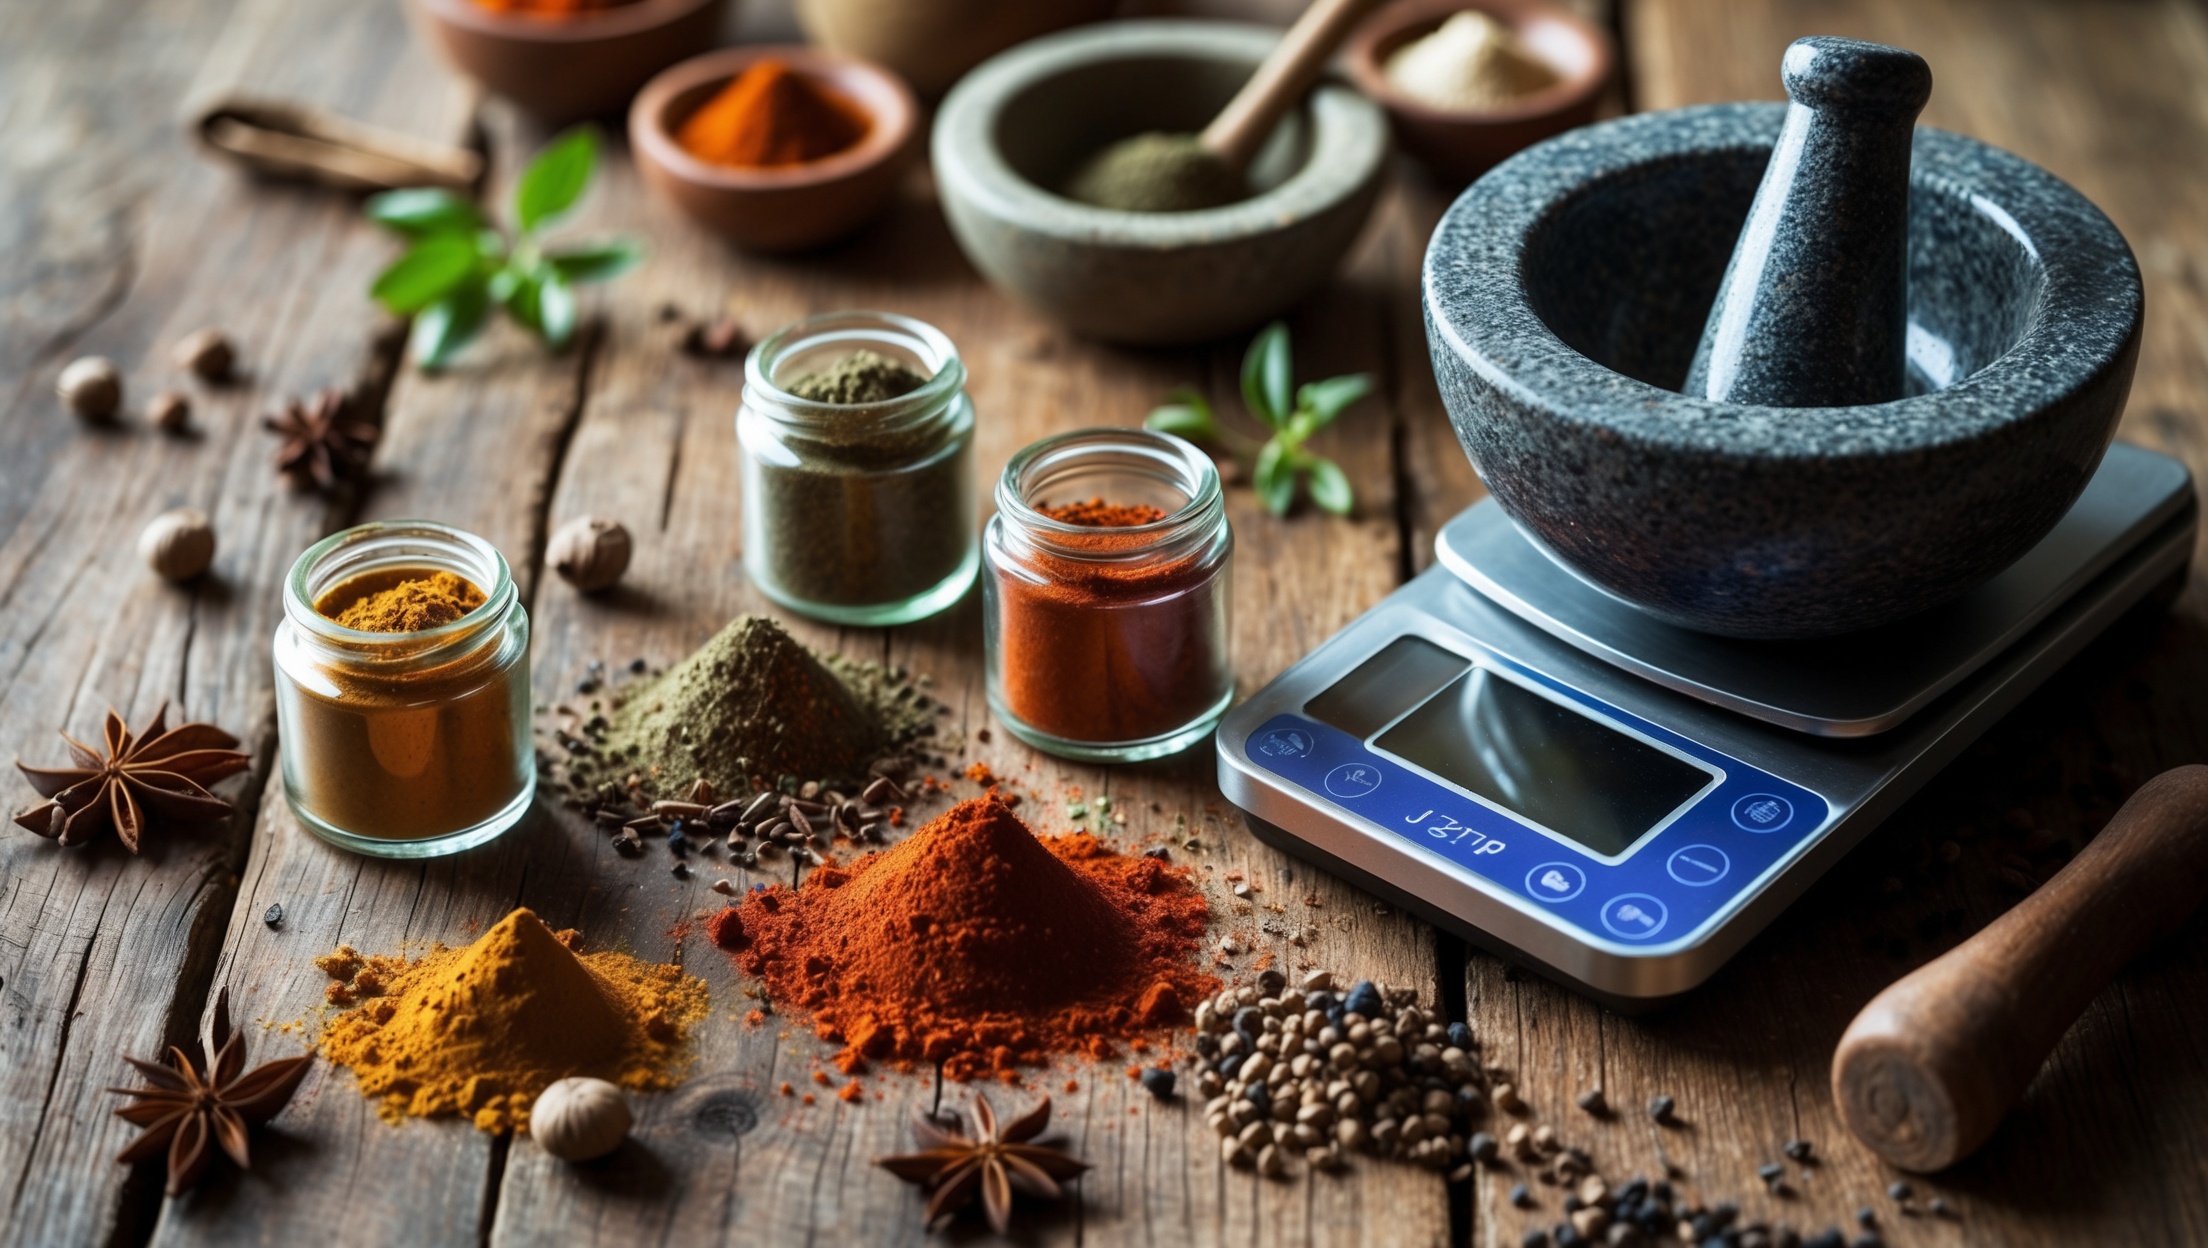
- Digital Scale: Precision matters for consistency, especially in mustards and relishes.
- Immersion Blender or Food Processor: For smoother condiments, purees, or quick chopping.
- Thermometer (Optional): Useful for checking temperatures during cooking or pasteurizing for shelf-stable storage.
You don’t need expensive specialty gadgets. Focus on quality basics and keep them clean and dry for food safety.
Choosing Ingredients: Quality, Sourcing, and Substitutions
Mustards
Use whole, brown, or yellow mustard seeds (or blends) for varied heat and flavor. Choose a good-quality vinegar—apple cider, white wine, or sherry for depth. Fresh herbs, seasonal fruit, and honey or maple syrup can personalize your recipe.
Chutneys & Relishes
Prioritize ripe, seasonal produce. Organic and local fruits or vegetables yield brighter flavors. Dried fruits (raisins, apricots, dates) add sweetness and body. Use unrefined sugars and high-quality vinegars; experiment with spices for complexity.
Substitutions
- Swap sweeteners: honey, maple, agave, or coconut sugar.
- Mix up vinegars: rice vinegar for a milder touch, balsamic for depth.
- Adjust spice blends to suit your palate—don’t be afraid to personalize.
Step-by-Step Setup: Crafting Mustard at Home
- Step 1: Soak Seeds
Combine ½ cup mustard seeds with ½ cup vinegar and ½ cup water. Let soak for 24–48 hours at room temperature. The seeds will plump and soften.
- Step 2: Blend
Add 2–3 tablespoons sweetener (honey or sugar), salt, and any desired spices. Blend with an immersion blender until you reach your preferred texture (grainy or smooth).
- Step 3: Taste & Adjust
Adjust acidity, sweetness, or spice to taste. Remember, mustard flavors intensify over a few days as it rests.
- Step 4: Jar & Store
Spoon into sterilized jars. Seal and refrigerate. Homemade mustard keeps up to 3 months in the fridge.
Step-by-Step Setup: Making Chutney or Relish
- Step 1: Prep Produce
Chop fruits/vegetables into uniform pieces for even cooking.
- Step 2: Simmer & Season
Combine produce, vinegar, sweetener, salt, and spices in a heavy saucepan. Simmer gently, stirring often, until thickened and flavors meld (usually 30–60 minutes).
- Step 3: Taste & Adjust
Check for balance—add a splash more vinegar for brightness, a pinch of salt to enhance flavor, or extra sugar for sweetness.
- Step 4: Jar & Store
Ladle into sterilized jars. If not canning, cool and refrigerate; use within 2–3 weeks for best flavor. For shelf-stable storage, process jars in a boiling water bath (follow safe canning guidelines).
Cost Breakdown & Budgeting: Making Gourmet Affordable
Making condiments at home is surprisingly economical, especially when using seasonal or surplus produce. Here’s how the typical costs break down for a small batch (about 3–4 jars, 8oz each):
- Mustard: Mustard seeds ($1.50), vinegar ($1), sweetener ($0.50), spices ($0.50), jars ($3 for 3 reusable jars). Total: $6–7 (about $2 per jar).
- Chutney: Fruit/veg ($3, in season), vinegar ($1), sugar ($1), spices ($0.75), jars ($3). Total: $8–9 (about $2.50 per jar).
- Relishes and compotes fall within similar ranges, with costs dropping if you use garden produce or buy in bulk.
Compare this to premium store-bought condiments, which often run $6–10 per small jar. Homemade not only saves money but lets you control ingredients, flavors, and quality.
Storage, Shelf-Life, and Safety Essentials
Refrigeration vs. Shelf-Stable Storage
- Refrigerated: Most small-batch mustards, chutneys, and relishes keep 1–3 months in the fridge.
- Shelf-Stable (Canned): For longer storage, use proper water-bath canning with tested recipes. This is critical for safety—improperly canned condiments can harbor harmful bacteria.
Safety Checklist
- Always sterilize jars and lids before filling.
- Use vinegar or another acid to ensure pH is safely below 4.6 for canned products.
- Never guess acidity; stick to tested recipes when canning.
- Label jars with contents and date.
- Discard anything that shows mold, bubbling, off-colors, or odd smells.
For most home cooks, refrigerating small batches is easiest and safest.
Creative Pairings & Culinary Inspiration
Homemade condiments are endlessly versatile. Here are ideas to spark your creativity:
- Mustard: Pair with charcuterie, roasted pork, warm potato salad, or fold into vinaigrettes.
- Chutney: Serve with cheese boards, grilled chicken, or as a sandwich spread.
- Relish: Brighten up burgers, grilled fish, or grain bowls.
- Fruit Compote: Top pancakes, yogurt, or roasted duck.
Use your condiments to add a handmade signature to everyday meals or special occasions. Small jars also make thoughtful gifts.
Common Myths Debunked
- “Homemade condiments can’t be shelf-stable.” With proper canning technique and tested recipes, many condiments can be safely stored at room temperature for months.
- “You need fancy equipment.” A saucepan, jars, and a blender are all you need to start.
- “It’s too time-consuming.” Most mustards and chutneys require only 30–60 minutes of active time, plus passive soaking or simmering.
- “Homemade isn’t as flavorful as store-bought.” On the contrary—freshness, choice of ingredients, and customization make homemade condiments uniquely delicious.
Maintenance Best Practices: Keeping Your Craft Sharp
- Clean and dry all tools thoroughly after each use to prevent spoilage and contamination.
- Rotate your pantry: Use older jars first, and check regularly for any signs of spoilage.
- Record your recipes and tweaks. Note what works and what you’d adjust next time for continual improvement.
- Store jars in a cool, dark place for best shelf-life, even if refrigerated.
Conclusion: The Joy and Reward of Homemade Gourmet Condiments
In a world where convenience foods often overshadow tradition, taking the time to craft your own gourmet condiments is a radical act of culinary creativity and care. The process invites you to slow down, engage your senses, and connect with the flavors of each season. Whether you’re whisking up a spicy grain mustard for Sunday brunch, simmering a batch of apple-ginger chutney to accompany roast pork, or experimenting with tomato-peach relish to jar summer’s bounty, every batch is a chance to learn, savor, and share.
Homemade condiments are not just about taste—they’re about story, craft, and culture. They honor the past by reviving timeless techniques, and they inspire the future by encouraging customization and innovation in your own kitchen. With a handful of essential tools, a spirit of adventure, and a little planning, anyone can transform humble ingredients into jars of flavor that enliven meals, impress guests, and offer a sense of accomplishment far beyond what any store-bought version can provide.
So, the next time you reach for a condiment, imagine the possibilities. Let your kitchen become a laboratory of taste, your pantry a gallery of edible art, and your table a stage for stories told in every spoonful. The world of homemade gourmet condiments awaits—dive in and savor the rewards!