
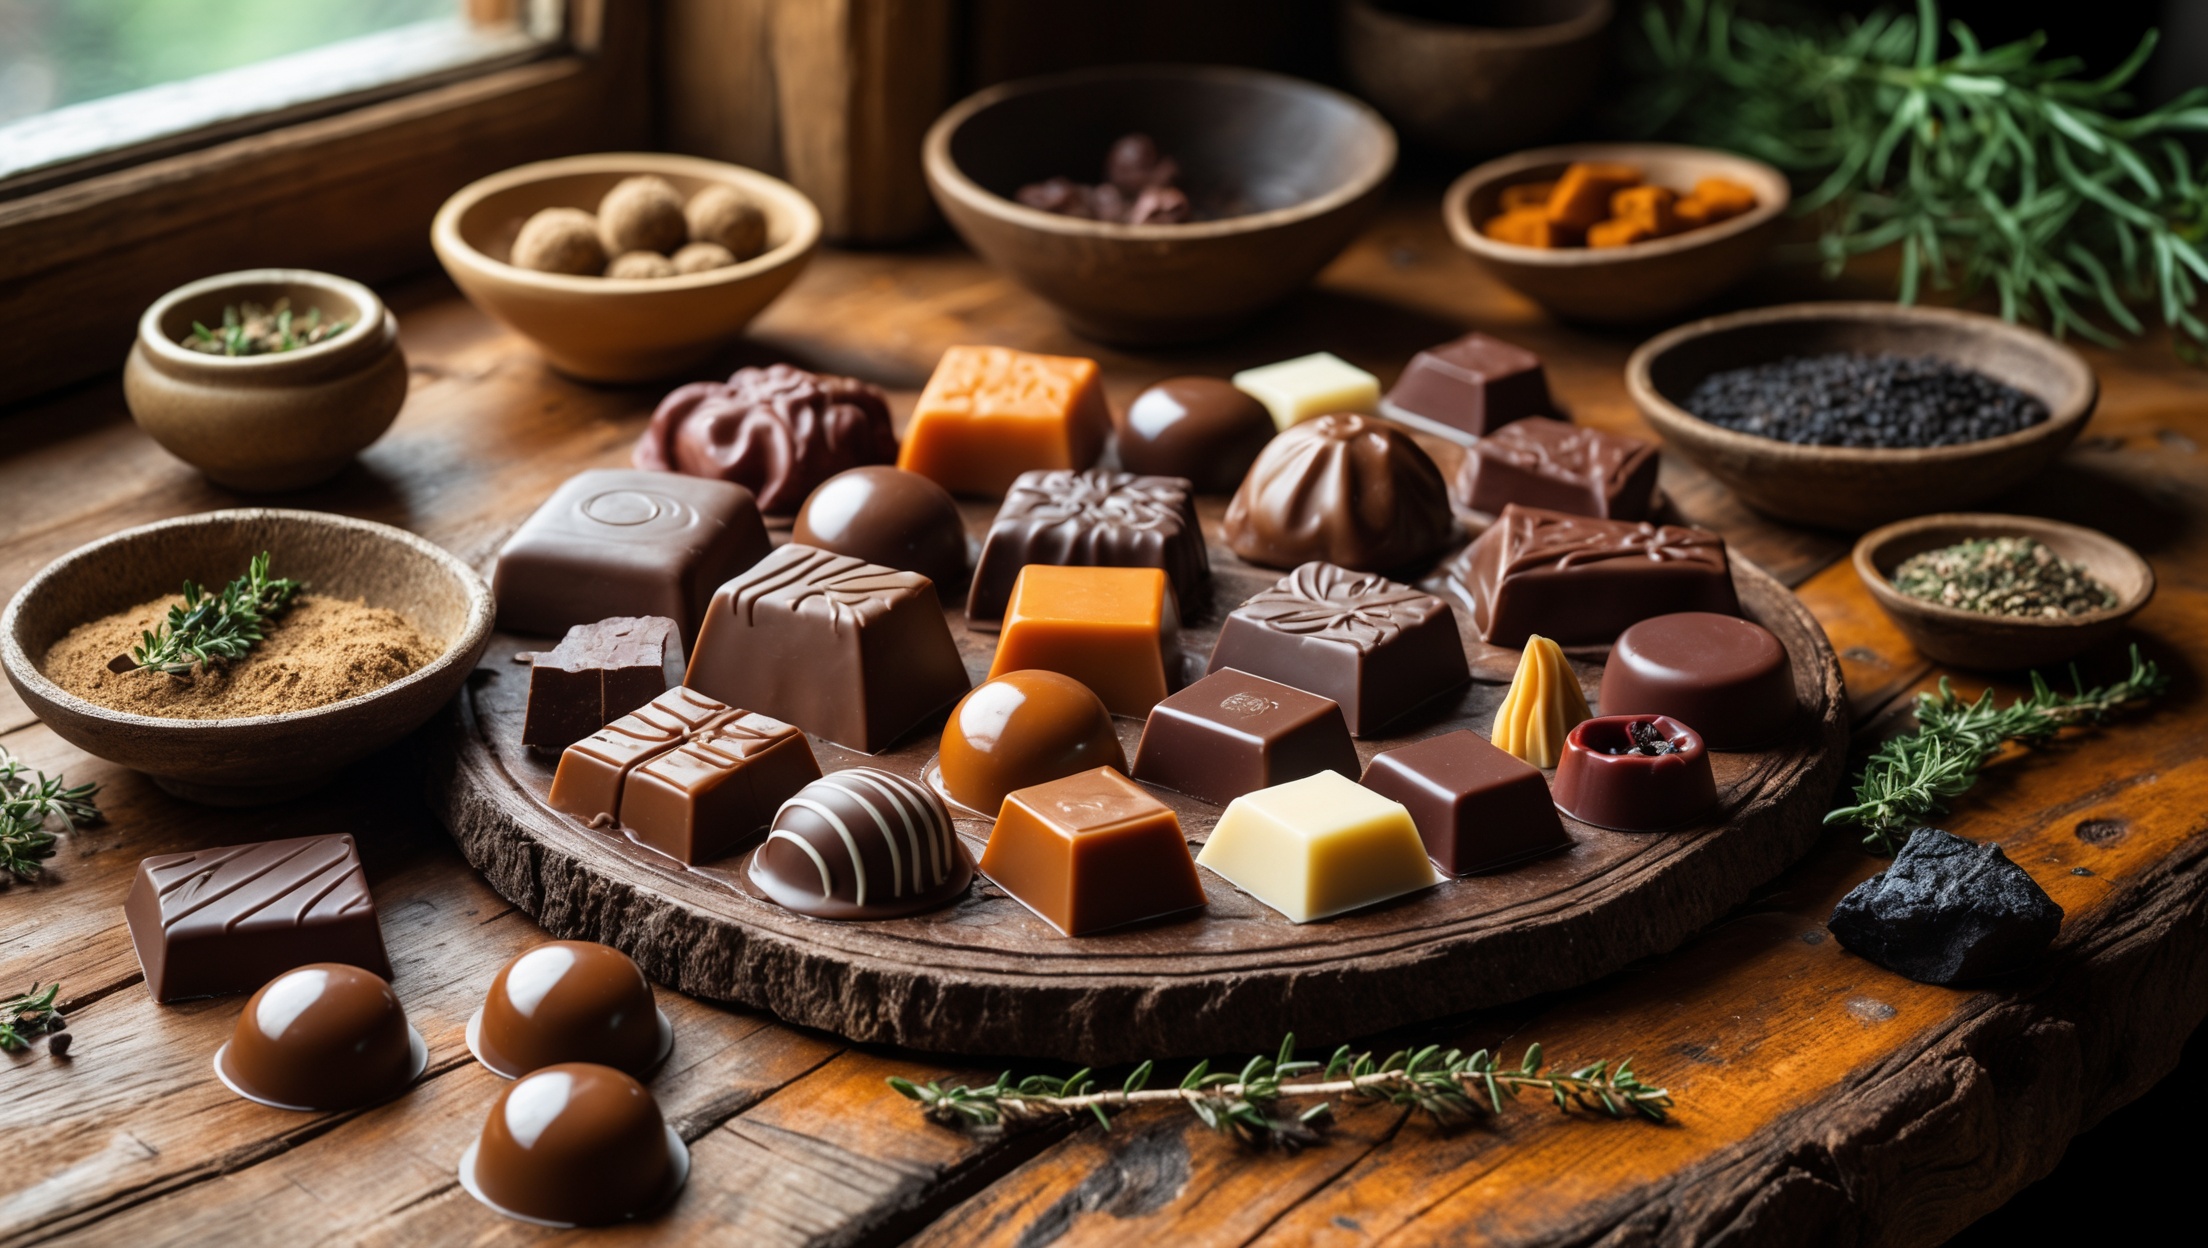
Introduction: The Art of Compound Chocolate Craft at Home
The allure of chocolate is timeless—its rich aroma, silken texture, and endless capacity for creative flavor combinations have made it a canvas for artisans and home cooks alike. While single-origin and couverture chocolates often steal the limelight, compound chocolate offers an inviting, approachable medium for those eager to sculpt gourmet treats in their own kitchens. Unlike traditional chocolate, compound chocolate swaps cocoa butter for vegetable fats, making it more forgiving in tempering and versatile for infusions. This accessibility doesn’t mean sacrificing quality or complexity; with the right techniques and thoughtful ingredients, you can create compound chocolates that rival truffle-shop confections. Whether you dream of seasonal flavor infusions, crave innovative inclusions, or simply seek to master the basics, this guide walks you through the process step by step, revealing the tools, ingredients, and chef-level secrets that transform humble kitchen experiments into edible works of art. Prepare to embark on a culinary journey where taste, craft, and culture meet—one velvety bite at a time.
Choosing Your Chocolate Base: Types and Quality
Understanding Compound Chocolate
Compound chocolate is crafted from cocoa powder, sweeteners, and vegetable fats (typically palm kernel or coconut oil) instead of cocoa butter. This composition makes it stable at room temperature and eliminates the need for precise tempering found in couverture chocolate. For home chocolatiers, compound chocolate offers a balance of ease and versatility, making it ideal for infusions, fillings, and molded shapes.
Quality Matters: What to Look For
- Cocoa Content: Opt for compound chocolate with a higher percentage of cocoa powder for robust flavor.
- Fat Quality: Coconut oil yields a smoother, more delicate mouthfeel compared to other vegetable fats.
- Sweeteners: Avoid low-grade products with excessive sugar or artificial flavors. Choose brands with real vanilla and minimal additives.
Seek out specialty suppliers or gourmet baking sections for premium compound chocolate bases.
Essential Tools for the Home Chocolate Atelier
Core Equipment Checklist
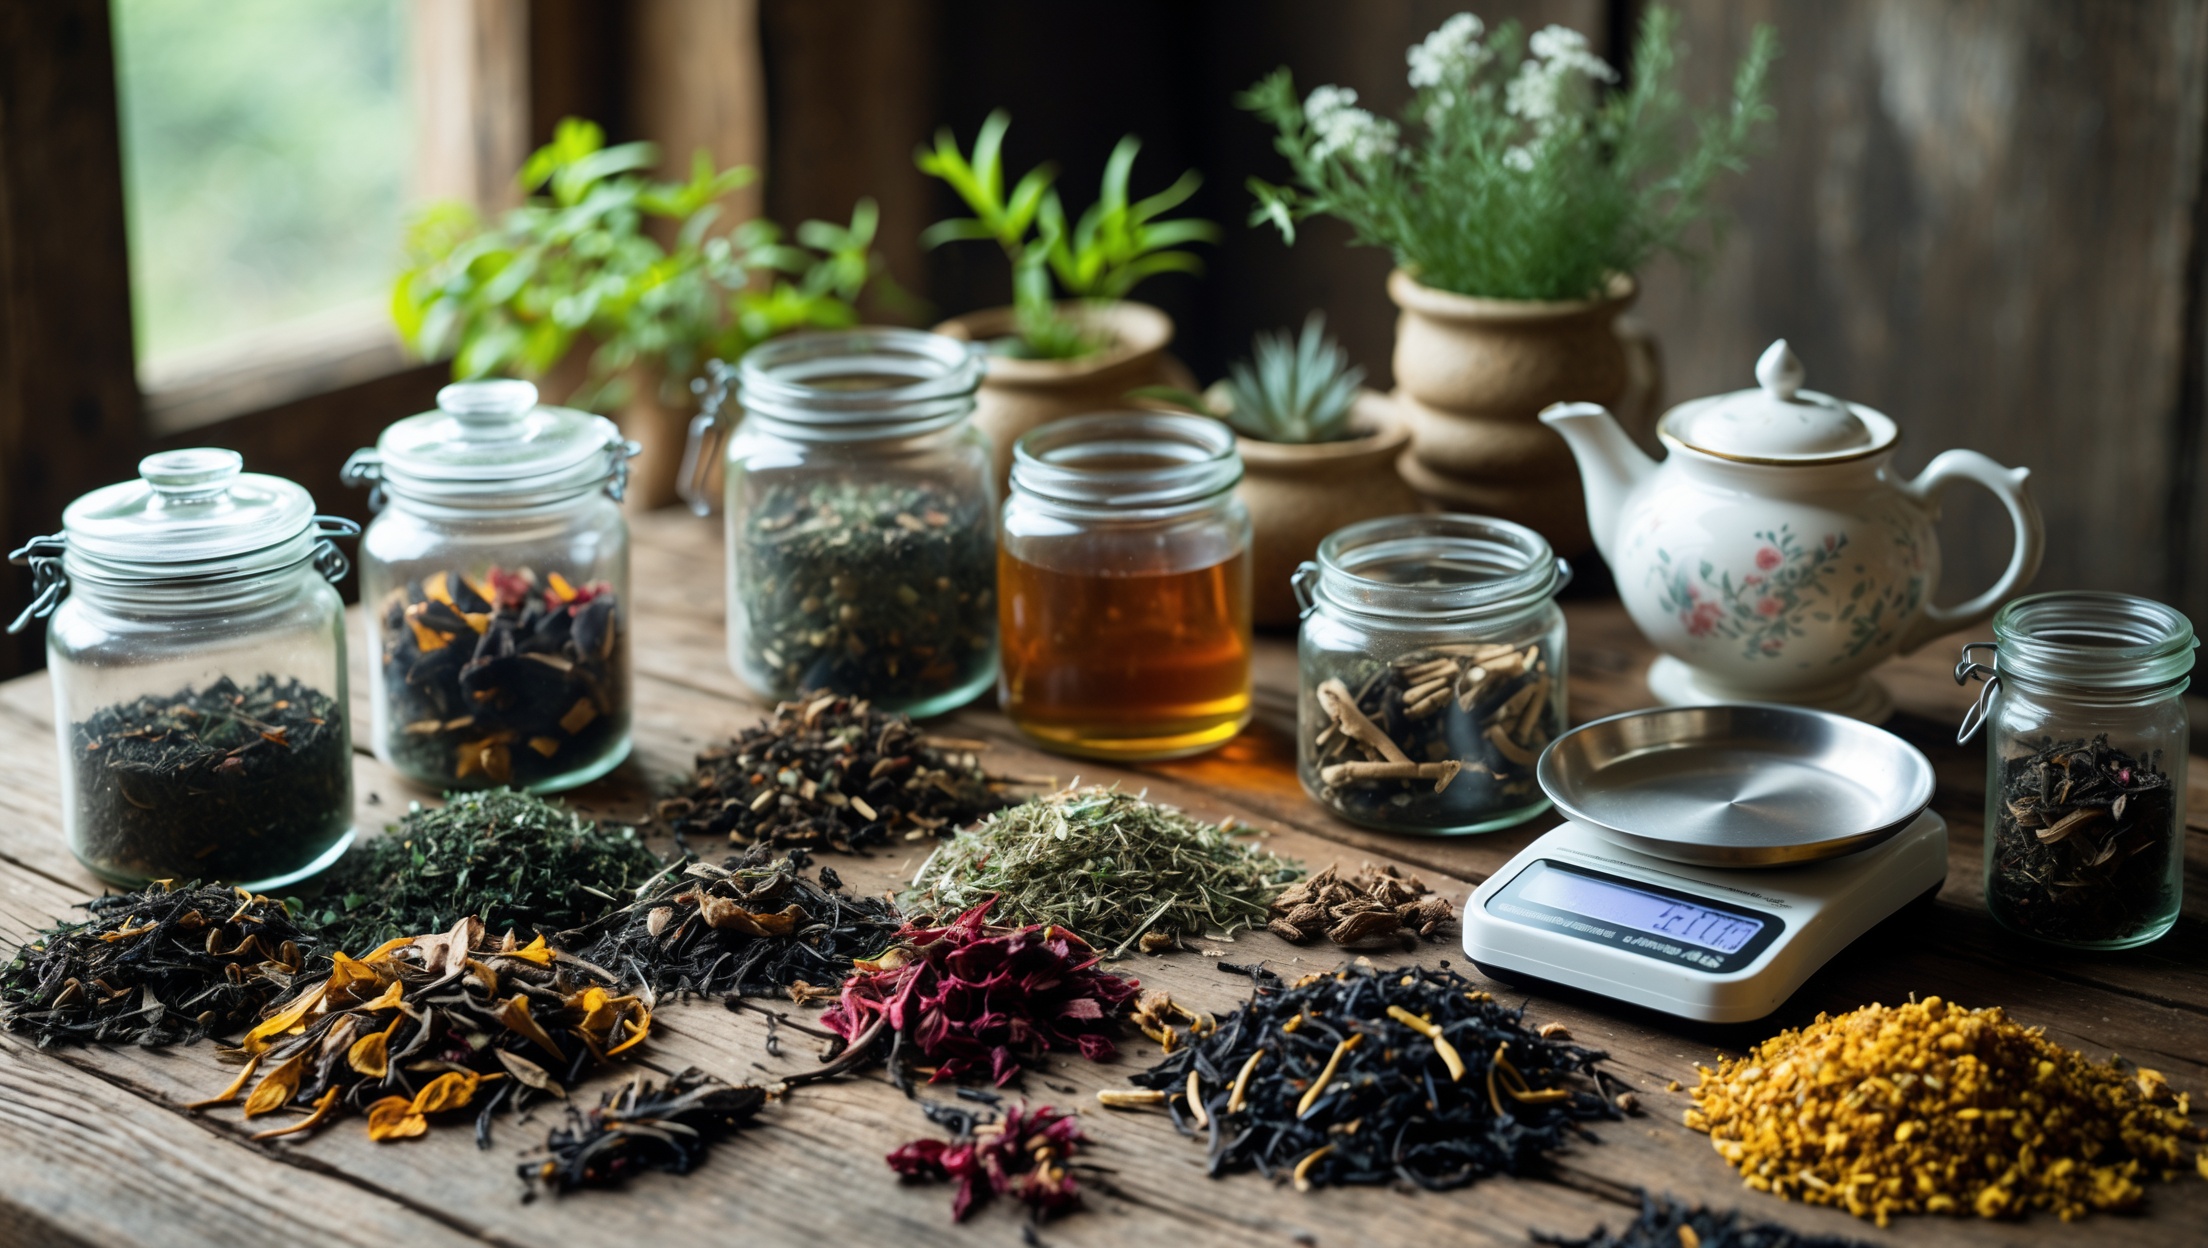
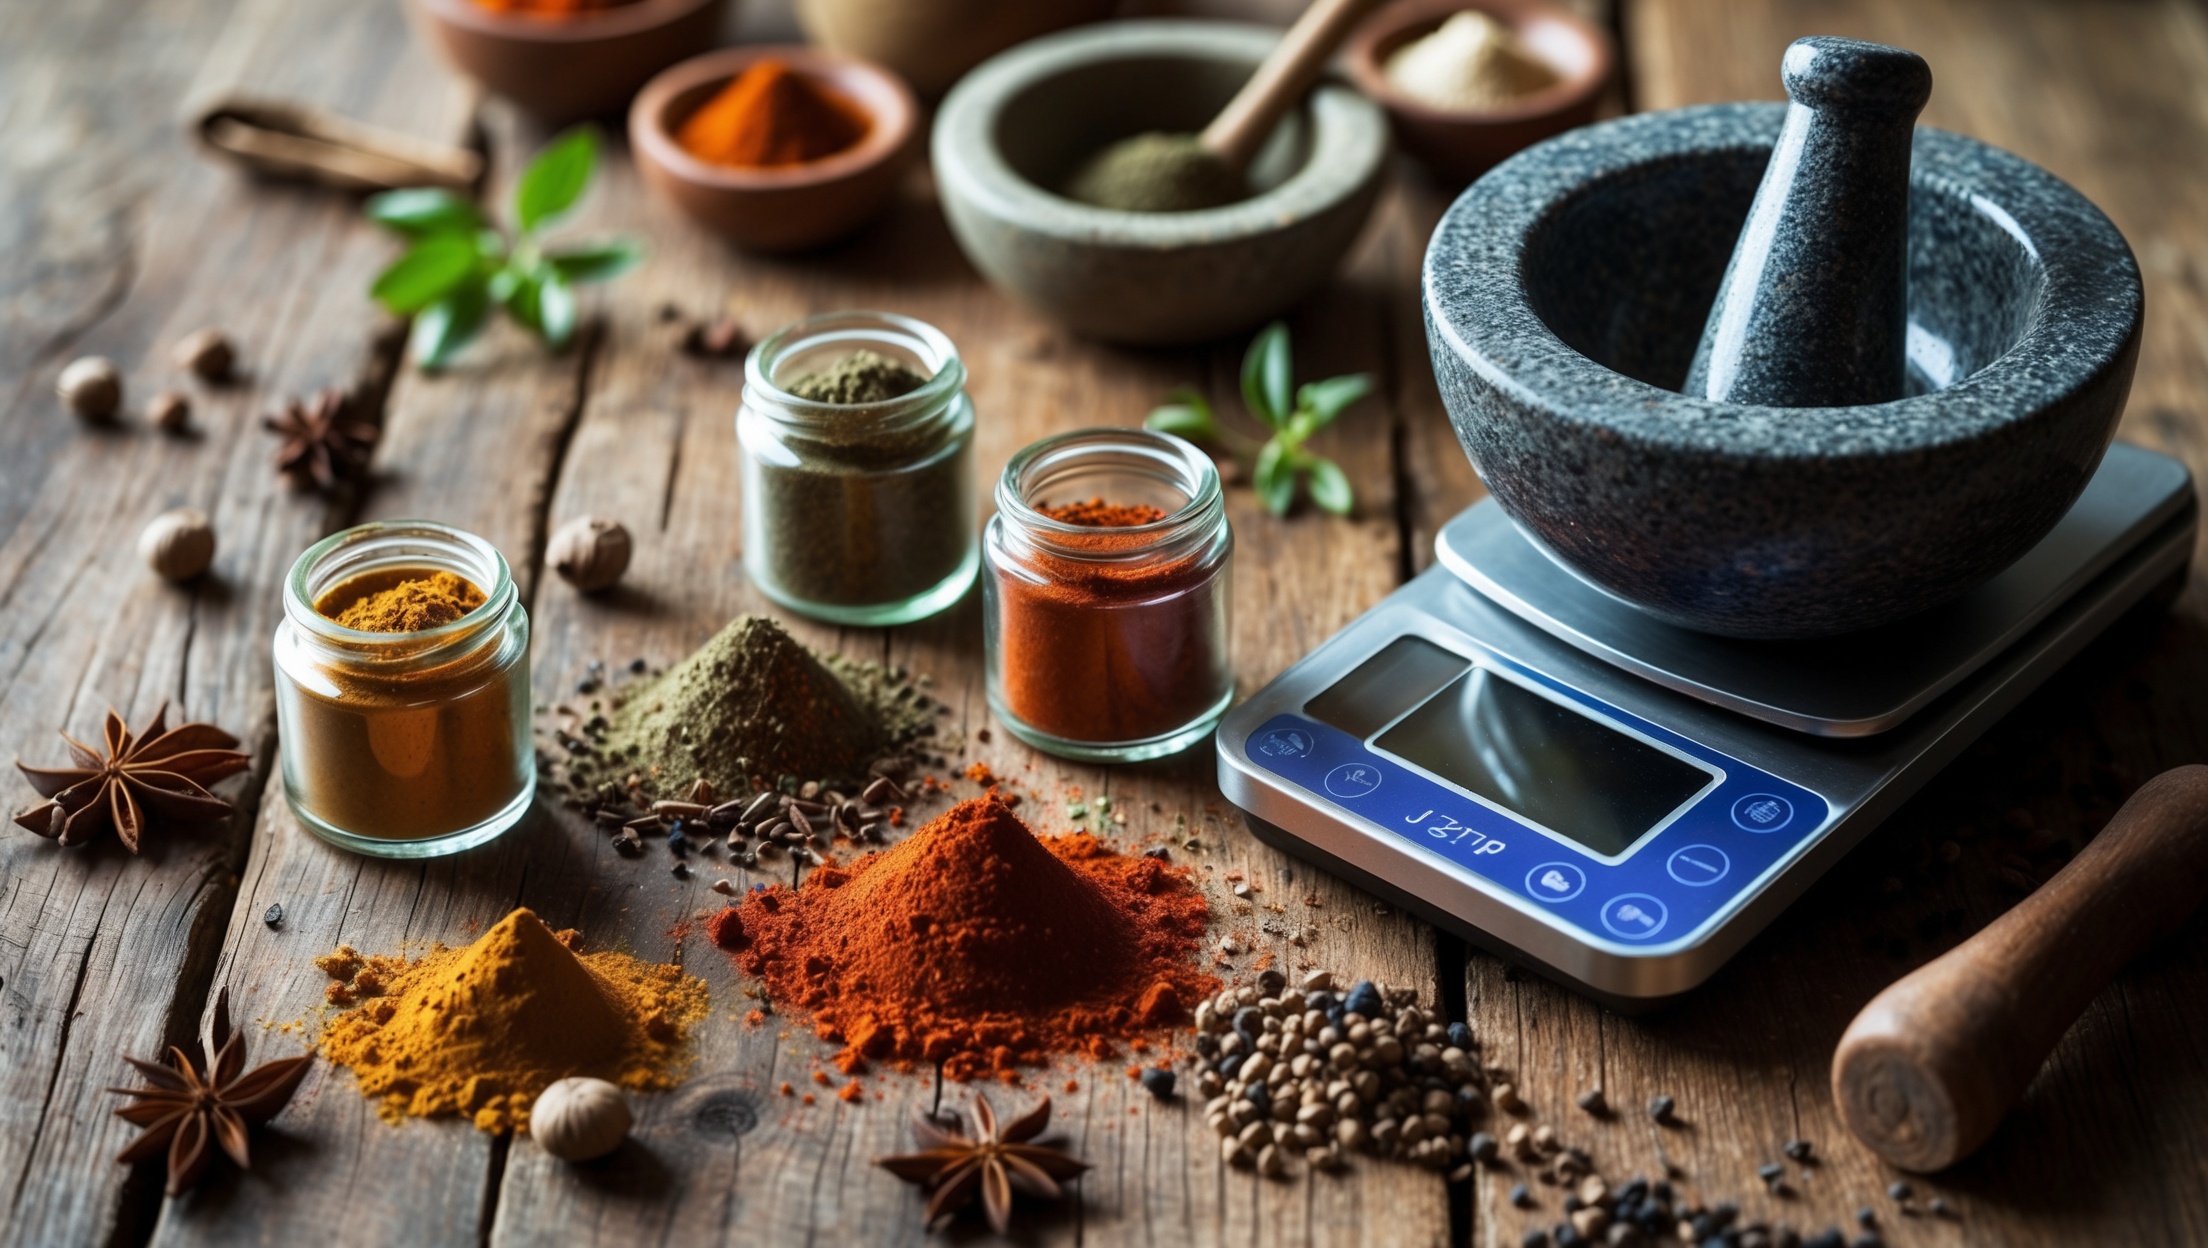
- Digital Kitchen Scale: Precision matters for consistent results.
- Double Boiler or Heatproof Bowl: For gentle, even melting.
- Infrared or Candy Thermometer: To monitor melting temperatures and avoid scorching.
- Silicone Spatulas: Flexible for scraping every last bit and folding in inclusions.
- Chocolate Molds: Choose polycarbonate or silicone molds in various shapes for professional finish.
- Piping Bags: For filled chocolates and decorative work.
- Cooling Rack and Sheet Pans: For even setting and easy transfer.
- Offset Palette Knife: For leveling tops and demolding.
- Microplane or Fine Grater: For zesting citrus or shaving spices directly into chocolate.
Optional, But Game-Changing
- Magnetic Molds: For two-piece chocolates or filled bonbons.
- Airbrush or Small Paintbrushes: For cocoa butter coloring and artistic effects.
- Dehydrator: For preparing crisp fruit or herb inclusions.
Flavor Architecture: Infusions and Inclusions
Seasonal Inspirations
- Spring: Freeze-dried strawberries, lemon zest, candied violets, basil-infused ganache.
- Summer: Roasted cherry pieces, mint, lavender, raspberry powder, chili flakes.
- Autumn: Toasted pecans, pumpkin spice, dried apple, maple crystals, sage.
- Winter: Candied ginger, espresso, cinnamon, blood orange zest, rosemary salt.
For infusions, gently heat cream or coconut milk with chosen herbs, spices, or zests, then strain before incorporating as a filling or ganache.
Classic and Creative Pairings
Balance is key: pair tart fruits with dark chocolate, toasted nuts with milk chocolate, and floral or herbal notes with white compound chocolate. Don’t shy away from adventurous combinations—like black pepper and strawberry, or rosemary and caramelized white chocolate—to surprise the palate.
Step-by-Step: Crafting Compound Chocolates at Home
1. Preparation and Mise en Place
- Weigh all ingredients precisely.
- Set up a clean, dry workspace—moisture is the enemy of smooth chocolate.
- Prepare molds, lining them with a thin layer of neutral oil if needed.
2. Melting and Tempering (Simplified for Compound)
Compound chocolate doesn’t require the multi-step tempering of couverture, but temperature still matters:
- Chop chocolate evenly for uniform melting.
- Melt gently over a double boiler or in short bursts in the microwave, stirring every 20 seconds. Keep under 45°C (113°F).
- Once fully melted, cool slightly (to around 33–35°C/91–95°F) before pouring or adding inclusions.
3. Building Flavor Layers
- For filled chocolates, pipe infused ganache or caramel into half-filled molds before sealing.
- Fold inclusions (crushed nuts, dried fruit, spices) into the melted base just before molding to preserve texture and flavor integrity.
- Consider layering flavors—such as a base of dark chocolate with a swirl of citrus-infused white chocolate—for visual and taste complexity.
4. Molding and Setting
- Pour or pipe chocolate into molds, tapping gently to remove air bubbles.
- Use an offset spatula to level tops for a polished finish.
- Refrigerate molds for 10–20 minutes, or until chocolate contracts and cleanly releases.
5. Unmolding and Finishing Touches
- Demold gently to avoid cracking.
- Decorate with edible gold leaf, cocoa powder, or a light brush of colored cocoa butter for professional flair.
Cost Breakdown: Gourmet Results on a Budget
Crafting compound chocolates at home is surprisingly cost-effective compared to artisanal shop prices. Here’s a sample breakdown for a 500g batch (approx. 30 filled bonbons):
- Premium compound chocolate: $6
- Seasonal flavor inclusions (dried fruit, nuts, spices): $3
- Filling ingredients (cream, flavor extracts): $2
- Reusable silicone mold: $10 (one-time investment)
- Decorative finishes: $2
Total per batch (excluding reusable tools): $13—yielding treats that often retail for $30–$40 in specialty stores. Over multiple batches, upfront tool costs quickly amortize, making this a deliciously economical hobby.
Storage and Shelf Life: Keeping Chocolates Fresh
Optimal Storage Conditions
- Store chocolates in an airtight container at 16–20°C (60–68°F), away from direct sunlight and humidity.
- Avoid refrigeration unless your environment is very warm; sudden temperature changes can cause bloom (white streaks or spots).
- For filled chocolates, especially those with cream-based ganache, consume within 7–10 days for peak freshness.
- Plain compound chocolates with dry inclusions (nuts, dried fruit) can last up to 4–6 weeks.
Packing for Gifting and Events
- Use waxed paper or food-grade cellophane to separate layers and prevent sticking.
- Add silica gel packets if gifting in humid conditions to preserve texture.
- Label homemade chocolates with flavor and date for an artisanal touch.
Maintenance and Best Practices for Tools
- Immediately rinse spatulas and bowls with hot water—dried chocolate is stubborn.
- Silicone molds can retain odors; clean with baking soda paste and dry thoroughly before reuse.
- Store molds flat to avoid warping and ensure even chocolates batch after batch.
Common Myths Debunked
- Myth: Compound chocolate is inferior for gourmet crafting.
Fact: With quality ingredients and creative flavor work, compound chocolates can be elevated to artisan level. - Myth: You need expensive equipment to start.
Fact: Basic kitchen tools and a good mold are all that’s required for stunning results. - Myth: Homemade chocolates never last as long.
Fact: Proper storage extends shelf life, rivaling many commercial products.
Refined Gifting and Entertaining Ideas
- Curate seasonal chocolate assortments for holidays or dinner parties, highlighting unique flavor infusions.
- Pair homemade chocolates with dessert wines, herbal teas, or craft coffee for a sophisticated tasting experience.
- Create DIY chocolate kits for friends or family—include molds, base chocolate, and a selection of inclusions for a hands-on culinary gift.
Conclusion: Elevate Your Culinary Craft with Compound Chocolates
Embracing the world of gourmet compound chocolate at home is more than a culinary experiment—it’s an invitation to blend artistry, culture, and personal taste into every bite. Unlike the sometimes intimidating demands of couverture, compound chocolate offers a forgiving, flexible medium perfect for both beginners and seasoned makers. The true joy lies in the details: the gentle melting, the careful choice of seasonal infusions, and the satisfaction of unmolding jewel-like confections crafted by your own hands. With mindful sourcing, a few essential tools, and a willingness to explore flavor, you can transform your kitchen into a boutique chocolate atelier, surprising friends, family, and even yourself with the depth and elegance of your creations. Whether making chocolates as gifts, for festive gatherings, or simply as a treat to savor with afternoon coffee, this craft delivers rich rewards—sensory, social, and even financial. So gather your favorite flavors and start sculpting: each batch is a new chapter in your story of taste, craft, and culinary culture.
You mention that coconut oil produces a smoother, more delicate mouthfeel compared to other vegetable fats in compound chocolate. Are there certain brands or types of coconut oil you recommend for beginners, and does the type of coconut oil (refined vs. unrefined) make a noticeable difference in the final flavor?
For beginners making compound chocolates, refined coconut oil is usually the best choice because it has a neutral flavor and won’t interfere with your chocolate’s taste. Unrefined (or virgin) coconut oil has a stronger coconut aroma that can noticeably affect the final flavor. As for brands, look for food-grade, high-quality refined coconut oil—many grocery store options work well, so you don’t need anything fancy to start. Just be sure it’s fresh and not hydrogenated.