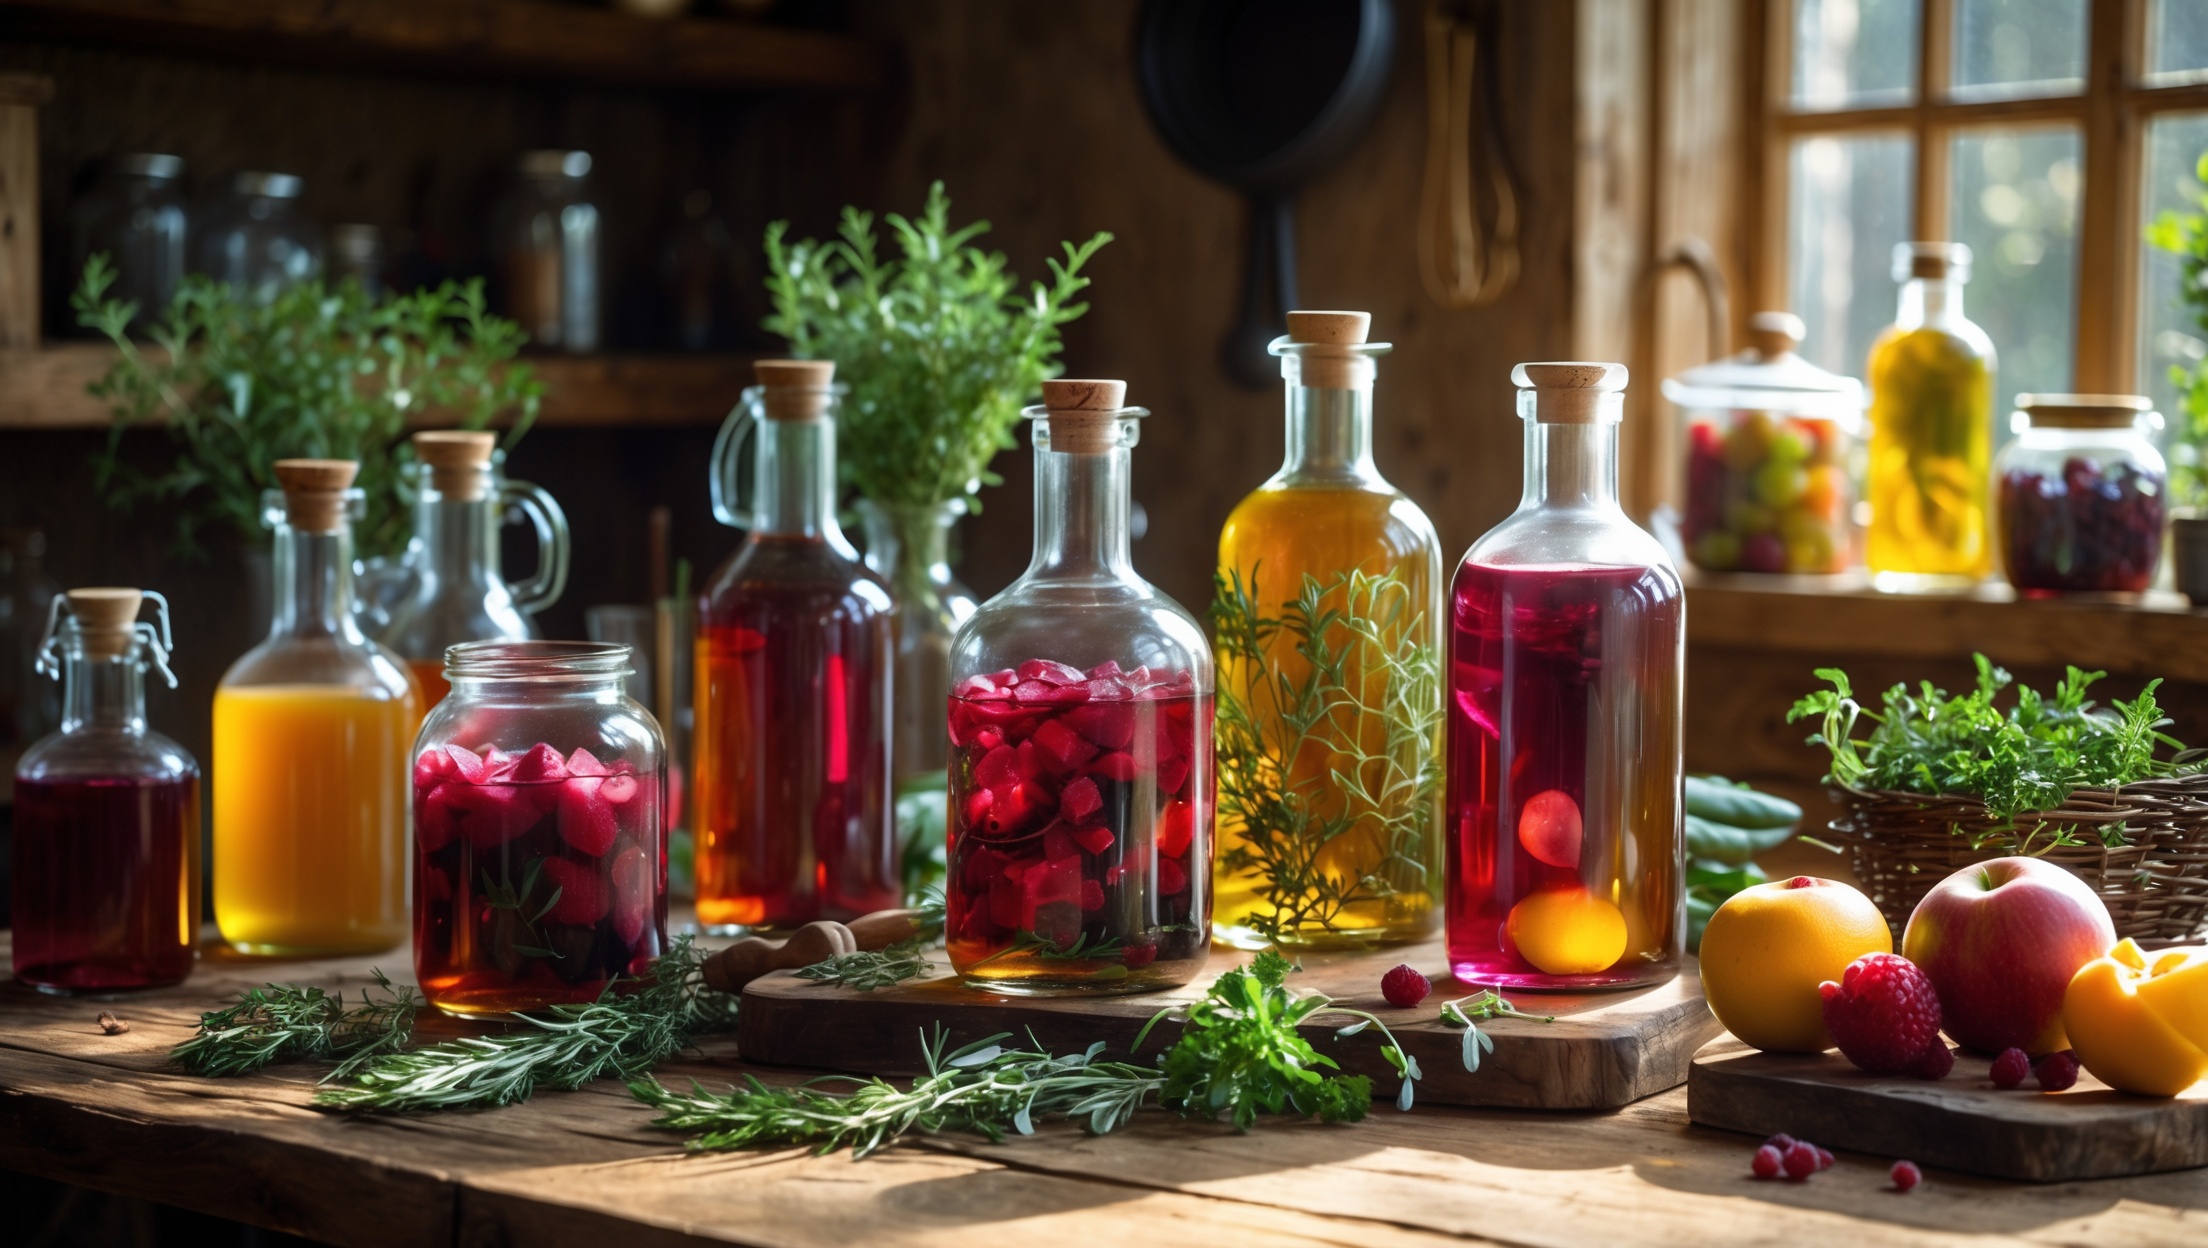
Introduction: The Resurgence of Artisan Vinegar
Once relegated to the back of pantry shelves or reserved for salad dressings, vinegar has undergone a remarkable renaissance in contemporary culinary culture. Home cooks and professional chefs alike are rediscovering its transformative power—not only as a flavor enhancer, but as a canvas for creativity, a living ingredient, and a testament to craft. Artisanal vinegar, with its complex acidity and nuanced flavors, can elevate everything from glazes to desserts. Even more compelling, making vinegar at home is an accessible, rewarding process—one that invites experimentation with seasonal fruits, herbs, and even flowers. But with the surge in DIY fermentation, many enthusiasts encounter avoidable pitfalls, confusion about equipment, or uncertainty about flavor pairings and safety. This comprehensive guide takes you inside the craft of artisan vinegar: from setting up your fermentation station to infusing seasonal flavors, breaking down costs, and troubleshooting common mishaps. Whether you’re an aspiring culinary artisan or a seasoned home fermenter, you’ll find actionable insights to help you produce vibrant, delicious vinegars that reflect your unique taste and culinary vision.
Understanding Vinegar: The Science and Varieties
What Is Vinegar?
Vinegar is the result of a two-stage fermentation process. First, yeast converts sugars in a base liquid (wine, cider, beer, or fruit must) into alcohol. Next, acetic acid bacteria (most notably Acetobacter) transform that alcohol into acetic acid, yielding the tangy, aromatic liquid we know as vinegar. This live, slow transformation is at the heart of true artisan vinegar—and the reason homemade batches deliver such complexity compared to commercial, rapidly produced alternatives.
Key Vinegar Styles to Explore
- Wine Vinegars: Red, white, or rosé—each brings its own flavor nuance.
- Cider Vinegar: Made from apple cider; bright, fruity, and versatile.
- Malt Vinegar: Brewed from barley-based beer; deep and robust.
- Fruit Vinegars: Strawberry, raspberry, fig, or pear—ideal for seasonal experimentation.
- Herb-Infused Vinegars: Created by steeping completed vinegar in fresh herbs, flowers, or spices.
Essential Tools and Equipment Guide
Getting started with home vinegar-making doesn’t demand a high-tech setup, but the right tools make the process safer, more consistent, and more enjoyable. Here’s what you’ll need for reliable, delicious results:
- Fermentation Vessel: Glass jars (1–2 gallons), ceramic crocks, or food-grade plastic containers. Avoid metal due to reactivity with acid.
- Cheesecloth or Breathable Cover: Allows airflow while protecting against fruit flies and dust.
- Rubber Bands or String: For securing the cover in place.
- Stainless Steel or Plastic Ladle: For sampling and transferring.
- pH Strips or a Digital pH Meter: To monitor acidity and ensure food safety (target: pH ≤ 4.0).
- Funnel and Fine-Mesh Strainer: For decanting and filtering finished vinegar.
- Bottles with Tight-Sealing Lids: Use sterilized glass bottles for storage.
- Starter Vinegar (Mother of Vinegar): Contains live acetic acid bacteria to jumpstart fermentation. Bragg’s raw apple cider vinegar is a reliable commercial option.
Step-by-Step Setup: Crafting Your First Batch
1. Choose and Prepare Your Base
Select a quality base liquid. For wine vinegar, use a dry, sulfite-free wine. For cider vinegar, choose fresh, unpasteurized apple cider. For fruit vinegars, crush ripe, clean fruit and mix with water (about 1 part fruit to 2 parts water) and a tablespoon of sugar per cup if fruit is low in sugar.
2. Inoculate with Mother
Pour your base liquid into the fermentation vessel, leaving at least 25% headspace. Add a generous splash (about 1/4 cup per quart) of raw, unpasteurized vinegar containing the “mother.” This introduces the acetic acid bacteria necessary for fermentation.
3. Cover and Store
Secure a double-layer of cheesecloth or a clean tea towel over the mouth of the vessel with a rubber band. Store the vessel in a dark, warm location (ideally 60–80°F/16–27°C) with good airflow. Avoid direct sunlight and temperature swings.
4. Monitor Progress
Over the next 2–4 weeks, check periodically for the formation of a gelatinous layer on the surface—the new “mother.” Taste weekly after the first month. The vinegar is ready when the alcohol is fully converted (no boozy aroma remains) and acidity is sharp and pleasant (pH ≤ 4.0).
5. Strain, Bottle, and Age
Once ready, strain the vinegar through a fine-mesh strainer or coffee filter. Funnel into sterilized glass bottles and seal. Vinegar improves with a month or more of bottle aging in a cool, dark place. Reserve some of the mother to start your next batch.
Seasonal Flavor Inspirations
Artisan vinegar is a blank canvas for the seasons. By infusing your base or finished vinegar with fruits, herbs, and spices, you can capture fleeting flavors and personalize your creations. Here are some ideas to ignite your imagination:
- Spring: Strawberry-basil, rhubarb-ginger, chive blossom
- Summer: Peach-thyme, raspberry-mint, blueberry-lavender
- Autumn: Pear-rosemary, apple-cinnamon, fig-balsamic
- Winter: Blood orange-sage, pomegranate-anise, cranberry-clove
How to Infuse Flavors
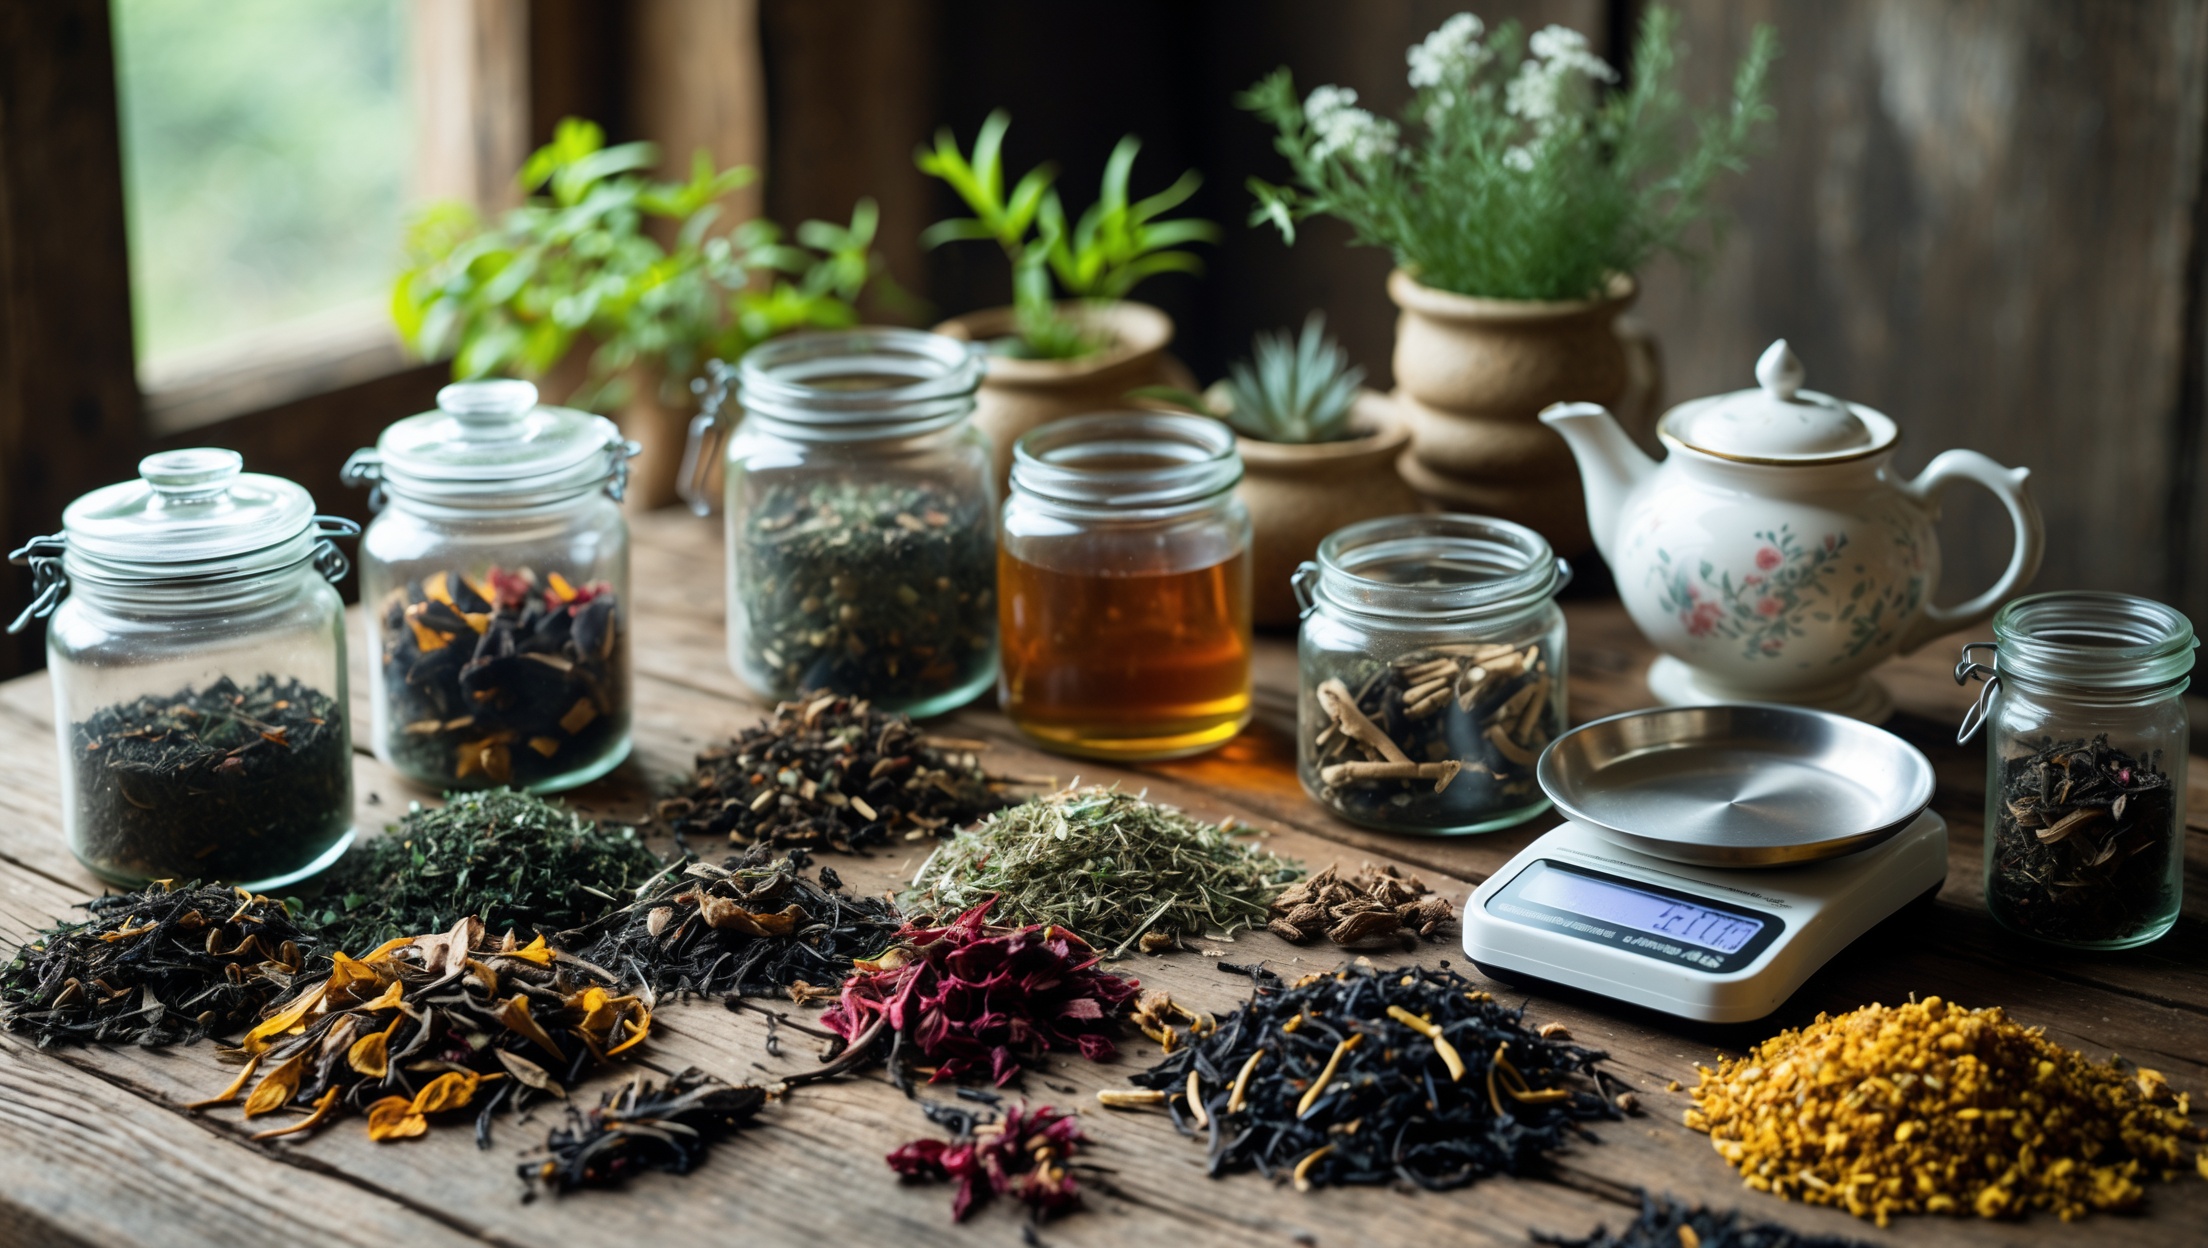
Add 1–2 cups of fresh, washed fruit (chopped) or 1/2 cup of clean, dry herbs or spices per quart of finished vinegar. Seal and steep for 1–2 weeks, tasting every few days. Strain and bottle once desired intensity is reached.
Cost Breakdown: Setting Realistic Expectations
Homemade vinegar is a budget-friendly craft, but costs can vary based on ingredients and batch size. Here’s a typical breakdown for a 1-gallon (about 3.8L) batch:
- Base Liquid: Wine ($8–15), cider ($6–10), or fruit ($5–10 if in season)
- Starter Vinegar: $5–7 for a bottle (reusable for future batches)
- Fermentation Vessel: $10–25 (one-time)
- Bottles and Misc.: $10–20 (reusable)
- Herbs/Spices (for infusions): $2–5 per batch
Total first batch: $35–65 (mostly reusable equipment). Subsequent batches cost only the base liquid and flavorings: typically $7–15 per gallon.
Maintenance and Best Practices
Cleaning and Sanitizing
Always start with thoroughly cleaned and sanitized equipment. Vinegar is acidic and resistant to most pathogens, but cleanliness prevents off-flavors and contamination (especially in early fermentation). Wash all tools in hot, soapy water and rinse well. For deep cleaning, use a diluted bleach solution (1 tablespoon per gallon of water), then rinse thoroughly.
Mother Care and Storage
- Keep the mother submerged in a small amount of vinegar if not in active use, stored in a sealed jar in the fridge or a cool pantry.
- If the mother becomes discolored (brown/black), develops mold, or smells rotten, discard and start fresh.
Proper Bottling and Storage
- Always use clean, sterilized glass bottles for storage.
- Store finished vinegar in a cool, dark place. Properly made vinegar is shelf-stable for a year or more.
- If sediment forms, it’s safe—simply decant or filter.
Troubleshooting: Common Mistakes and Solutions
Issue: Vinegar Isn’t Sour Enough
- Possible Causes: Not enough time; low alcohol in base; weak starter mother.
- Solution: Allow more fermentation time; ensure base has 5–8% alcohol; add more starter vinegar if needed.
Issue: Mold or Off-Smells
- Possible Causes: Insufficient airflow; fruit flies; contaminated equipment.
- Solution: Discard batch if mold is fuzzy/colored. Always use a tight cheesecloth cover and sanitize tools.
Issue: Mother Sinks or Disappears
- Possible Causes: Normal! The mother can sink as a new one forms; bacteria may work below the surface.
- Solution: As long as there’s no foul odor or visible mold, fermentation is proceeding.
Issue: Vinegar Is Cloudy
- Possible Causes: Presence of harmless yeast or mother particles.
- Solution: Filter through a coffee filter; cloudiness is not dangerous.
Safety Checklist: Ensuring Quality and Food Safety
- Always verify the final pH (≤ 4.0) before storage. If higher, allow more fermentation or add a splash of commercial vinegar.
- Discard any batch showing fuzzy, colored mold or a rotten odor.
- Label bottles with date and flavor for easy tracking.
- Never use metal equipment that can corrode in acid.
Creative Uses for Artisan Vinegar
Homemade vinegar’s uses extend far beyond vinaigrettes. Try these applications for your custom blends:
- Gastriques: Reduce fruit vinegar with sugar for a sweet-tart sauce for meats or desserts.
- Pickling: Use as a base for refrigerator pickles or quick-pickled vegetables.
- Marinades and Glazes: Enhance flavor and tenderize meats, tofu, or vegetables.
- Beverages: Add a splash to sparkling water for a refreshing shrub, or mix with honey and ginger for a health tonic.
- Baking: Use in cakes and batters for lift and tang.
Conclusion: Embracing the Art of Vinegar-Making
Artisan vinegar-making is more than a kitchen project; it’s a celebration of fermentation, patience, and sensory exploration. By mastering the basics—choosing a quality base, using the right tools, and nurturing the fermentation process—you gain control over an ingredient that can transform your cooking. Infuse your vinegar with seasonal fruits, herbs, and spices to create flavors that evoke a time and place, turning every bottle into a culinary memory. The journey will include minor setbacks—cloudy batches, slow fermentation, or the occasional failed batch—but these are opportunities to learn, refine your technique, and deepen your understanding of the craft. With attention to safety, cleanliness, and a willingness to experiment, you’ll soon have a pantry stocked with unique, delicious vinegars that far surpass anything store-bought. They’ll become your secret weapons in the kitchen, gifts for friends, and a testament to your evolving culinary artistry. So gather your tools, tap into the rhythms of the seasons, and let vinegar-making become an inspiring, flavorful ritual in your home kitchen.