Introduction: Rediscovering the Art of Artisanal Jam Making
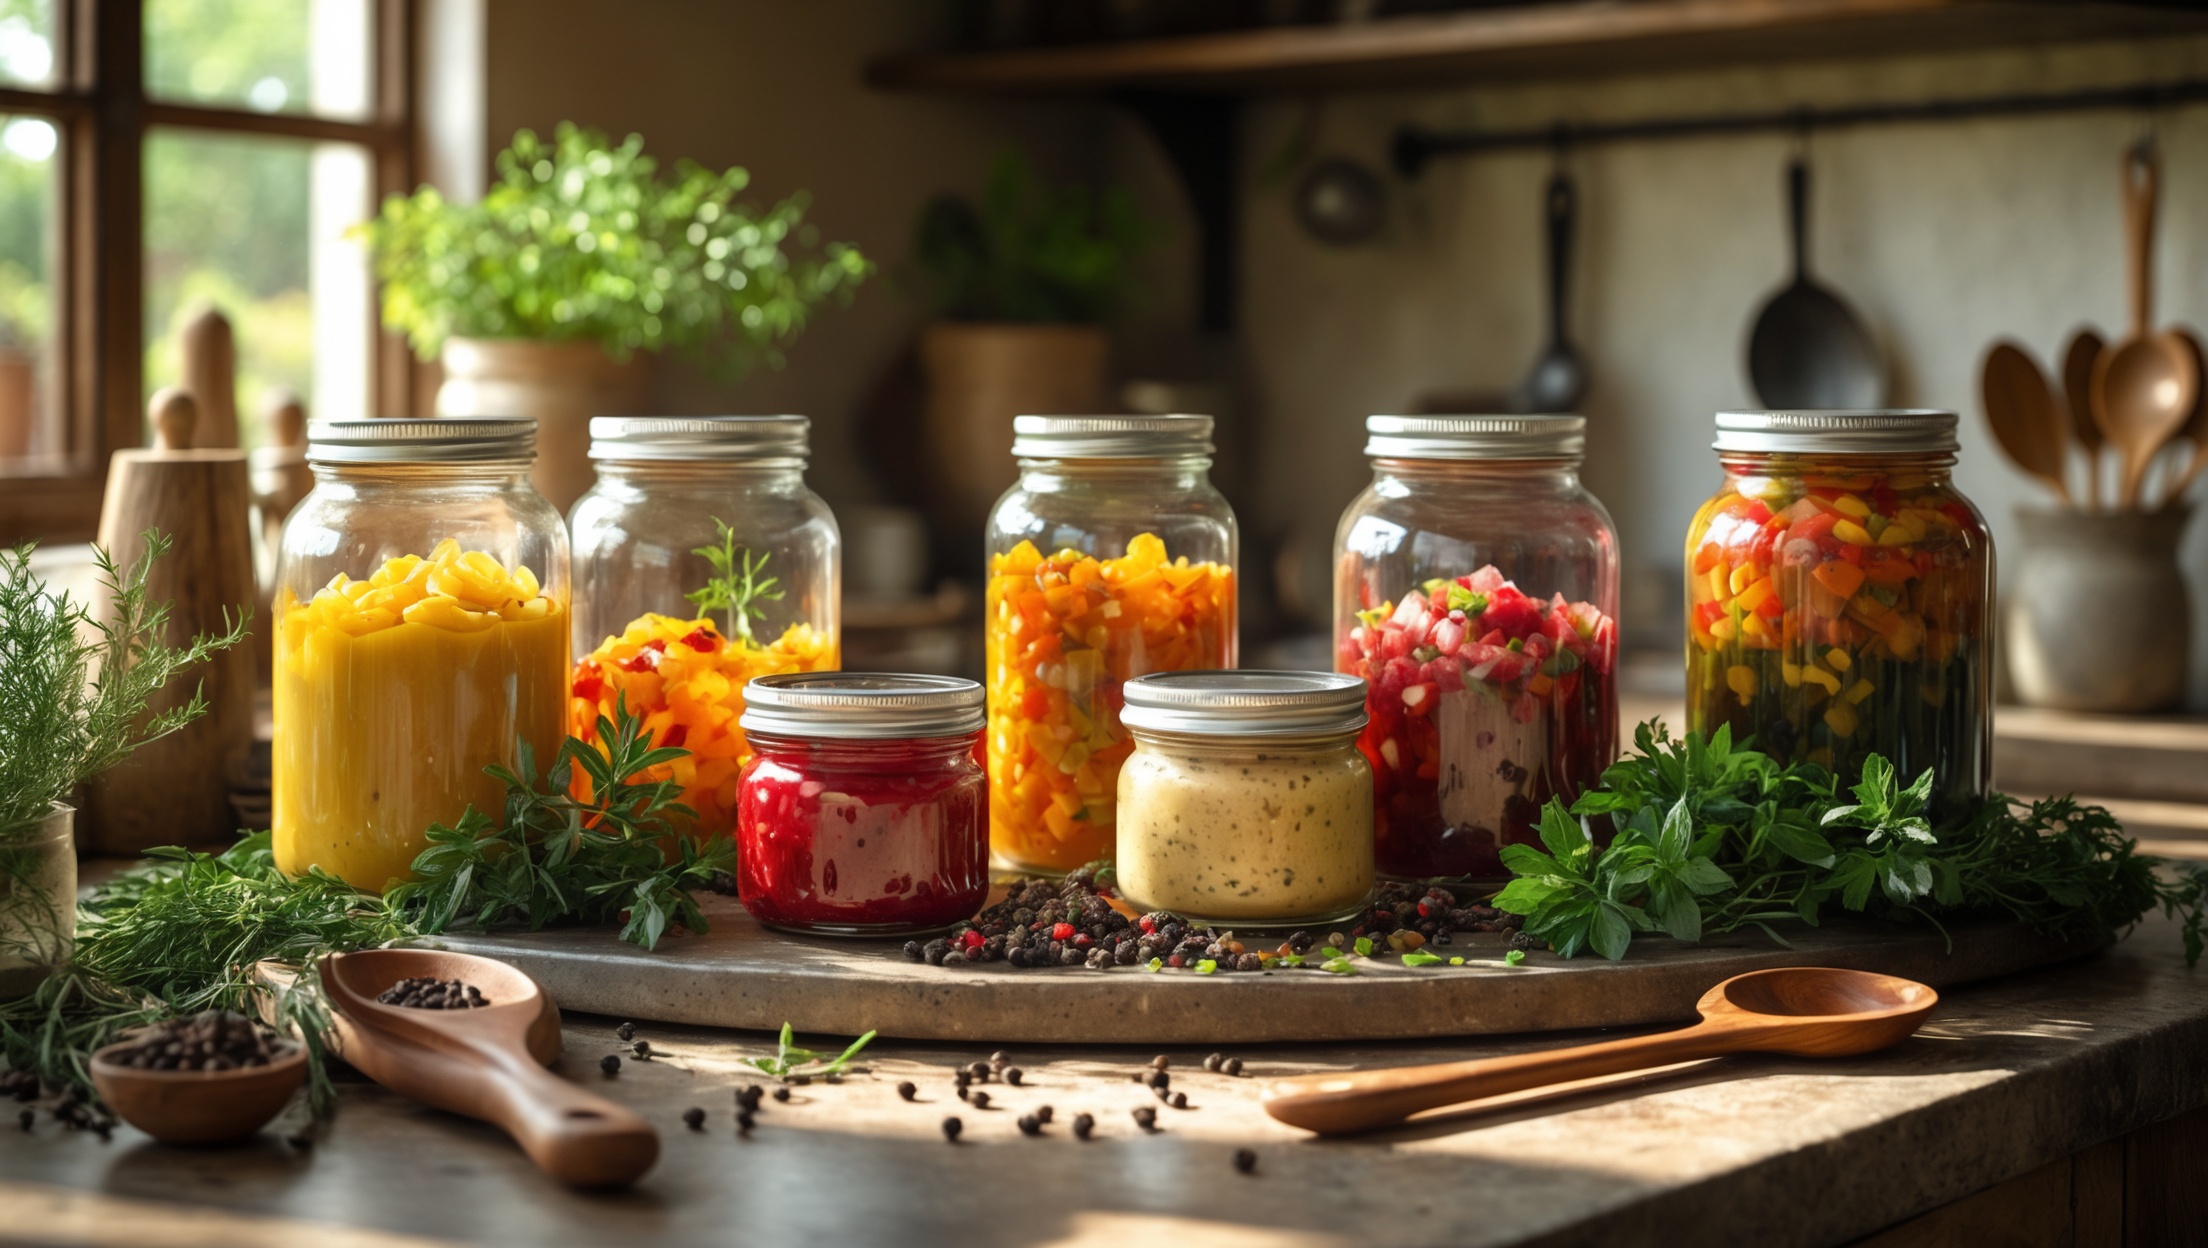
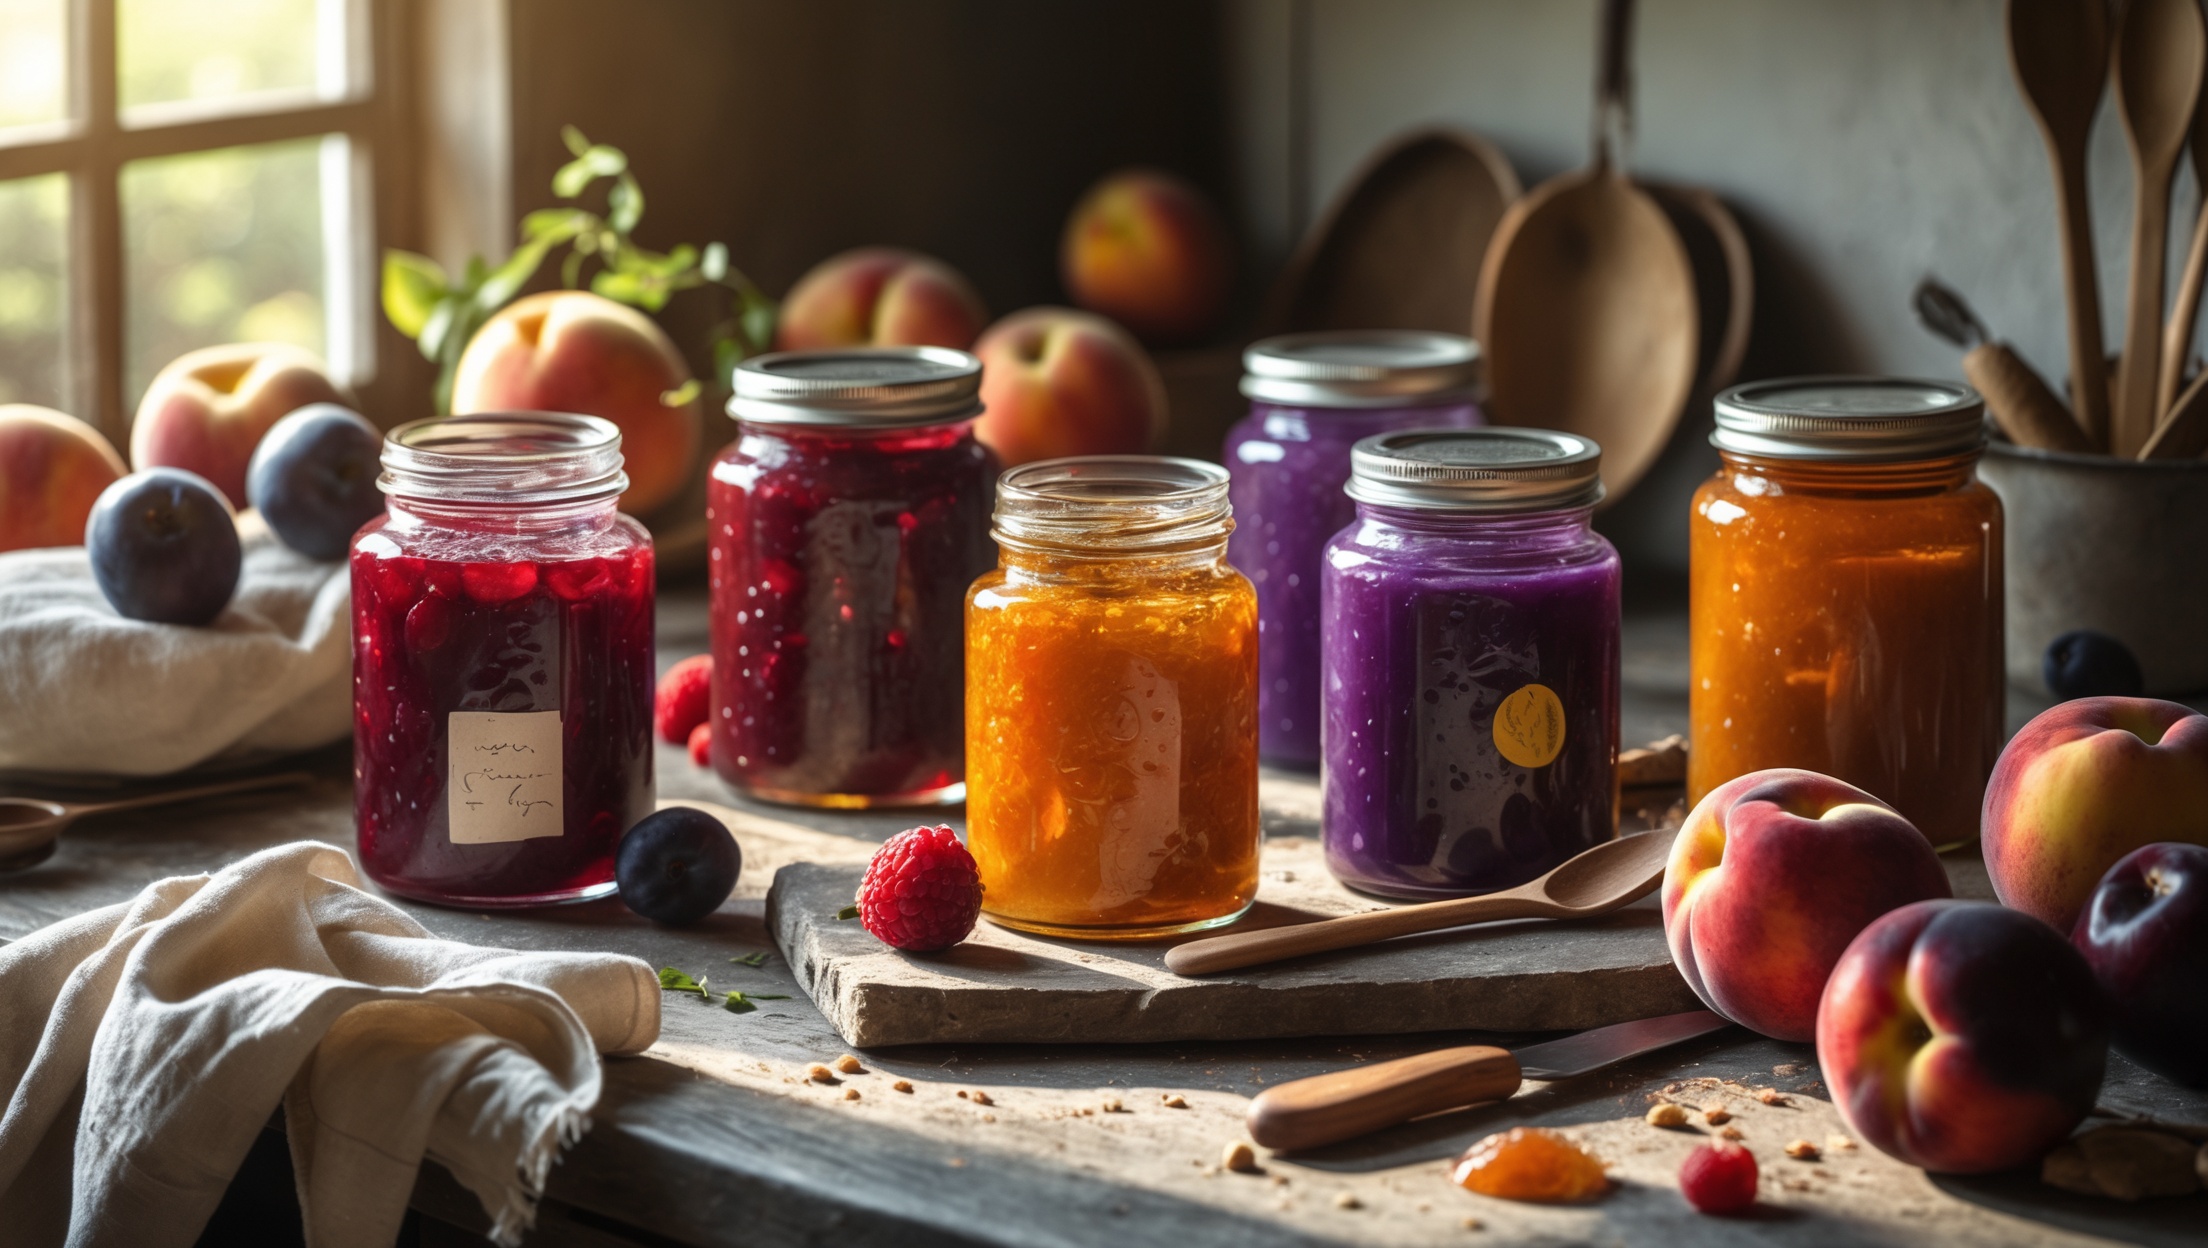
Few culinary crafts evoke nostalgia and anticipation quite like making jam at home. The heady aroma of bubbling fruit, the satisfaction of sealing a jar, and the anticipation of spreading jewel-toned preserves on warm toast—these are pleasures woven deeply into culinary tradition. Yet, the resurgence of small-batch, artisanal jam making is more than a nod to the past; it’s a modern movement emphasizing seasonality, sustainability, and refined flavor curation. Today’s home jam crafters aren’t simply preserving fruit—they’re telling stories of terroir, experimenting with global influences, and crafting signature blends that elevate the everyday. But with this renaissance come questions: How do you source the best seasonal fruit? What are the real costs behind a jar of gourmet jam? Which kitchen tools are truly essential, and which preservation myths hold back creativity? Whether you’re a beginner or a seasoned preserver, this comprehensive guide will walk you through each facet of the process, dispelling misconceptions and empowering you to craft exceptional jams bursting with flavor and personality. Prepare to unlock the secrets of small-batch jam artistry—where science meets tradition, and every jar preserves a story.
Understanding Seasonality: The Foundation of Exceptional Jam
Why Seasonality Matters
At the heart of artisanal jam making lies a respect for the rhythm of the seasons. Using fruit at its peak not only maximizes flavor and texture but also supports local producers and reduces your environmental footprint. Out-of-season fruit is often bland, watery, or heavily treated—qualities that result in lackluster preserves. In contrast, seasonal produce delivers concentrated sugars, vivid color, and the nuanced aromas that define a standout jam.
Building Your Seasonal Jam Calendar
- Spring: Strawberries, rhubarb, cherries
- Early Summer: Apricots, raspberries, gooseberries
- Mid-Summer: Blueberries, blackberries, plums, peaches
- Late Summer: Figs, nectarines, melons
- Autumn: Apples, pears, quince, cranberries, grapes
- Winter: Citrus (oranges, lemons, blood oranges, kumquats)
Use local farmers’ markets to inspire your jam schedule. Embrace ‘seconds’—imperfect but ripe fruit offered at a discount that’s perfect for preserving.
Pairing Flavors Creatively
Artisanal jams are a canvas for creativity. Pair classic fruits with unique accents like fresh herbs (basil with strawberry, thyme with peach), spices (cardamom with plum, cinnamon with apple), or even a splash of liqueur. Always introduce new flavors judiciously—start small, taste as you go, and keep detailed notes for future batches.
Essential Tools & Equipment: A Practical Guide
Must-Have Jam Making Tools
- Heavy-Bottomed Pot: Stainless steel or enameled cast iron, 6-8 quart capacity for even heat.
- Candy Thermometer: For precise temperature control, especially for low-sugar or pectin-free recipes.
- Long-Handled Wooden Spoon: Non-reactive and sturdy for frequent stirring.
- Wide-Mouth Funnel: For mess-free jar filling.
- Jar Lifter and Tongs: Essential for safe handling of hot jars during processing.
- Sterilized Glass Jars and Lids: Preferably half-pint or pint sizes for versatility.
- Ladle: For portioning hot jam into jars smoothly.
- Clean Towels: For wiping jar rims and handling spills.
Nice-to-Have Upgrades
- Digital Scale: For precise fruit and sugar measurements.
- Food Mill or Sieve: To achieve seedless, silky preserves.
- Silicone Spatula: For scraping every last bit from the pot.
- pH Strips: To confirm safe acidity, especially for inventive flavor combinations.
Keep your toolkit simple, clean, and dedicated to preserve-making. Avoid aluminum pots—they can react with acidic fruits and compromise flavor.
Cost Breakdown: How Much Does Homemade Artisanal Jam Really Cost?
Ingredient Sourcing: Fruit, Sugar, and Extras
- Fruit: Prices vary widely by type and sourcing. Expect $2–$5 per pound for peak-season, local fruit. Using ‘seconds’ can cut costs by 30–50%, with no impact on flavor.
- Sugar: Typically 1–2 cups per batch (about $0.50–$1.00).
- Pectin: Optional for low-sugar jams; commercial pectin costs $2–$4 per box (sufficient for several batches).
- Acid (lemon juice, vinegar): $0.25–$0.75 per batch.
- Flavorings (herbs, spices, liqueurs): Usually under $1 per batch.
For a typical 3-pound fruit batch (yielding 5–7 half-pint jars), expect ingredient costs of $8–$15, or $1.50–$3 per jar. Organic or rare fruits increase costs, but the result is still more affordable—and customizable—than comparable gourmet store-bought jams.
Equipment Investment
- Initial Outlay: Essential tools can be purchased for $60–$120, depending on quality and whether you already own items like a heavy pot.
- Reusable Items: Glass jars and some tools last for years, making future batches cost-effective.
- Consumables: New lids are needed for each batch (about $4 per dozen).
Time Commitment
- Preparation: Washing, chopping, and measuring: 30–45 minutes.
- Cooking: 20–40 minutes, depending on batch size and fruit type.
- Jarring & Processing: 30 minutes, including sterilization and sealing.
Small batches are less labor-intensive and allow for more frequent, creative experimentation throughout the year.
Step-by-Step: The Small-Batch Artisanal Jam Process
1. Fruit Selection and Preparation
Choose ripe, unblemished fruit. Wash thoroughly, remove stems, pits, or stones, and chop as needed. For stone fruits, macerate with sugar and a splash of acid for an hour to extract juices and intensify flavor.
2. Measuring and Maceration
Weigh fruit and sugar for accuracy. A classic ratio is 1:1 by weight, but many modern recipes use less sugar (as low as 2:1 fruit to sugar) for a fresher, fruit-forward flavor. Toss fruit with sugar and acid (lemon juice or vinegar) and allow to macerate for 30–60 minutes.
3. Cooking
- Transfer macerated fruit and juices to a heavy-bottomed pot.
- Cook over medium-high heat, stirring frequently. Skim foam as needed.
- Monitor temperature; jam sets at 220°F (104°C) at sea level. Use a thermometer or perform the “wrinkle test” on a chilled plate.
- Add pectin (if using) according to package instructions.
- For layered flavors, add herbs or spices in the last 5–10 minutes of cooking.
4. Jarring and Processing
- Sterilize jars by boiling for 10 minutes. Keep hot until ready to fill.
- Ladle hot jam into jars, leaving 1/4-inch headspace. Wipe rims clean.
- Apply new lids and screw bands until fingertip tight.
- Process jars in a boiling water bath for 10 minutes (adjust for altitude).
- Cool undisturbed for 12–24 hours. Check seals before storing.
Common Preservation Myths Debunked
- Myth: “You can reuse old jar lids.”
Reality: Always use new lids to ensure a safe, airtight seal. Reused lids may fail to seal and risk spoilage. - Myth: “Turning jars upside down seals them.”
Reality: Only proper water bath processing guarantees safe preservation. Inversion is unreliable and unsafe for long-term storage. - Myth: “Less sugar means safer jam.”
Reality: Sugar is a preservative. Low-sugar jams require added commercial pectin and/or increased acidity for safe setting and storage. - Myth: “If it looks and smells fine, it’s safe.”
Reality: Spoilage organisms and bacteria aren’t always visible or detectable by smell. Always follow tested preservation methods.
Creative Jam Crafting: Signature Blends and Modern Inspirations
Flavor Combinations to Try
- Strawberry + Balsamic + Black Pepper
- Peach + Lavender
- Fig + Lemon + Thyme
- Plum + Cardamom
- Blueberry + Ginger + Lemon Zest
- Apple + Rosemary + Calvados
- Cranberry + Orange + Star Anise
Record each experiment, noting ingredient ratios and outcomes. Share successes with friends and family—handcrafted jam makes an elegant, personal gift.
Modern Twists: Lower Sugar, Unique Sweeteners, and Global Influences
- Alternative Sweeteners: Try honey, maple syrup, or agave for distinctive flavor profiles. Adjust acidity and pectin accordingly.
- International Styles: Explore French confiture (chunky, less set), Italian mostarda (jam with mustard essence), or British fruit cheese (firm, sliceable preserves).
Storage and Shelf Life: Maintenance Best Practices
- Store sealed jars in a cool, dark place. Avoid direct sunlight and heat, which degrade color and flavor.
- Label jars with date and flavor. Most home-canned jams are best used within 12 months. After opening, refrigerate and use within 4 weeks.
- Discard any jars with broken seals, mold, or off-odors. When in doubt, throw it out.
- For small-batch, refrigerator-only preserves, skip the water bath but use within 3–4 weeks.
Conclusion: Embracing the Art and Joy of Homemade Jam
Artisanal jam making is more than a culinary project—it’s a celebration of seasonality, creativity, and mindful consumption. Each small batch connects you to the land, the farmers, and the timeless rhythms of nature’s bounty. By mastering the techniques outlined in this guide, you gain control over flavor, quality, and cost, while busting myths that can stifle innovation. Whether you’re savoring the bright tang of spring strawberry jam or gifting a jar of spiced plum preserve in winter, each spoonful tells a story—of craft, care, and culinary curiosity. Remember: the best jams aren’t just preserved fruit, but preserved moments—flavors captured at their peak, textures tuned to perfection, and inspiration sealed for sharing throughout the year. So gather your tools, explore your market, and dive into the world of small-batch jam with confidence. The journey is as rewarding as the results, and your pantry will never be the same.