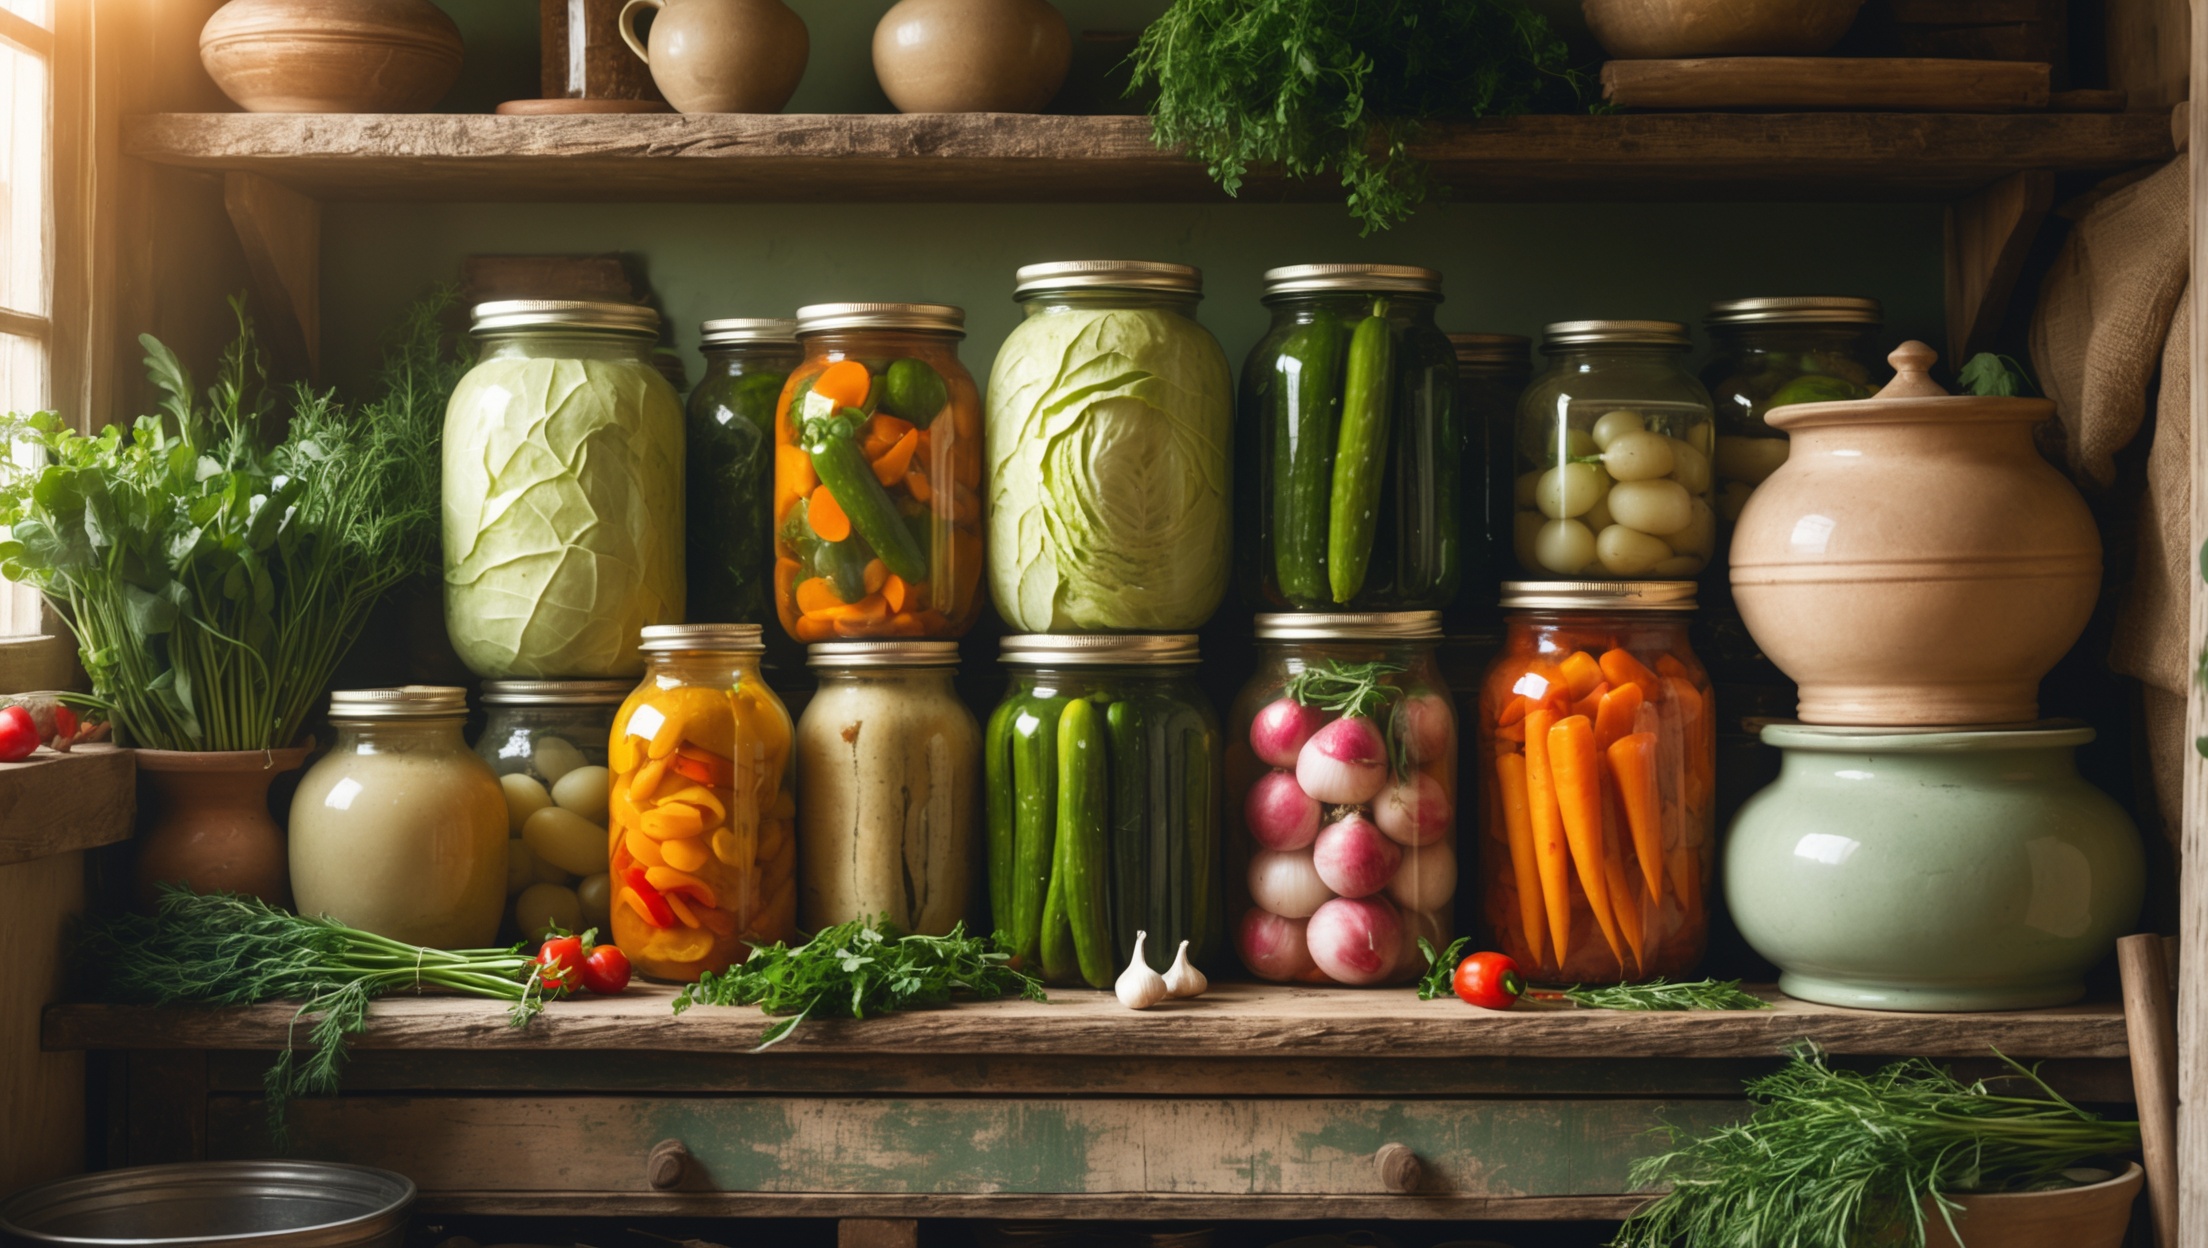
Introduction: The Rise of the Home Fermentation Pantry
There’s something undeniably captivating about the gentle fizz of a freshly opened jar of kimchi, the subtle tang of homemade sauerkraut, or the nuanced complexity of a well-aged miso. Fermentation is more than a preservation technique—it’s an age-old craft that transforms humble ingredients into culinary treasures. Today, a growing number of food lovers are embracing fermentation at home, not only for its health benefits but for the endless creative possibilities it offers. Building a dedicated fermentation pantry is a rewarding journey—one that combines tradition, science, and bold flavor exploration. In this detailed guide, we’ll walk you through every step: from selecting essential equipment and breaking down costs, to designing your pantry setup and mastering flavor strategies for everything from pickled vegetables to kombucha and beyond. Whether you’re new to the world of fermentation or a seasoned fermentista ready to level up your craft, this post will help you create a safe, efficient, and inspiring space to nurture your own living flavors.
Why Build a Fermentation Pantry?
Flavor Diversity & Culinary Control
Fermentation unlocks a spectrum of tastes and textures unattainable by other methods. With a home fermentation pantry, you can experiment with vegetables, legumes, grains, and even dairy, adjusting salt, spices, and timing to create signature flavors tailored to your palate.
Health Benefits & Nutritional Value
Fermented foods are celebrated for their probiotics, enhanced vitamins, and easier digestibility. Making your own allows you to control additives, salt levels, and ingredients, ensuring both healthful and delicious results.
Cost Savings & Sustainability
Fermenting at home is remarkably cost-effective, reducing food waste by preserving seasonal harvests and minimizing reliance on store-bought condiments. A well-stocked pantry supports sustainable, zero-waste kitchen practices.
Essential Tools & Equipment: What You Really Need
Fermentation Vessels
- Glass Jars: Wide-mouth mason jars (500 ml–2 L) are versatile and affordable for most vegetable ferments.
- Crocks: Ceramic fermentation crocks (2–10 L) offer traditional aesthetics and are ideal for larger batches or long ferments.
- Anaerobic Fermenters: Specialized airlock lids or water-sealed crocks maintain a perfect oxygen-free environment, minimizing risk of spoilage.
Weights & Presses
- Glass or Ceramic Weights: Essential for keeping produce submerged below brine, preventing mold.
- Tamper or Pounder: Wooden or stainless-steel tools help pack vegetables tightly and release juices for sauerkraut and kimchi.
Measuring & Mixing Tools
- Digital Scale: Precision is key in fermentation—accurately measure salt, spices, and ingredients.
- Mixing Bowls: Large, non-reactive bowls for massaging and mixing ingredients.
Water & Salt Management
- Filtered Water: Chlorine can inhibit fermentation; use filtered or dechlorinated water.
- Pure Salt: Opt for non-iodized sea salt or kosher salt to avoid additives that interfere with beneficial bacteria.
Monitoring Tools
- Thermometer: Consistent temperature (18°C–24°C) is crucial for reliable ferments.
- pH Strips or Meter: Useful for tracking acidity, especially for pickles or hot sauces.
Optional but Useful Extras
- Mandoline Slicer: For evenly cut vegetables—essential for kraut and quick ferments.
- Fermentation Lids: Silicone or water-seal lids simplify burping and reduce risk of contamination.
- Labeling Supplies: Waterproof labels and markers to track recipes and dates.
- Storage Shelving: Sturdy, well-ventilated shelving to organize jars and crocks.
Cost Breakdown: Setting Up Without Breaking the Bank
Budget vs. Investment: What to Prioritize
Fermentation can be as budget-friendly or as elaborate as you choose. Here’s a practical breakdown for a standard home setup (all prices approximate):
- Basic Starter Kit (Approx. $50–$100): Includes several glass jars, a set of weights, non-iodized salt, and labels. Ideal for new fermenters.
- Mid-Range Setup (Approx. $150–$250): Adds a ceramic crock, airlock lids, digital scale, thermometer, and shelving. Suitable for regular fermenters.
- Deluxe Pantry (Approx. $300–$500): Multiple crocks, advanced monitoring tools (pH meter), mandoline slicer, and custom storage solutions for ambitious projects.
Where to Save: Start with repurposed glass jars and basic kitchen tools. Prioritize high-quality salt and filtered water for better results.
Where to Invest: Consider investing in a reliable crock or anaerobic fermenter for larger, more consistent batches, and in a good thermometer for temperature-sensitive ferments.
Step-by-Step Pantry Setup Tutorial
Step 1: Choosing the Right Location
Pick a cool, stable environment away from direct sunlight and drafts. A pantry, basement, or a dedicated kitchen shelf works well. Ensure the area is clean, dry, and ventilated to prevent mold and unwanted odors.
Step 2: Shelving & Organization
- Shelving: Use sturdy, adjustable shelves to accommodate jars and crocks of different sizes.
- Spacing: Allow for airflow between vessels and easy access for regular inspection.
- Organization: Group ferments by type (vegetables, dairy, beverages), and leave space for new projects.
Step 3: Cleaning & Safety Preparations
- Sanitize all jars, lids, weights, and tools before use. Boiling or using food-safe sanitizers helps prevent contamination.
- Set up a cleaning station nearby for quick rinsing and maintenance.
Step 4: Stocking Ingredients
- Keep a rotating stock of high-quality salt, filtered water, and staple vegetables (like cabbage, carrots, garlic, hot peppers).
- Consider a basket for dried spices (bay leaves, dill, coriander, mustard seed) and starter cultures (koji, kefir grains, sourdough starters).
Step 5: Record-Keeping
Maintain a fermentation logbook or digital spreadsheet. Record dates, recipes, temperatures, and tasting notes to track successes and tweak future batches.
Seasonal Checklist: Maximizing Flavor Year-Round
Spring
- Young radishes, asparagus, wild garlic, ramps.
- Light krauts and vibrant ferments with fresh herbs and edible flowers.
Summer
- Cucumbers for classic pickles, tomatoes for salsa, green beans, and hot peppers.
- Experiment with fruit-based ferments: strawberries, cherries, and apricots.
Autumn
- Cabbage for sauerkraut and kimchi, apples for cider vinegar, root vegetables (beet kvass, carrot pickles).
- Hearty spice blends with caraway, juniper, and black pepper.
Winter
- Turnips, daikon, preserved lemons, and miso projects.
- Longer aging ferments that benefit from lower ambient temperatures.
Flavor Strategies: Crafting Signature Fermented Foods
Layering Spices & Aromatics
Start with classic combinations (garlic-dill, ginger-scallion, chili-fennel) and experiment by adding citrus zest, toasted spices, or wild herbs. Infuse brines with tea leaves or kombu for umami depth.
Salt Ratios & Texture Control
Adjust salt levels (typically 2–2.5% by weight) to influence ferment speed and crunch. For crisper pickles, use grape leaves or horseradish leaves in the jar. Control texture by slicing or shredding vegetables consistently.
Temperature & Ferment Time
Lower temperatures (18°C) yield complex, slow-fermented flavors; higher temperatures (24°C) accelerate tang and effervescence. Taste regularly to find your preferred balance.
Secondary Flavors & Infusions
After primary fermentation, infuse with fresh herbs, citrus, or spices to layer new dimensions. For example, add roasted garlic to kimchi before aging or infuse kombucha with seasonal fruit after the first ferment.
Maintenance Best Practices & Safety Checklist
Routine Inspections
- Check jars and crocks every 2–3 days for bubbling, brine levels, and any signs of surface mold (which should be skimmed immediately).
- Wipe down shelves and clean up spills to deter pests.
Cleaning & Sanitizing
- Sanitize all tools and vessels between batches.
- Deep clean pantry shelves monthly with food-safe cleaners.
Safety Essentials
- Never consume ferments that smell putrid, slimy, or have pink/black mold.
- Maintain clear labels with start dates and ingredients.
- Ensure all vegetables are submerged below brine at all times.
Storage & Longevity
- Once fermented to your liking, move jars to the fridge or a cool cellar to slow aging.
- Most vegetable ferments last 6–12 months when refrigerated and properly sealed.
Creative Pantry Additions: Beyond the Basics
- Miso Crock: Dedicate a vessel for long-aging miso with local beans or chickpeas.
- Kombucha Station: Set up a continuous brew jar with rotating bottles for experimentation.
- Koji Incubator: For advanced fermenters, a temperature-controlled box for growing koji opens doors to amazake, shio koji, and homemade soy sauce.
- Wild Vinegar Jar: Use fruit scraps and honey to craft small-batch, raw vinegars for gourmet dressings.
Common Fermentation Myths—Debunked
- Myth: Mold always means a batch is ruined.
Truth: White surface mold (kahm yeast) is harmless if removed promptly. Pink, black, or fuzzy mold means discard. - Myth: Fermentation is unpredictable and difficult.
Truth: With basic tools and monitoring, home fermentation is safe and consistent. - Myth: You need expensive equipment to ferment.
Truth: Many great ferments start with simple glass jars and quality salt.
Marketing Strategies for Sharing Your Pantry Creations
Building a Brand at Home
- Design unique labels and recipe cards for gifting or local markets (if regulations allow).
- Share process photos and tasting notes on social media to connect with other fermenters.
Collaborative Tastings & Education
- Host tasting sessions or workshops with friends and neighbors to build community and exchange ideas.
- Document your experiments and share recipes online or with local food groups.
Conclusion: Your Fermentation Pantry—A Living Laboratory
Crafting a gourmet fermentation pantry at home is more than curating jars—it’s about fostering a living laboratory of flavors, traditions, and creativity. With a modest investment in essential tools and thoughtful organization, your pantry can become a dynamic space for culinary experimentation, healthful eating, and sustainable living. The tools and strategies outlined here empower you to confidently ferment vegetables, grains, and beverages, unlocking new taste dimensions with every batch. By following safe practices and keeping meticulous records, you’ll refine your craft over time, developing signature flavors and perhaps even inspiring others to start their own fermentation journey. Most importantly, your pantry becomes a testament to the beauty of slow food—where patience, curiosity, and a little microbial magic transform everyday ingredients into gourmet delights. With each bubbling jar, you’re not just preserving food; you’re preserving culture—your own, and the centuries-old traditions that continue to enrich our tables and lives.