
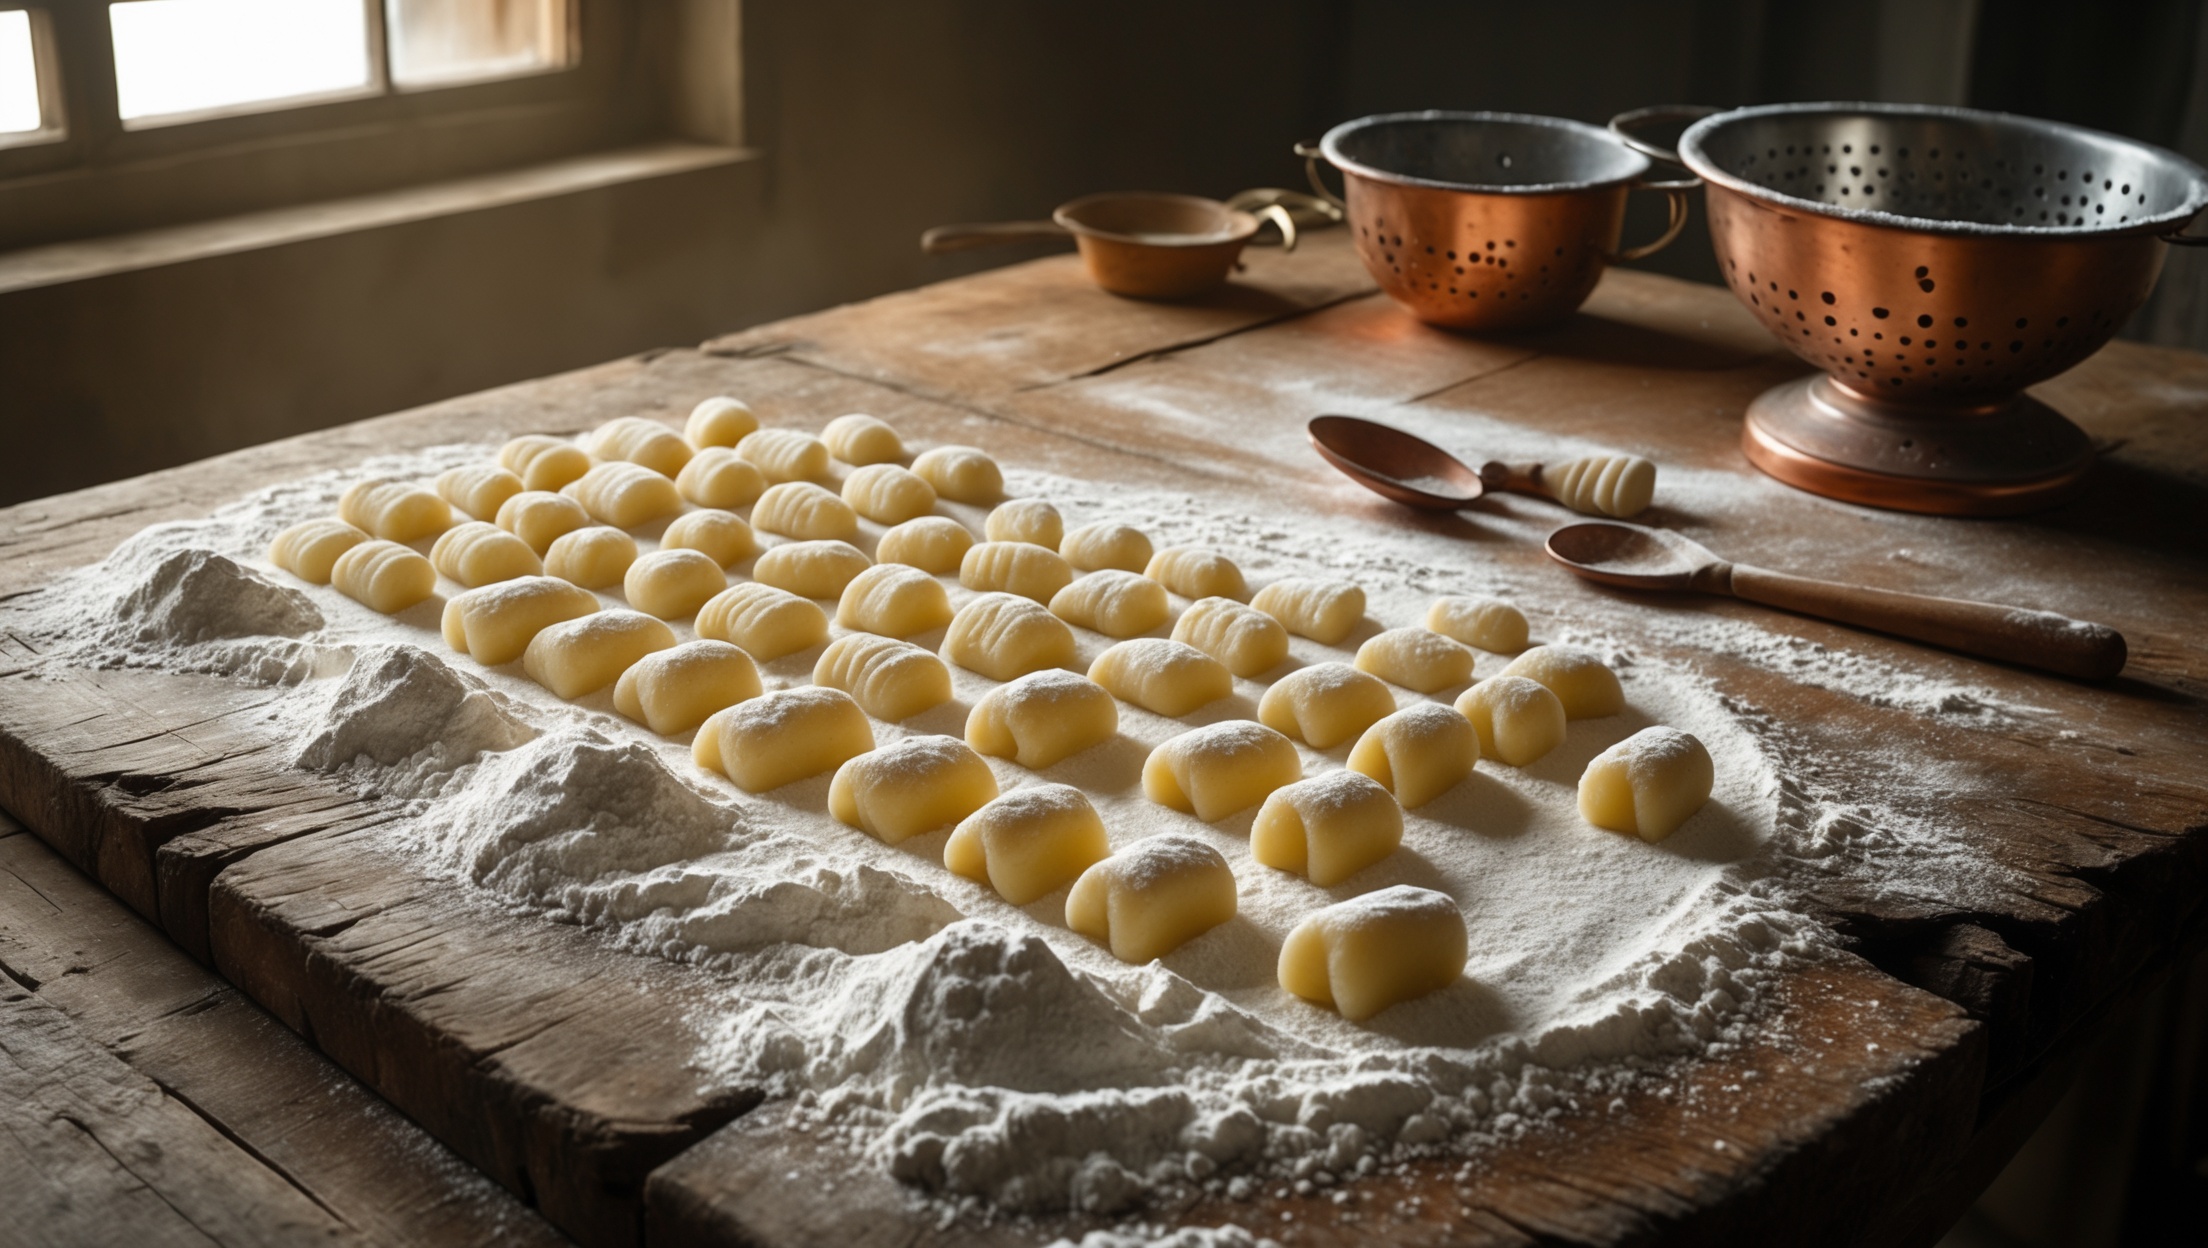
Introduction: The Pillowy Pursuit—Why Homemade Gnocchi Matters
There’s something magical about transforming humble potatoes into tender, cloud-like gnocchi. While pasta often steals the home-cooked spotlight, gnocchi offers a tactile, rewarding, and distinctly comforting culinary experience. Yet, many enthusiasts hesitate, fearing sticky doughs, gummy textures, or complicated equipment. The truth? With a thoughtful setup, smart budgeting, and solid maintenance practices, anyone can elevate their gnocchi game far beyond supermarket fare. This guide is your all-access pass to mastering homemade gnocchi—from building your gnocchi station without overspending, to understanding the nuances of dough handling, and ensuring your tools and workspace remain in top shape for years of pillowy perfection. Whether you’re a curious novice or a seasoned home cook seeking to refine your technique, this post delivers practical expertise, debunking myths and offering a step-by-step path to gnocchi greatness.
Setting Up Your Home Gnocchi Station: What You Really Need
The right environment and equipment are the foundation of flawless homemade gnocchi. Contrary to popular belief, you don’t need a professional kitchen or expensive gadgets, but strategic investment in key items will save you time and frustration.
Essential Tools Checklist
- Potato Ricer or Food Mill: Vital for lump-free, airy mash. Avoid mashers; they leave chunks and overwork the potato.
- Bench Scraper: Keeps dough handling tidy and efficient. Useful for cutting and shaping.
- Gnocchi Board or Fork: For classic ridges. A fork works, but a wooden gnocchi board offers consistency.
- Large Pot: For boiling potatoes and cooking gnocchi. Wide, deep pots prevent overcrowding.
- Slotted Spoon: Essential for retrieving delicate gnocchi from boiling water without damage.
- Digital Scale: Precision matters. Weighing ingredients ensures consistent texture and prevents over-flouring.
- Flour Sifter: For evenly dusting your work surface and dough, preventing sticking and toughness.
- Clean Kitchen Towels: To rest and dry potatoes, or to cover shaped gnocchi pre-cooking.
Nice-to-Have Extras
- Pastry Board: Dedicated, clean surface makes shaping and cleanup easier.
- Silicone Baking Mats: For holding gnocchi before cooking—prevents sticking and tearing.
- Stand Mixer (Optional): For large batches, but hand-mixing offers better control for most home cooks.
Smart Workspace Layout
Arrange your tools within arm’s reach. Your workflow should move left to right (or right to left, depending on your handedness): boiled potatoes — ricer — mixing bowl — floured board — shaped gnocchi — cooking pot. Clear clutter and ensure your surface is ample and well-lit. Avoid drafts, as they can dry out shaped gnocchi prematurely.
Budget Breakdown: Crafting Gnocchi Without Breaking the Bank
Homemade gnocchi is surprisingly budget-friendly, but costs can creep up with unnecessary gadgets or premium ingredients. Here’s how to allocate your resources wisely.
Ingredient Costs (Per Batch, ~4 Servings)
- Potatoes (Yukon Gold or Russet): $2–$3 (2 lbs)
- All-Purpose Flour: $0.50 (1.5 cups)
- Egg (optional, for firmer gnocchi): $0.30
- Salt: Negligible (pennies)
Total: $2.80–$3.80 per batch. Compare this to store-bought gnocchi, often $4–$7 for a similar amount, usually with preservatives and less flavor.
Equipment Costs
- Potato Ricer: $15–$35 (one-time, lasts for years)
- Bench Scraper: $8–$12
- Gnocchi Board: $6–$12 (optional; a fork costs nothing extra)
- Digital Scale: $15–$25
- Large Pot & Slotted Spoon: Likely already owned
Initial setup (assuming you buy all tools): $44–$84. Most are one-time purchases, with many uses beyond gnocchi.
Ways to Save
- Borrow or repurpose kitchen gear (e.g., use a colander as a makeshift ricer in a pinch).
- Buy second-hand or look for deals at local kitchen outlets.
- Invest in multi-use tools (bench scraper, digital scale) for broader culinary value.
Step-by-Step Gnocchi Setup Tutorial: From Potato to Plate
Let’s break down the workflow for consistently light, non-gummy gnocchi.
1. Choose and Prepare the Right Potato
- Opt for starchy varieties: Yukon Golds yield creamy, flavorful gnocchi; Russets offer fluffiness and dryness.
- Boil whole, unpeeled potatoes in salted water until just tender. This prevents waterlogging and ensures even cooking.
- Drain immediately and let rest briefly to allow excess moisture to steam off.
2. Rice While Hot
- While still warm, peel and pass potatoes through a ricer or food mill directly onto a clean surface or bowl.
- Spread out to cool quickly—this prevents excess steam from making the mash too moist.
3. Incorporate Flour and Egg
- Weigh your cooled potatoes and add 20–25% of their weight in flour (e.g., 500g potato = 100–125g flour).
- Make a well in the center, add a beaten egg (optional for binding), and sprinkle with salt.
- Use a bench scraper or your hands to gently fold flour into potatoes. Avoid kneading—mix just until a soft, slightly sticky dough forms.
4. Test and Adjust
- Pinch off a small piece, roll into a ball, and boil. If it disintegrates, add a tablespoon more flour at a time until it holds but remains tender.
5. Shape and Mark
- Divide dough into manageable portions. Roll each into a rope about 3/4-inch thick, dusting lightly with flour as needed.
- Cut into 1-inch pieces with a bench scraper.
- Roll each piece over a gnocchi board or fork to create ridges. This step is about sauce-catching, not just aesthetics.
6. Rest and Cook
- Let shaped gnocchi rest on a floured towel or silicone mat for 10–15 minutes. Do not stack; keep in a single layer.
- Bring a large pot of salted water to a gentle boil. Add gnocchi in batches—do not overcrowd.
- Gnocchi are done when they float to the surface, usually within 1–2 minutes. Remove with a slotted spoon and transfer directly to sauce.
Maintenance Best Practices: Keeping Your Gnocchi Craft Spotless
Proper care of your tools and workspace not only prolongs their life but ensures the quality and safety of your gnocchi for future sessions.
Cleaning Essentials
- Potato Ricer/Food Mill: Rinse immediately after use to prevent potato starch from caking. Use a brush to clean holes; air-dry completely.
- Bench Scraper and Gnocchi Board: Wipe with a damp cloth, then hand-wash with mild soap. Dry wood tools thoroughly to prevent warping or cracking.
- Work Surface: Scrape off dough residue before it dries. For wooden boards, avoid soaking; sanitize with vinegar and allow to air-dry.
- Kitchen Towels: Launder promptly, as potato residue can sour if left damp.
Storage Tips
- Store wooden tools in a dry place, away from heat or moisture.
- Keep flour and other dry ingredients in airtight containers to prevent clumping and pests.
- Rotate towels and mats—avoid reusing soiled linens between sessions.
Sharpening Your Gnocchi Sense
Over time, you’ll intuitively gauge dough hydration, flour absorption, and shaping techniques. Maintain a simple log or journal of your sessions—note potato varieties, flour ratios, and outcomes. This record-keeping is a maintenance practice for your skills as much as your tools.
Common Gnocchi Myths Debunked
- Myth: “You must use eggs.” Fact: Eggs help bind, but classic gnocchi are often eggless for ultimate tenderness.
- Myth: “More flour makes gnocchi easier.” Fact: Excess flour yields dense, chewy dumplings. Use the minimum needed for a cohesive dough.
- Myth: “Any potato works.” Fact: Waxy potatoes make gummy gnocchi. Always choose starchy varieties.
- Myth: “A food processor is fine.” Fact: Processors overwork potatoes, producing gluey results. Stick to ricers or mills.
Seasonal Gnocchi Inspiration: Beyond the Basics
Once you master the essentials, experiment with seasonal twists. Try incorporating roasted butternut squash or sweet potato in autumn, wild garlic in spring, or ricotta in place of some potato for lighter results. Serve with sauces that match the season: sage-brown butter in winter, cherry tomato confit in summer, or wild mushroom ragù in fall.
Safety Checklist
- Keep knives and bench scrapers sharp and properly stored to avoid injury.
- Use dry hands and tools when handling hot potatoes to prevent burns.
- Clean up potato and flour spills immediately to prevent slipping.
- Always cook gnocchi thoroughly—undercooked dough can harbor bacteria.
Conclusion: Gnocchi as a Culinary Canvas
Homemade gnocchi isn’t just a recipe—it’s a craft, a tactile tradition, and a delicious tribute to the beauty of simplicity. By setting up your gnocchi station thoughtfully, budgeting wisely, and maintaining your tools with care, you lay the foundation for countless satisfying meals. Each batch is a lesson in patience and intuition, with your growing gnocchi sense guiding you to lighter, more flavorful results every time. The skills you build—precision, adaptability, and respect for ingredients—translate to every corner of your culinary life.
Don’t be discouraged by early attempts that are less than perfect. Gnocchi rewards practice and attention, evolving from humble dough to silken pillows with each session. Keep your journal, refine your process, and invite friends or family to join the ritual. Not only will you save money and avoid preservatives, but you’ll also unlock a deeper connection to the craft of cooking—one forkful at a time. Now, armed with practical knowledge, it’s time to roll up your sleeves and let the pillowy pursuit begin!


I would love to try making gnocchi at home, but as a parent with limited counter space and a small budget, are there any specific tools from your essential checklist I could skip or substitute without sacrificing quality?
You can definitely make great gnocchi without buying every tool! Instead of a potato ricer, a regular masher works fine. For rolling gnocchi, a fork replaces a gnocchi board easily. If counter space is tight, use a large cutting board or even a clean tray for shaping. Keeping it simple won’t hurt the results—fresh gnocchi will still taste delicious.
When setting up a gnocchi station on a budget, is there a particular tool from your checklist that you’d consider optional if I’m just getting started? Or do they each serve a really critical role in preventing gnocchi disasters?
If you’re just getting started, the gnocchi board is the most optional tool from the checklist. While it gives gnocchi their signature ridges, you can easily use a fork or even skip the ridging altogether. The essentials are a good pot, slotted spoon, and basic prep tools—these really help with cooking and handling the dough properly.
You mention using a potato ricer or food mill for lump-free mash, but I only have a handheld masher. Is it really worth buying a ricer for the texture, or are there any tricks to make the masher work better in a pinch?
A potato ricer does give gnocchi that extra-light, smooth texture, but you can absolutely use a handheld masher if that’s what you have. To get the best results, make sure your potatoes are very well-cooked so they’re easy to mash thoroughly. Mash them while they’re still hot, and take your time to break up any lumps as much as possible. Sifting the mash through a fine sieve with a spoon is another trick for a finer texture.