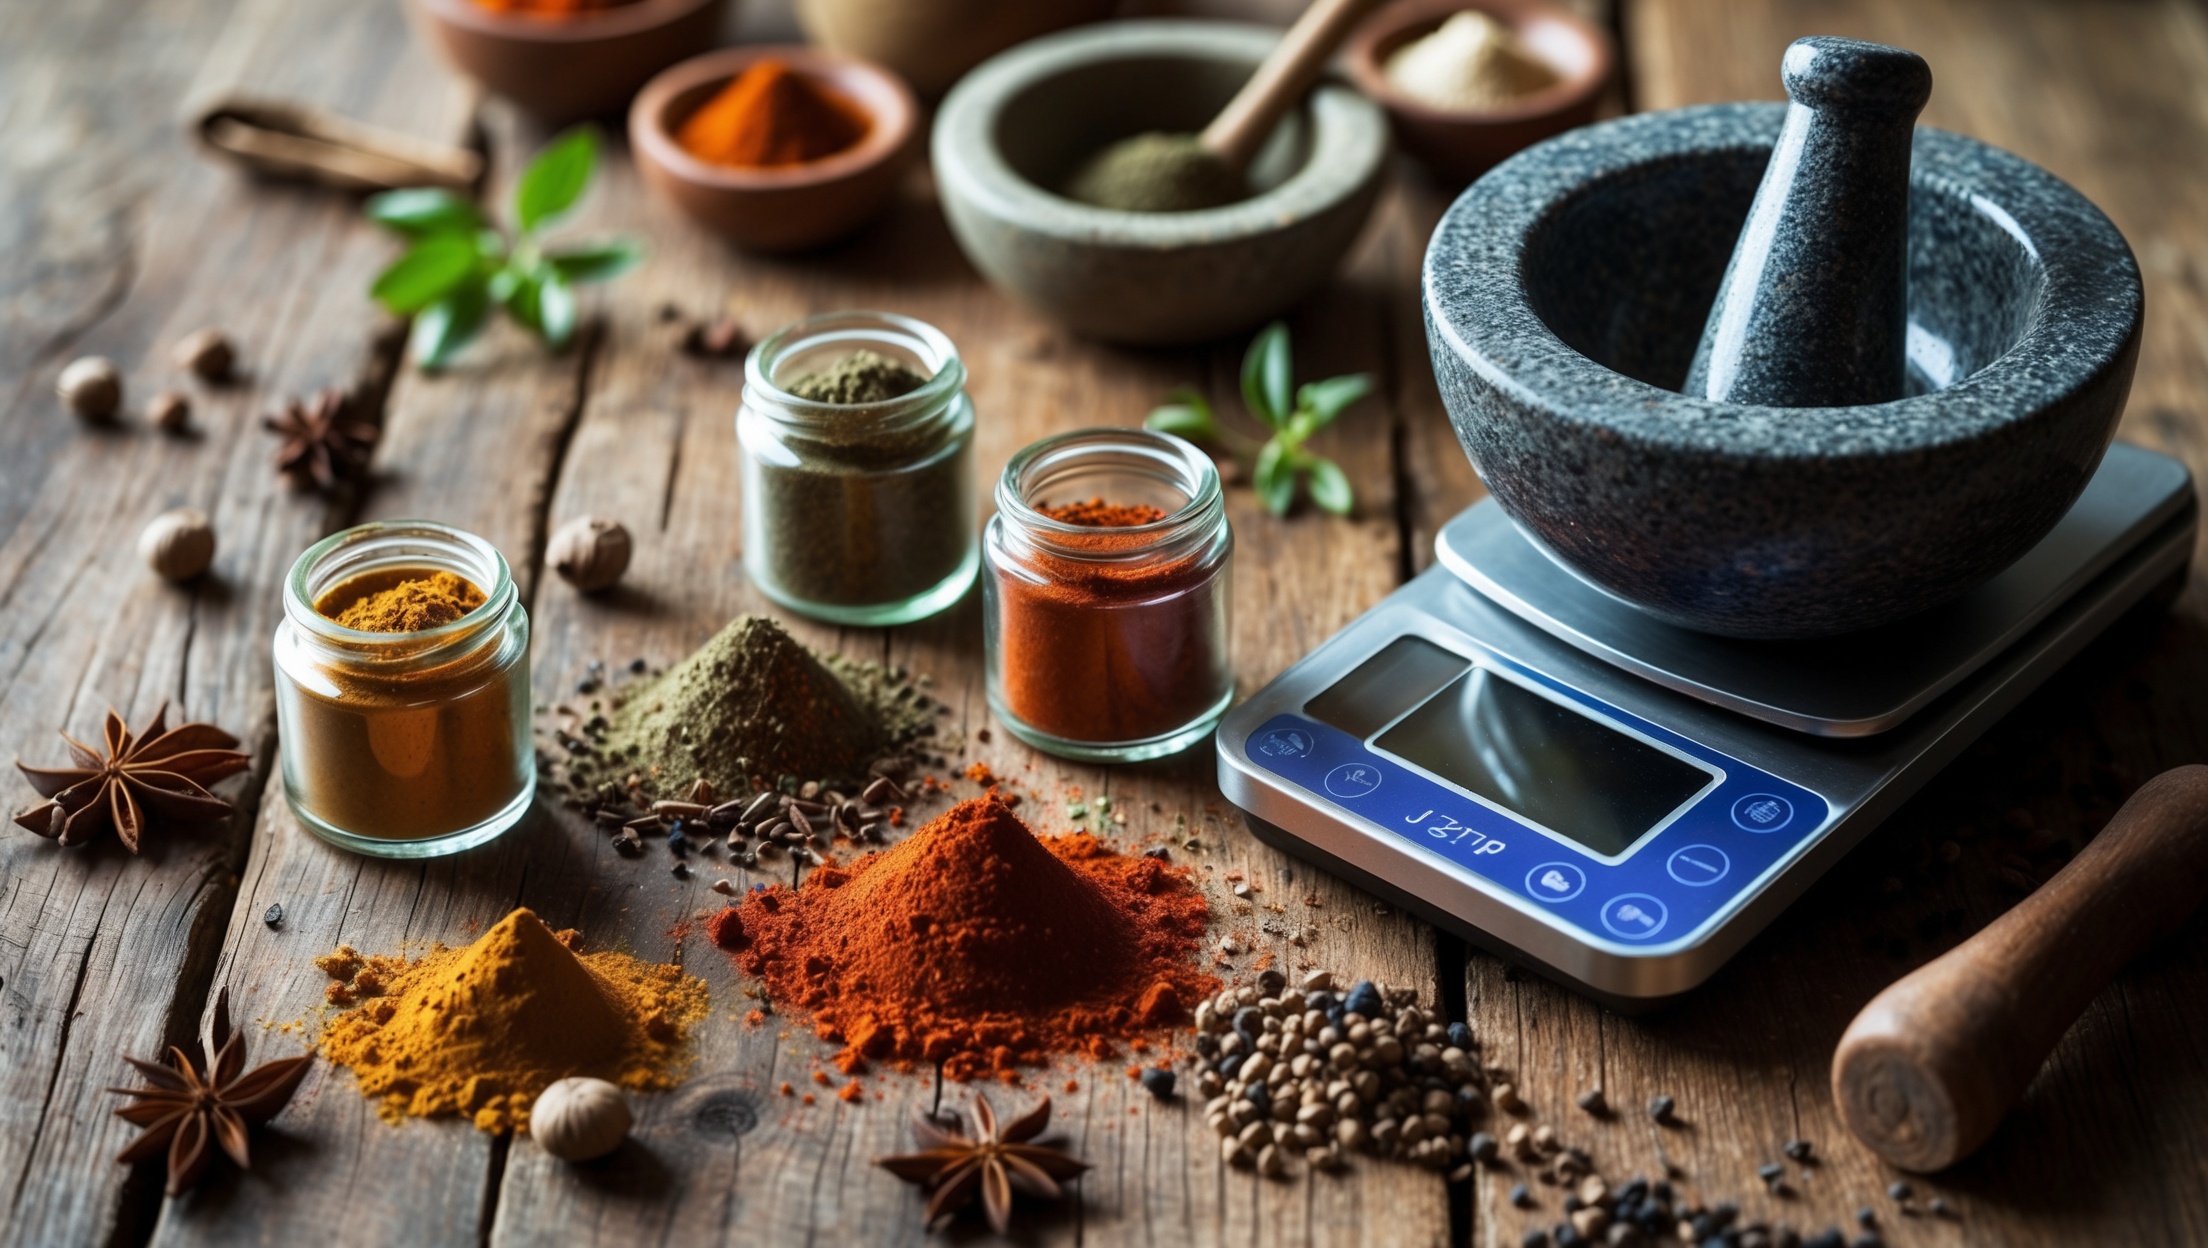
Introduction: The Renaissance of Homemade Spice Blending
The world of flavor begins with spices—those small yet mighty ingredients capable of transforming humble dishes into vibrant culinary experiences. While store-bought blends line the shelves, true culinary artisans know that the heart of refined cooking lies in crafting your own gourmet spice blends at home. This practice, once reserved for professional chefs and spice merchants, has found its way into the kitchens of passionate home cooks eager to unlock deeper, more nuanced flavors. But what does it really take to create your own signature blends? Beyond simply mixing a few powders, the art of spice blending demands a thoughtful approach to ingredient selection, layering, and even budgeting.
In this guide, you’ll discover the hidden craft behind building gourmet spice blends at home, from selecting the right tools and sourcing quality ingredients to mastering advanced layering techniques. We’ll break down the real costs, reveal common mistakes beginners make, and provide practical maintenance tips for storing and preserving your blends. Whether you’re a home cook looking to elevate weeknight meals, a culinary hobbyist seeking new creative outlets, or even an aspiring food entrepreneur, you’ll find detailed, actionable advice to boost both your flavor repertoire and your confidence in the kitchen. Let’s embark on a journey through the aromatic world of spices, where tradition meets innovation and every jar holds the promise of culinary magic.
Essential Tools & Equipment for Spice Blending
Mortar and Pestle vs. Spice Grinder: Pros and Cons
The foundation of any spice blending setup lies in the tools you choose to grind and mix your spices. The classic mortar and pestle offers tactile control, allowing you to release essential oils at your own pace and adjust the texture to your preference. Granite or marble mortars are long-lasting and easy to clean, but can be heavy and require elbow grease for larger batches.
Electric spice grinders (distinct from coffee grinders) provide speed and uniformity, making them ideal for larger or more frequent blending sessions. However, they require careful cleaning to prevent flavor cross-contamination, and over-grinding can generate heat that affects volatile aromas. Consider reserving a dedicated grinder solely for spices. For the best of both worlds, many home blenders use both: a mortar and pestle for small, delicate batches and a grinder for bulk processing.
Other Must-Have Tools
- Digital Scale: Precision is key for consistent results. Invest in a scale that can measure down to at least 0.1 grams.
- Fine Mesh Sieve: Useful for sifting out coarse or fibrous pieces after grinding, ensuring a smooth blend.
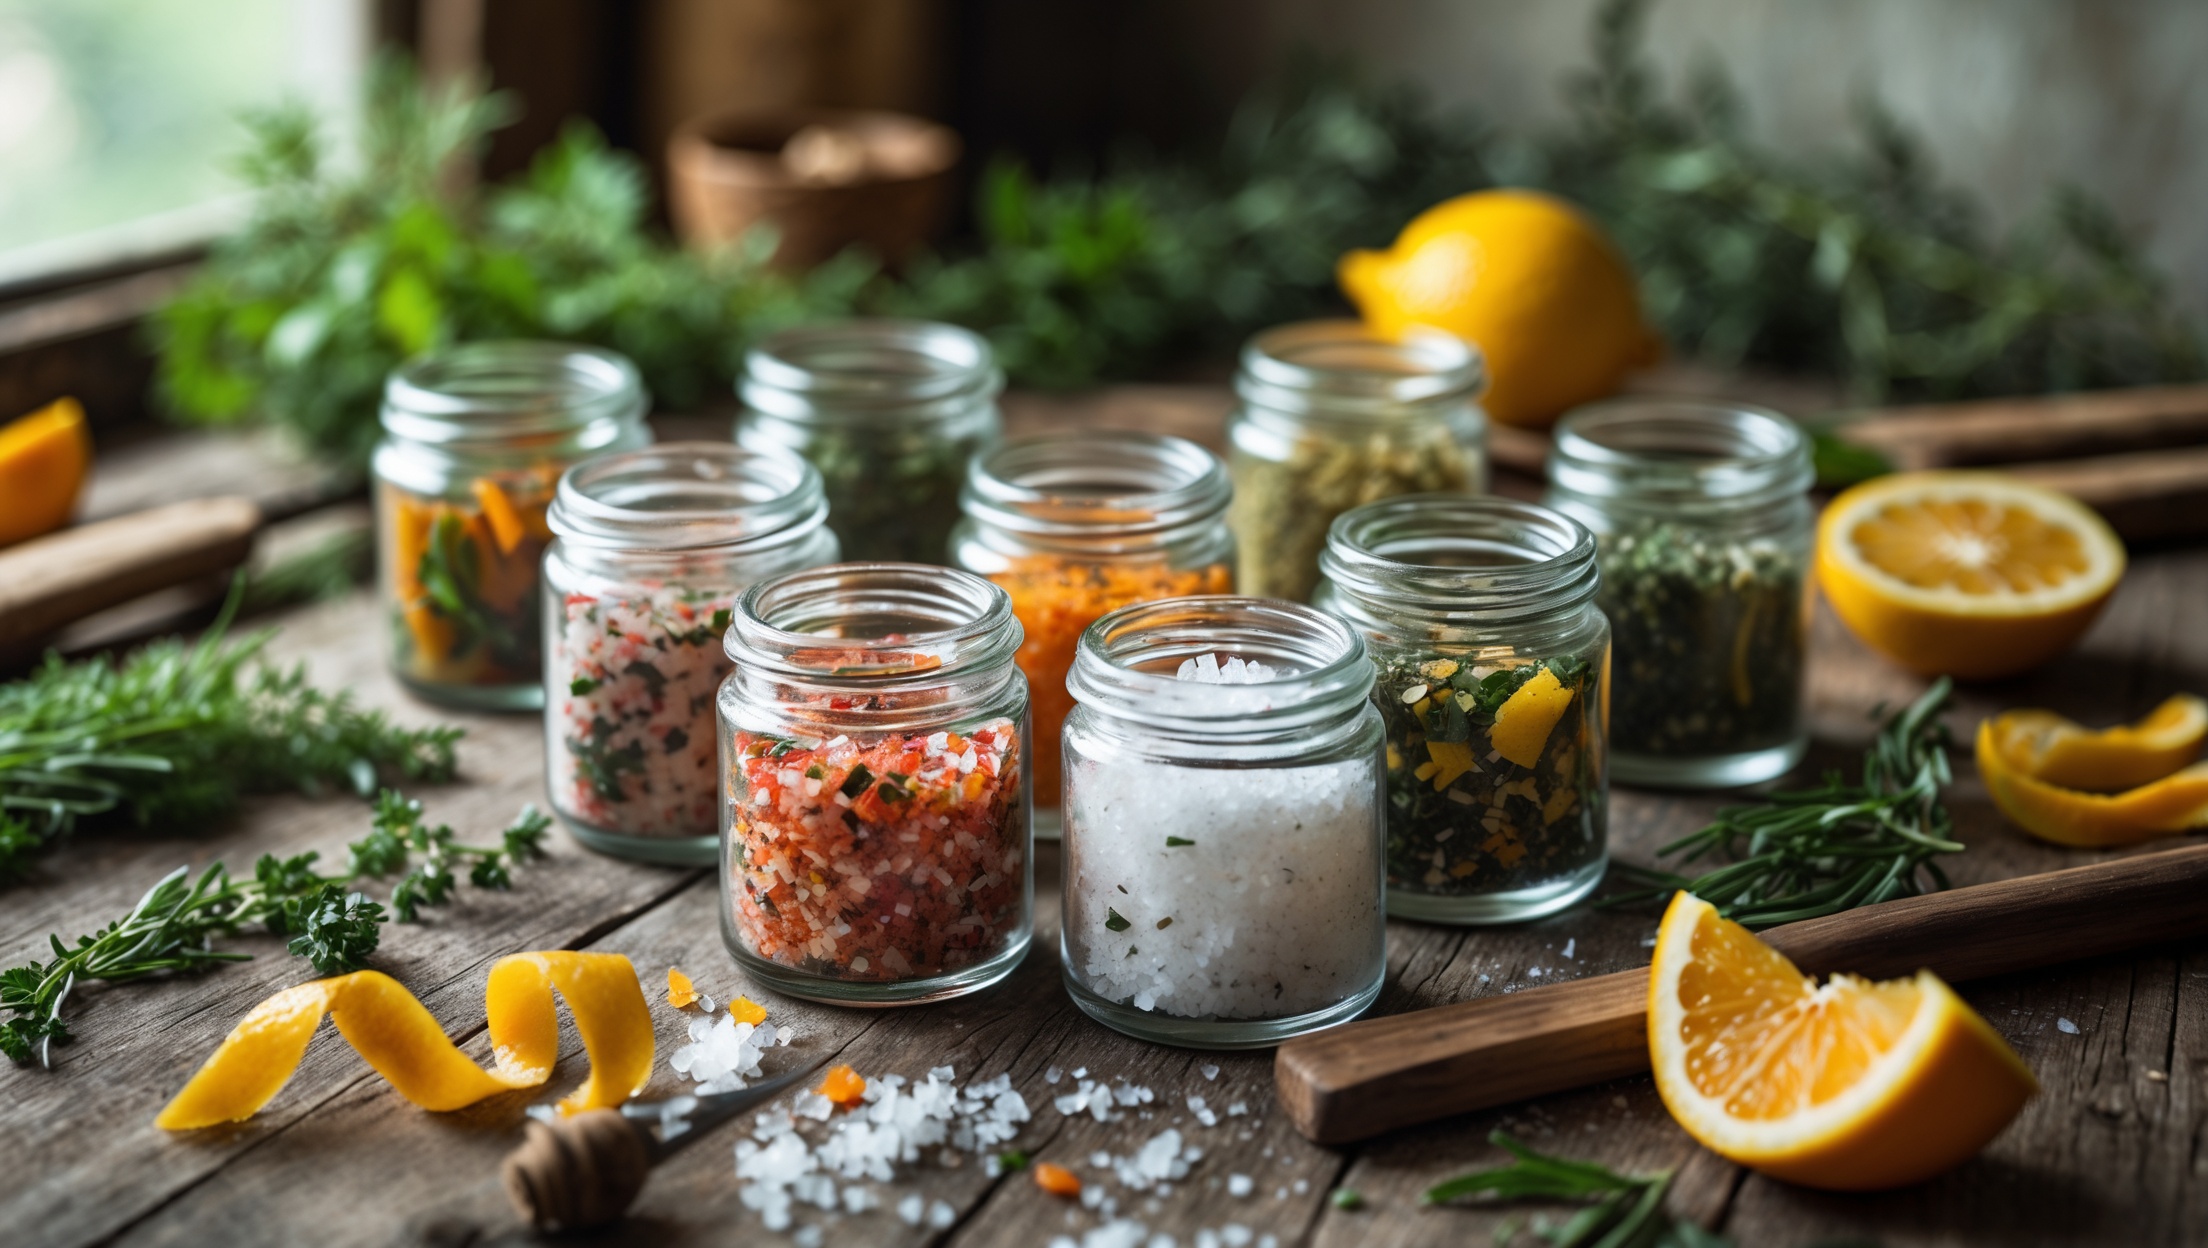
- Small Airtight Jars: Glass jars with tight-fitting lids preserve freshness and prevent aroma transfer.
- Labeling Supplies: Waterproof labels and a fine-tip marker help you keep track of blend names and batch dates.
- Funnel or Spice Spoon: For transferring blends cleanly into jars without waste.
Optional Upgrades
- Dedicated Roasting Pan or Skillet: Toasting whole spices before grinding intensifies aroma.
- Vacuum Sealer: For long-term storage of bulk whole spices.
- Dehumidifying Packs: Placed in jars to prevent clumping in humid climates.
Cost Breakdown: Budgeting for Gourmet Spice Blends
Initial Investment
Setting up your home spice blending station doesn’t require a fortune, but a strategic investment in quality pays off. Here’s a realistic breakdown:
- Mortar and Pestle: $25–$60 (granite or marble)
- Electric Spice Grinder: $20–$50
- Digital Scale: $15–$30
- Jars and Labels: $10–$25 (set of 6–12)
- Miscellaneous Tools: $10–$20
Total Initial Equipment Investment: $80–$185 depending on preferences and quantities.
Ingredient Sourcing: Bulk vs. Specialty
The most significant ongoing cost is the spices themselves. Bulk stores and ethnic markets typically offer fresher, more affordable spices than grocery store pre-packs. Expect to pay:
- Common Whole Spices (e.g., cumin, coriander, peppercorns): $3–$8 per 100g
- Premium or Rare Spices (e.g., saffron, cardamom, vanilla): $10–$30+ per 10g–50g
- Herbs (dried): $2–$6 per 20g–50g
Most homemade blends use 10–30g of each spice per batch, so a $30–$50 investment in ingredients can yield 6–10 jars of unique blends—often far more economical and flavorful than buying commercial blends.
Cost-Saving Strategies
- Buy whole spices in bulk and grind as needed for maximum freshness.
- Pool resources with friends or neighbors for bulk purchases of rare spices.
- Repurpose glass jars from finished products (e.g., mustard or jam jars) instead of buying new.
- Grow your own herbs and air-dry them for blending—especially robust varieties like rosemary, thyme, or oregano.
Understanding Spice Flavor Layering: The Key to Memorable Blends
The Science Behind Flavor Layering
Flavor layering is the strategic combination of spices to create depth, complexity, and harmony in your blends. Each spice brings its own volatile oils, pungency, and aromatic profile. The magic happens when you balance the following elements:
- Base Spices: Provide foundation (e.g., cumin, coriander, mustard seed).
- Top Notes: Add brightness and aroma (e.g., citrus zest, dried herbs, fennel seed).
- Middle Notes: Bridge base and top (e.g., paprika, cinnamon, allspice).
- Heat Elements: Chili, pepper, or ginger for warmth and excitement.
- Umami or Savory Elements: Dried mushrooms, seaweed, or even miso powder for depth.
Classic Layering Techniques
- Toasting: Gently roast whole spices in a dry pan to release oils and deepen flavors before grinding.
- Staggered Grinding: Add more delicate spices (like dried herbs) after grinding robust seeds to prevent over-processing.
- Infusion: For blends intended for liquids, infuse spices in oil or vinegar as part of the blending process.
Signature Blend Examples
- Ras el Hanout: North African blend with over a dozen spices, balanced in warming, floral, and peppery layers.
- Garam Masala: Indian classic using cinnamon, cloves, cardamom (top/middle notes), cumin, and coriander (bases).
- Herbes de Provence: French blend layering robust (thyme, rosemary) and delicate herbs (lavender, basil).
- Za’atar: Middle Eastern blend combining earthy sumac, toasted sesame, and herbal thyme/oregano.
Start with a base blend, then adjust one element at a time to fine-tune for your palate—or to complement a specific dish.
Step-by-Step Tutorial: Blending Your First Gourmet Spice Mix
Preparation
- Assemble all tools: mortar and pestle or grinder, scale, sieve, jars, and labels.
- Choose your blend recipe or create your own, ensuring you have all whole and ground spices prepared.
- Clean and dry all tools and jars to prevent moisture contamination.
Toasting Whole Spices
- Place whole spices in a dry skillet over medium-low heat.
- Stir constantly for 1–3 minutes until fragrant and slightly darkened (do not burn).
- Immediately transfer to a cool plate to halt cooking.
Grinding & Sifting
- Grind toasted spices in a clean grinder or mortar and pestle to a fine or coarse texture, as desired.
- For blends containing both seeds and dried herbs, grind seeds first, then pulse herbs briefly to avoid over-pulverizing.
- Sift through a fine mesh sieve to remove any large pieces for a uniform texture.
Blending & Adjusting
- Weigh and combine all components in a bowl, mixing thoroughly.
- Taste and adjust—smell, pinch, and even taste a small amount to check balance; add more of any element to suit your preference.
Storage
- Funnel the blend into a clean, dry jar.
- Label with blend name and date.
- Store in a cool, dark, dry place away from heat and sunlight.
Beginner Mistakes to Avoid
- Ignoring Whole Spices: Pre-ground spices lose potency quickly; whole spices retain flavor far longer.
- Underestimating Heat: Over-toasting or using too much chili or pepper can overpower blends.
- Improper Storage: Exposure to air, light, or moisture rapidly degrades quality—always use airtight jars and avoid clear containers in sunlit areas.
- Skipping the Tasting Step: Always smell and taste blends before bottling; subtle adjustments make a huge difference.
- Cross-Contamination: Clean grinders and mortars between blends to prevent unwanted flavor carryover.
Maintenance Best Practices: Keeping Blends Fresh
Jar Hygiene
Always wash and thoroughly dry jars before refilling. Even a hint of moisture can cause clumping or spoilage, especially with blends containing salt or sugars.
Batch Size and Rotation
Blend only what you’ll use within 3–6 months. Small batches ensure peak flavor and reduce waste. Keep a simple list or spreadsheet of blend batch dates to track freshness.
Storage Location
- Store jars in a cupboard or pantry, away from the stove or oven.
- Avoid storing near dishwashers or sinks, as humidity can seep in.
Signs of Staleness
- Loss of aroma: Fresh blends should have a strong, distinctive scent.
- Color fading: Vibrant hues indicate potency; dull blends may need replacing.
- Texture changes: Clumping or caking signals moisture exposure.
When in doubt, trust your senses—smell and taste before using older blends.
Advanced Flavor Layering: Experimentation and Signature Creations
Building Your Own Signature Blends
Once you’ve mastered base recipes, try adding unexpected elements: dried citrus peel for freshness, a hint of smoked salt for depth, or even cocoa nibs for earthy undertones. Keep detailed notes on ratios and results, so you can replicate or refine your best creations.
Pairing Blends with Dishes
- Use light, herbaceous blends for vegetables and fish.
- Robust, earthy blends suit roasted meats and stews.
- Sweet-spice combinations (cinnamon, allspice, cardamom) elevate baking and desserts.
Consider making smaller test batches and evaluating the results with different dishes. Over time, you’ll develop an intuitive sense for which blends enhance specific cuisines or ingredients.
Conclusion: The Lasting Value of Homemade Spice Blends
The journey to creating your own gourmet spice blends is rewarding on multiple levels. Beyond the immediate burst of flavor in your food, blending spices at home fosters a deeper connection to both global culinary traditions and your own creativity. With a modest investment in tools and thoughtful ingredient sourcing, you can explore the full spectrum of aromatic profiles—from smoky and earthy to floral and bright—tailoring each blend to your personal taste and cooking style.
As you experiment, you’ll not only save money over time but also gain an appreciation for the subtle nuances that distinguish a lackluster meal from a memorable one. The process encourages mindful, sensory cooking and provides endless opportunities for innovation. Plus, homemade blends make thoughtful, personalized gifts for fellow food lovers.
Most importantly, crafting your own spice blends empowers you to infuse every dish with a unique signature—your own. Whether you’re perfecting a family recipe, exploring new cuisines, or simply making everyday meals more exciting, the art of spice blending is a cornerstone of culinary craft. So gather your tools, source your favorite spices, and embark on a flavorful adventure that will transform your cooking and delight your senses for years to come.