Introduction: The Art and Culture of the Cheese Board
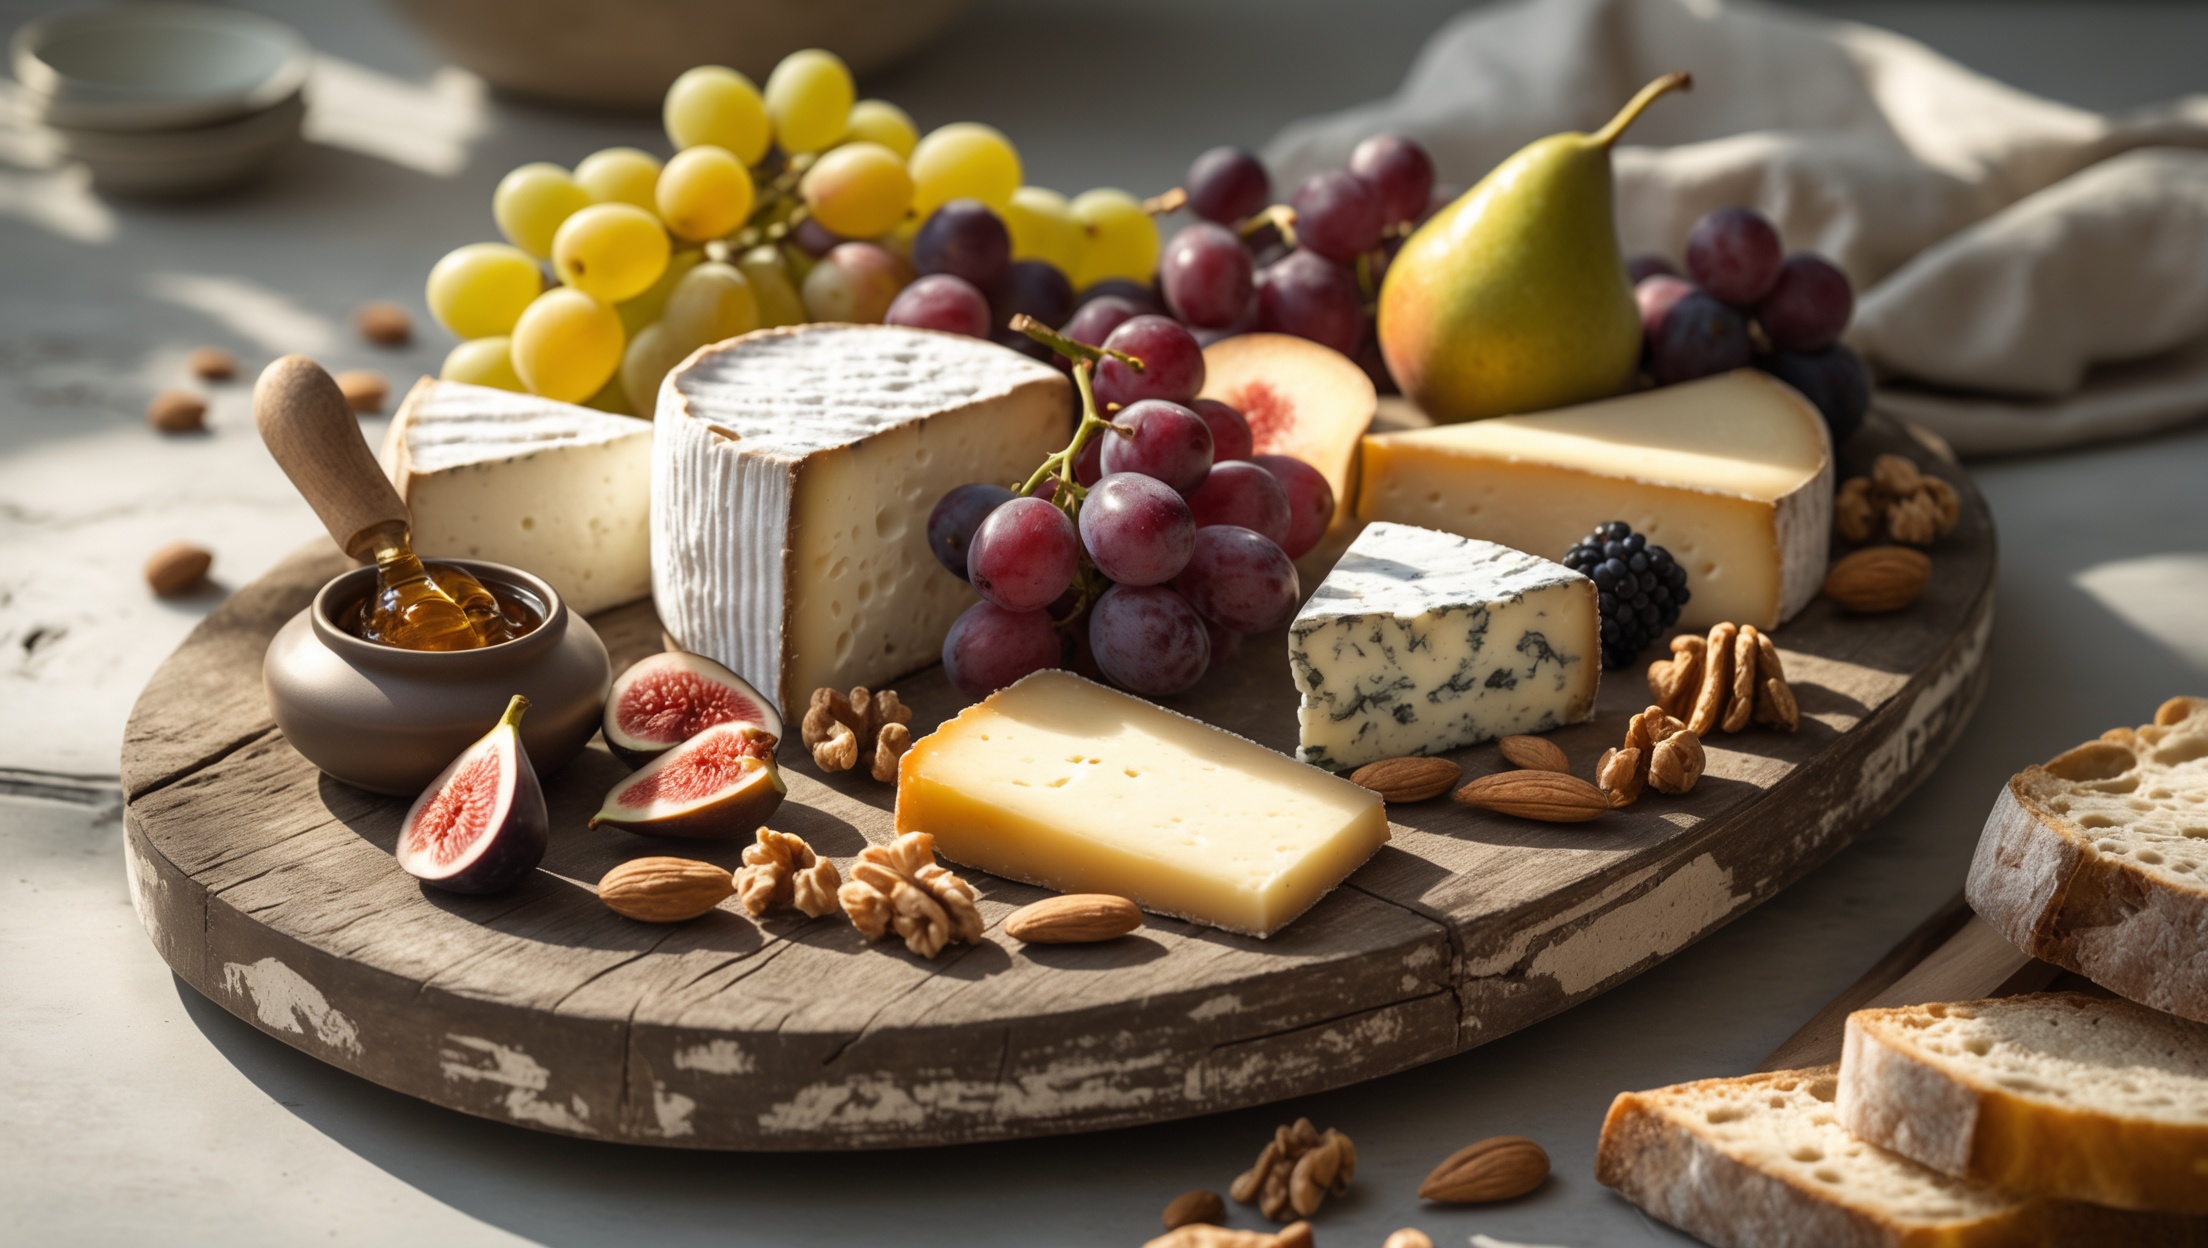
Few culinary creations embody the intersection of taste, craft, and culture like a thoughtfully curated cheese board. Once reserved for fine dining and upscale wine bars, the cheese board has evolved into a centerpiece for home gatherings, festive occasions, and even quiet evenings of indulgence. But behind the visual allure and flavor complexity lies a world of thoughtful choices—balancing flavor profiles, sourcing ingredients, budgeting effectively, and adapting to the shifting bounty of the seasons. Whether you’re a curious beginner or a passionate home entertainer, mastering the artisanal cheese board is about more than just piling cheese on a platter. It’s a craft that calls for a blend of culinary intuition, ingredient knowledge, and practical know-how. In this guide, we’ll demystify the essentials: how to select and pair cheeses with seasonal accompaniments, where to invest in key tools, how to budget smartly for maximum impact, and what secrets set a truly memorable cheese board apart. Let’s sharpen our knives and palettes for a deep dive into this refined culinary tradition.
The Foundations: Understanding Cheese Types and Flavor Profiles
Cheese Categories Demystified
Before assembling your board, it’s essential to understand the main cheese categories. Each family brings unique textures, flavors, and pairing opportunities:
- Fresh Cheeses: Ricotta, chèvre, burrata—light, tangy, and creamy. Best enjoyed within days of production.
- Soft-Ripened: Brie, Camembert—characterized by a bloomy rind and creamy interior.
- Semi-Soft: Havarti, Fontina, Morbier—mild and supple, often meltable.
- Semi-Hard: Manchego, Gruyère, Cheddar—more robust flavors and firmer texture.
- Hard: Parmigiano-Reggiano, aged Gouda—nutty, intense, and long-aged.
- Blue-Veined: Roquefort, Stilton, Gorgonzola—bold, salty, and tangy with a marbled appearance.
Balancing Textures and Tastes
Strive for variety in texture (soft, semi-soft, hard) and taste (mild to bold, sweet to salty). A good rule of thumb for a balanced board: select at least one cheese from three different categories. This ensures a dynamic tasting experience and broad appeal.
Budget Breakdown: Crafting a Gourmet Experience Without Overspending
Setting Your Cheese Board Budget
Cheese boards can range from modest to extravagant. Here’s how to allocate your budget wisely:
- Cheese: 50–60% of your budget. Prioritize one or two standout cheeses and supplement with more affordable local or seasonal options.
- Accompaniments: 20–25%. Fresh fruit, nuts, olives, pickles, spreads, and preserves add color and complexity without breaking the bank.
- Breads & Crackers: 10–15%. Choose one or two high-quality options—think rustic baguette, seeded crackers, or crostini.
- Garnishes & Extras: 5–10%. Honey, edible flowers, or microgreens provide visual flair.
Smart Shopping Strategies
- Shop by Weight: Cheese is typically sold by the pound. For a party of 6–8, plan on 2–3 ounces per person, per cheese.
- Leverage Local Producers: Local cheesemakers and farmers’ markets often offer seasonal deals and unique varieties at lower prices than imports.
- Buy in Bulk When Possible: Warehouse clubs or specialty grocers can offer savings, especially for larger gatherings.
- Seasonal Produce: Pairing with what’s in season reduces cost and ensures peak flavor.
Sample Budget Table (for 8 Guests)
- Cheese (3 types, 1/2 lb each): $24
- Accompaniments (fruit, nuts, olives): $10
- Breads/Crackers: $5
- Extras (honey, garnish): $3
- Total: $42 (approx. $5.25 per person)
Essential Tools and Serveware for the Home Cheese Board Artisan
Must-Have Tools
- Cheese Knives: A set including a soft cheese spreader, a pronged knife for hard cheeses, and a narrow plane knife for semi-hard varieties.
- Cheese Board: Wood, slate, or marble—all impart a different aesthetic and temperature retention.
- Small Bowls & Ramekins: For olives, spreads, honey, or jams.
- Tongs or Picks: For easy serving and hygiene.
- Labels or Chalk: To identify cheeses, especially for guests new to artisanal varieties.
- Serving Utensils: Small spoons, forks, and spreaders for accompaniments.
Optional Upgrades
- Cheese Wire: For clean, precise cuts of soft or crumbly cheeses.
- Board Covers or Cloches: To protect cheeses and maintain freshness if prepping in advance.
- Marble Slabs: Ideal for keeping soft cheeses cool at summer gatherings.
Care and Maintenance
Clean boards and utensils promptly after use with mild soap and warm water. For wood boards, condition with food-grade mineral oil to prevent drying and cracking.
Seasonal Pairing Inspirations: Tuning Your Board to the Calendar
Spring
- Cheeses: Young goat cheese, fresh ricotta.
- Pairings: Asparagus tips, radishes, strawberries, pea shoots, lemon zest.
- Extras: Floral honey, herbed crackers.
Summer
- Cheeses: Burrata, fresh mozzarella, mild blue cheese.
- Pairings: Stone fruit (apricots, peaches), heirloom tomatoes, basil, sweet corn relish.
- Extras: Chilled grapes, citrus marmalade.
Autumn
- Cheeses: Aged cheddar, Gruyère, nutty Alpine styles.
- Pairings: Figs, crisp apples, roasted nuts, spiced pear preserves.
- Extras: Toasted rye bread, maple-glazed walnuts.
Winter
- Cheeses: Triple-cream Brie, aged Gouda, robust blue cheese.
- Pairings: Dried fruits (apricots, cherries), candied pecans, quince paste.
- Extras: Dark chocolate shards, rosemary crisps.
Tips for Adapting to What’s Available
If a particular cheese or fruit is unavailable, focus on balancing texture and flavor: substitute similar local options, and let the seasons guide your board’s color and vibrancy.
Step-by-Step: Assembling Your Cheese Board Like a Pro
1. Select and Prepare Cheeses
- Allow cheeses to come to room temperature (30–60 minutes out of the fridge) for optimal flavor and texture.
- Pre-cut harder cheeses into bite-sized pieces or rustic shards; leave soft cheeses whole with a spreader.
2. Arrange the Board
- Start with the cheeses, spacing them evenly across the board.
- Add small bowls for wet or sticky accompaniments (olives, honey, chutney).
- Fill in with fresh fruit, nuts, and sliced bread/crackers, creating color and textural contrast.
- Use garnishes strategically for visual interest and a sense of seasonality.
3. Label and Serve
- Label each cheese—especially for lesser-known varieties or when serving guests with dietary considerations.
- Offer separate knives for each cheese to preserve flavor integrity.
- Encourage tasting from mildest to strongest cheese to avoid palate fatigue.
Secrets of the Pros: Elevating Flavor and Presentation
Flavor Layering Tips
- Contrast is key: Pair tangy cheeses with sweet preserves, or nutty cheeses with crisp, tart apples.
- Texture matters: Combine creamy, crunchy, chewy, and juicy elements for a multisensory experience.
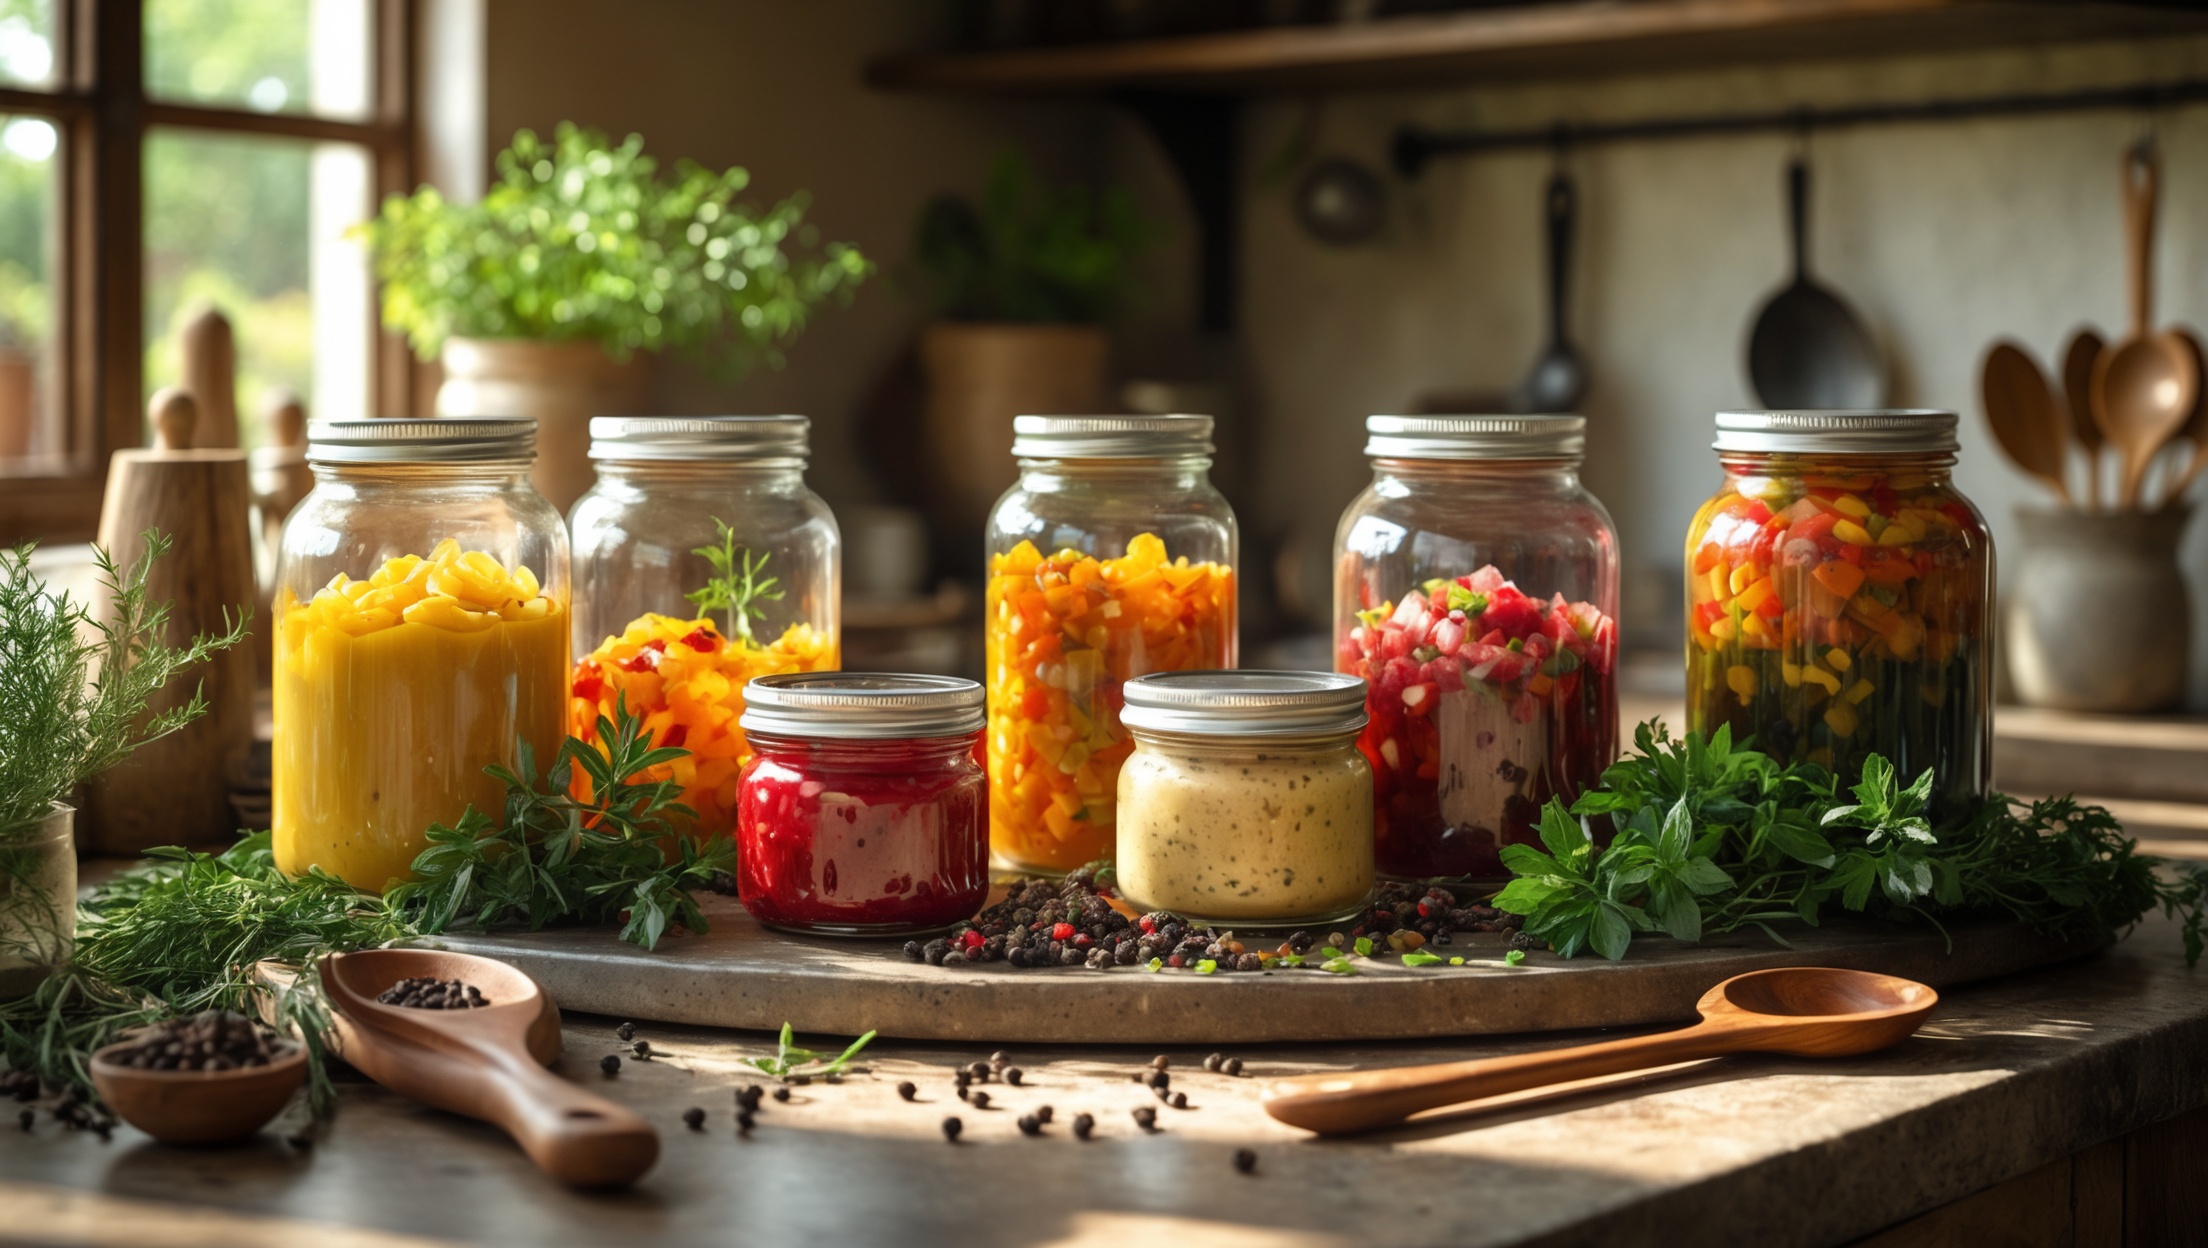
- Don’t overlook acidity: Pickled vegetables or a splash of balsamic can brighten rich cheeses.
- Herbs and spices: Fresh thyme, rosemary, or cracked pepper can enhance both flavor and presentation.
Visual Composition
- Vary shapes and colors—slice cheeses differently, cluster accompaniments, and layer for height.
- Leave negative space to prevent crowding and make each element stand out.
- Use edible flowers or microgreens sparingly for elegance.
Accompaniments: Beyond Cheese
Fresh and Dried Fruits
- Grapes, figs, apple slices, berries, dried apricots or cherries—each brings its own flavor dimension.
Nuts and Seeds
- Toasted almonds, walnuts, pecans, or pumpkin seeds add crunch and richness.
Spreads and Preserves
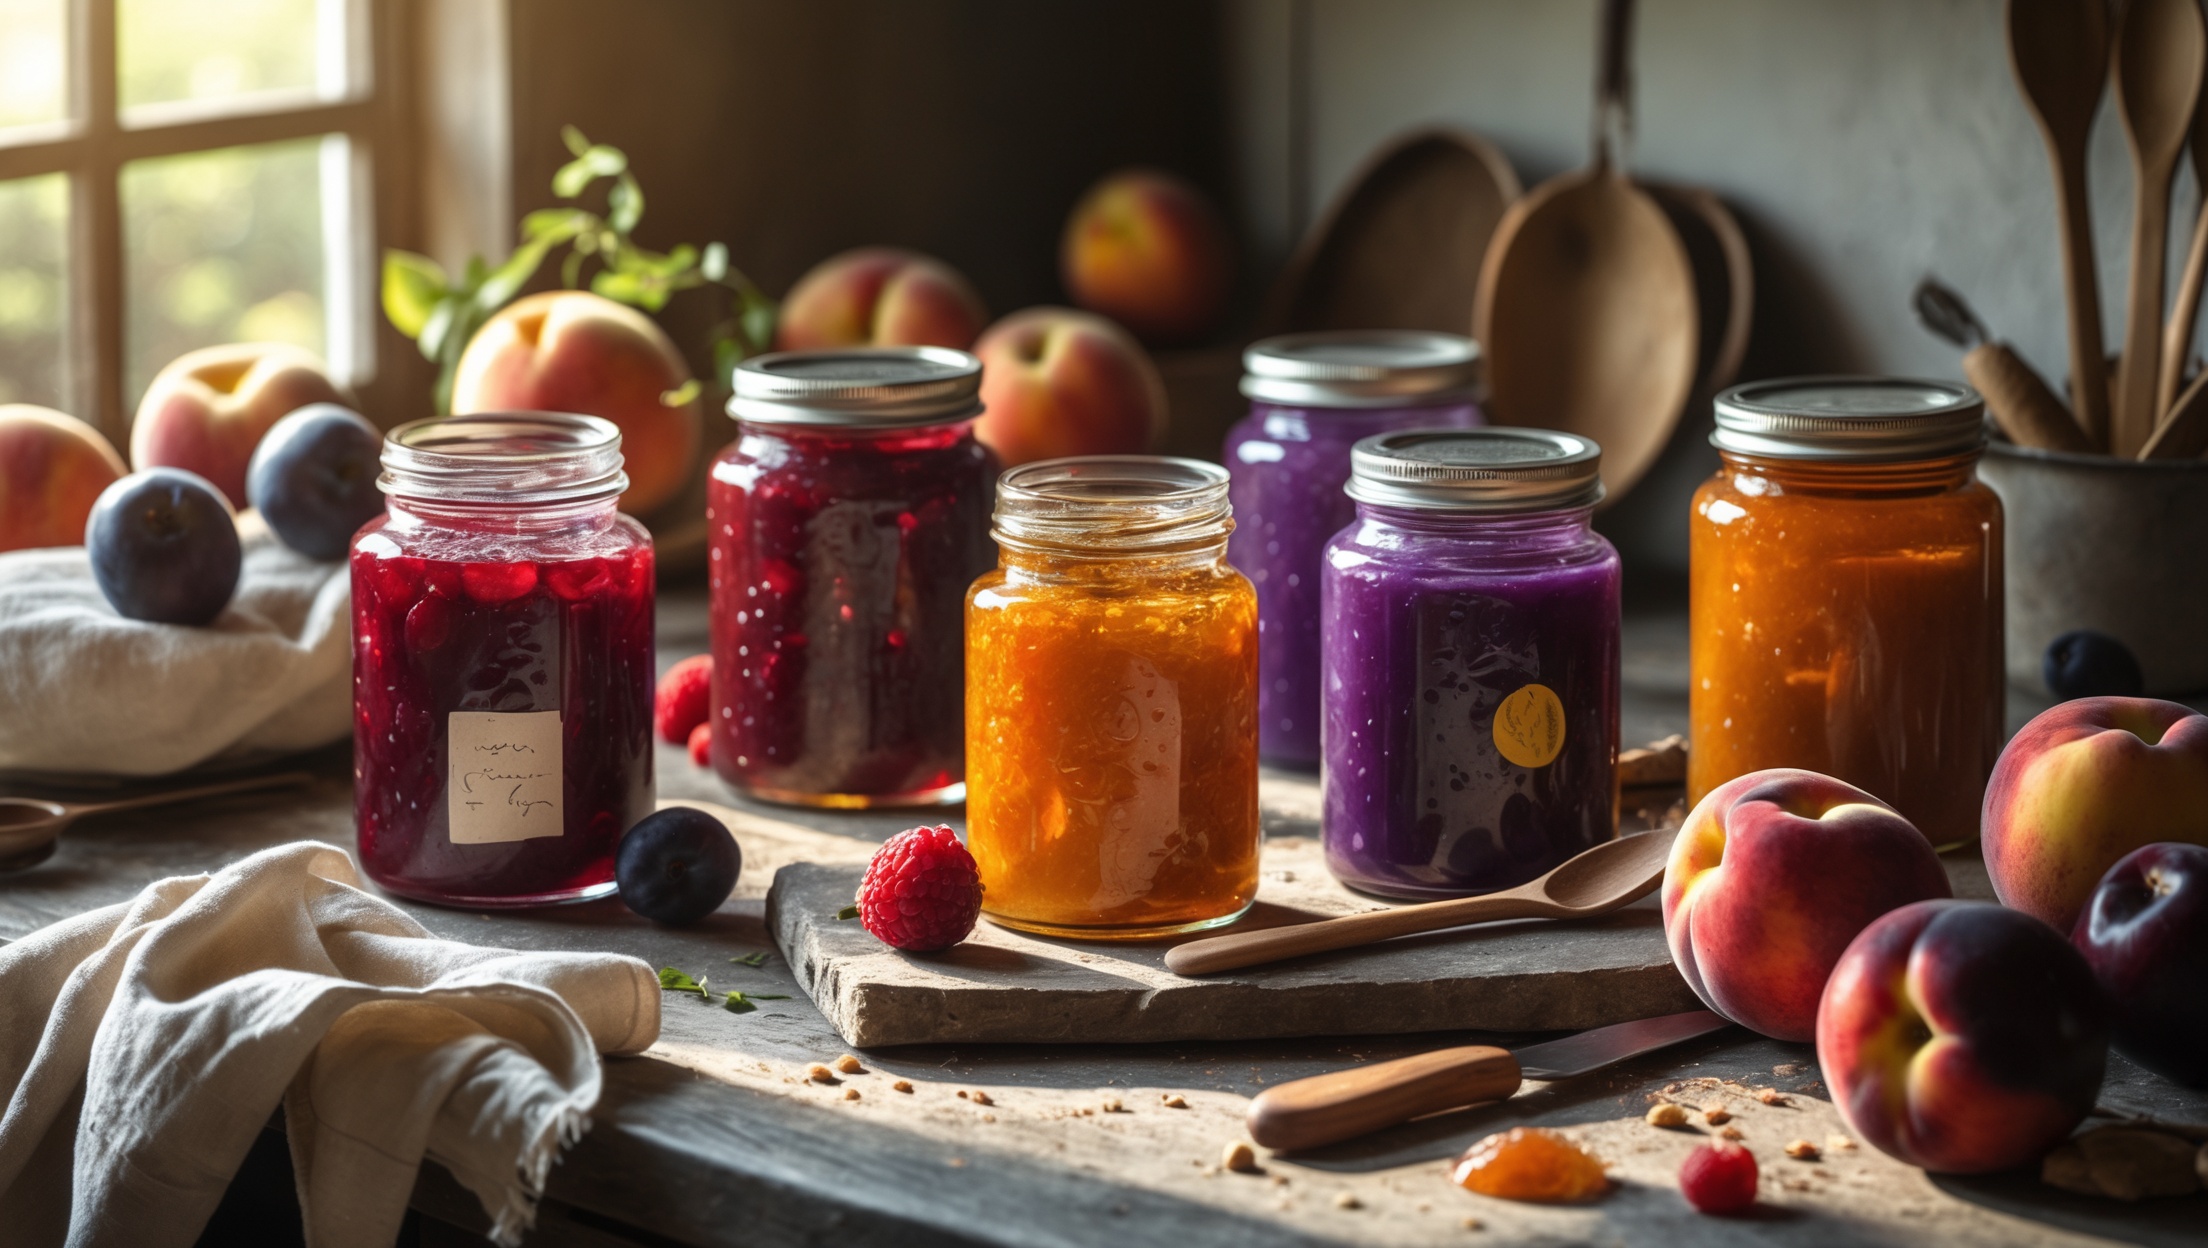
- Honey, fruit preserves, wholegrain mustard, or savory chutneys can round out the board.
Pickles and Olives
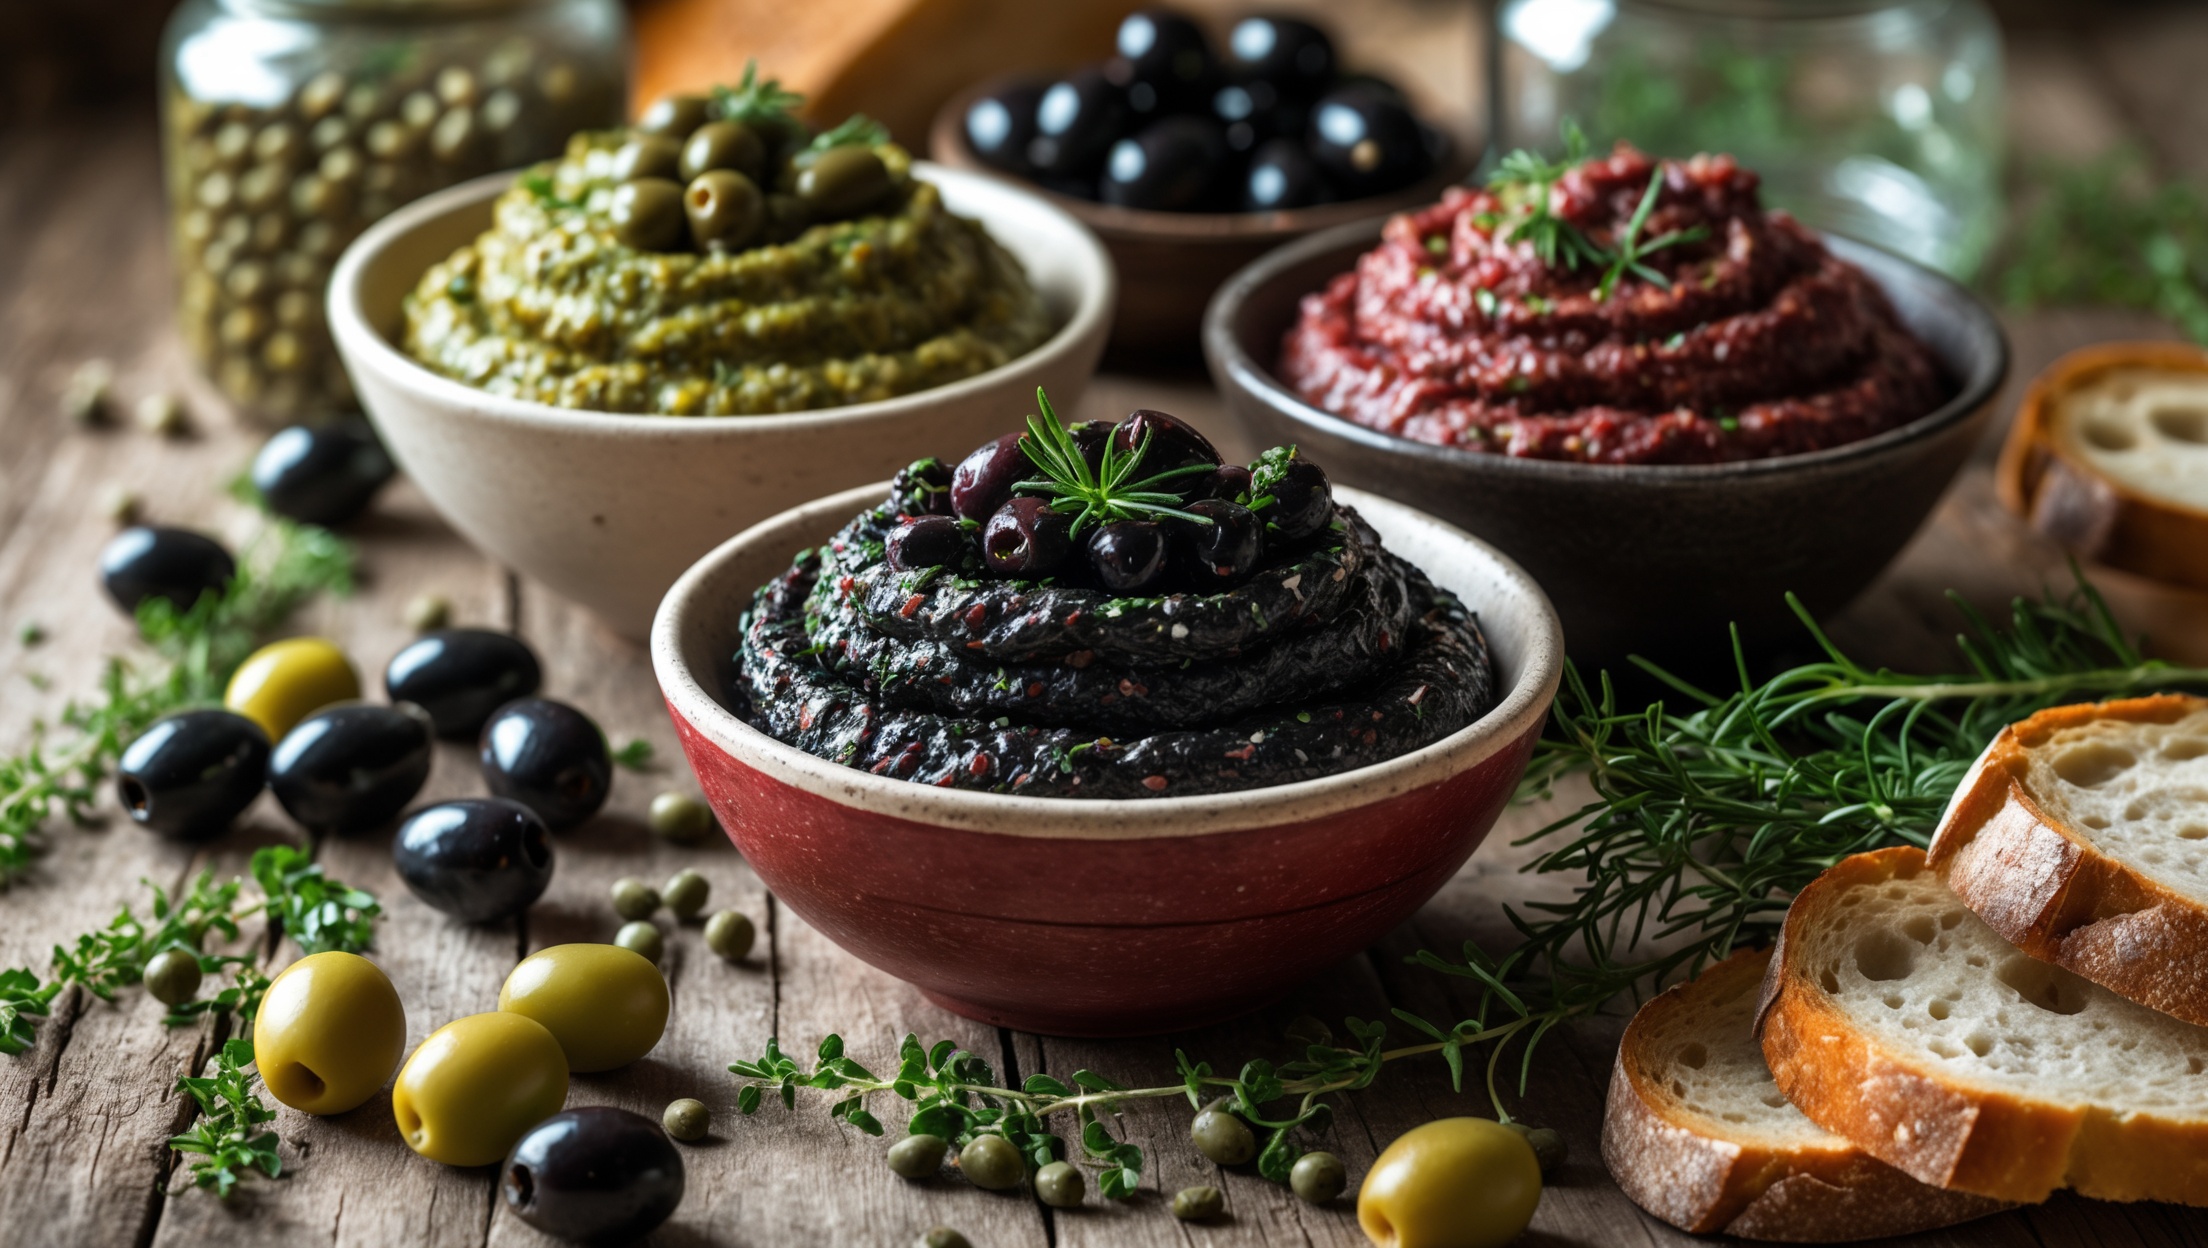
- Briny and tangy additions counterbalance creamy or rich cheeses.
Breads and Crackers
- Offer a mix of textures: crusty baguette, seeded crackers, and gluten-free options for inclusivity.
Cheese Board Safety and Storage Tips
Safe Serving Practices
- Use clean utensils and boards to prevent cross-contamination, especially if serving unpasteurized cheeses.
- Keep perishable items out for no longer than two hours at room temperature.
- Label allergens clearly (e.g., nuts, gluten, dairy types).
Storing Leftovers
- Wrap cheeses individually in wax paper or cheese paper, then place in a loosely sealed container in the fridge.
- Store accompaniments separately to prevent flavor transfer and preserve texture.
- Use leftovers in omelets, salads, or grilled sandwiches to minimize waste.
Conclusion: The Cheese Board as a Canvas for Taste and Hospitality
The artisanal cheese board is more than a trend—it’s a celebration of flavor, craft, and conviviality that invites creativity and personal expression. By understanding cheese families, budgeting smartly, investing in essential tools, and tuning your board to the rhythms of the seasons, you transform a simple spread into a memorable culinary experience. Each choice—from a tangy spring chèvre paired with strawberries to a winter board crowned with aged Gouda and candied pecans—offers a story of place, season, and taste. Don’t be intimidated by the array of options; instead, let your curiosity lead the way. Experiment with new cheeses, support local producers, and try inventive pairings. Most importantly, share your creation with others—because the true essence of the cheese board lies in the joy it brings to the table. With these expert tips and secrets in hand, you’re ready to elevate your next gathering, impress your guests, and savor the stories of taste and craft that a well-made cheese board offers. Here’s to your next delicious masterpiece!