Introduction: The Allure and Artistry of Home Charcuterie
Charcuterie—the craft of curing, aging, and transforming meats—lies at the intersection of culinary tradition, scientific precision, and creative expression. Once the domain of master butchers and European artisans, charcuterie has found passionate followers among home cooks seeking to deepen their connection to food, flavor, and heritage. Whether you’re drawn to the savory elegance of prosciutto, the peppery kick of salami, or the rustic comfort of pâté and terrines, crafting charcuterie at home offers a uniquely rewarding culinary adventure. Yet, for beginners, this realm can seem daunting. Questions around safety, sourcing, equipment, and step-by-step processes abound—and for good reason. Charcuterie is equal parts art and science, requiring attention to detail, patience, and strict adherence to food safety. This comprehensive guide demystifies the journey, providing a step-by-step setup, a detailed equipment list, critical safety insights, and practical tips for budget-conscious home charcutiers. Whether you’re starting with a simple duck breast or envisioning house-cured sausages, discover how to transform your kitchen into a hub of craft, flavor, and culinary culture.
Understanding Charcuterie: Beyond the Board
What Is Charcuterie?
Charcuterie refers to the preservation and transformation of meat through salting, curing, fermentation, smoking, and aging. Classic charcuterie includes cured whole muscles (like coppa or bresaola), sausages (salami, chorizo), pâtés, terrines, and confits. While often associated with elaborate boards, the heart of charcuterie lies in the preparation process—an age-old craft designed to enhance flavor and increase shelf life.
Why Make Charcuterie at Home?
- Flavor Control: Tailor seasonings, textures, and salt levels to your preferences.
- Ingredient Transparency: Choose quality meats and avoid unwanted additives.
- Culinary Skill-Building: Learn techniques that deepen your cooking repertoire.
- Connection to Tradition: Engage with food history and cultural practices.
- Economics: Home-cured meats can be more cost-effective than artisan products.
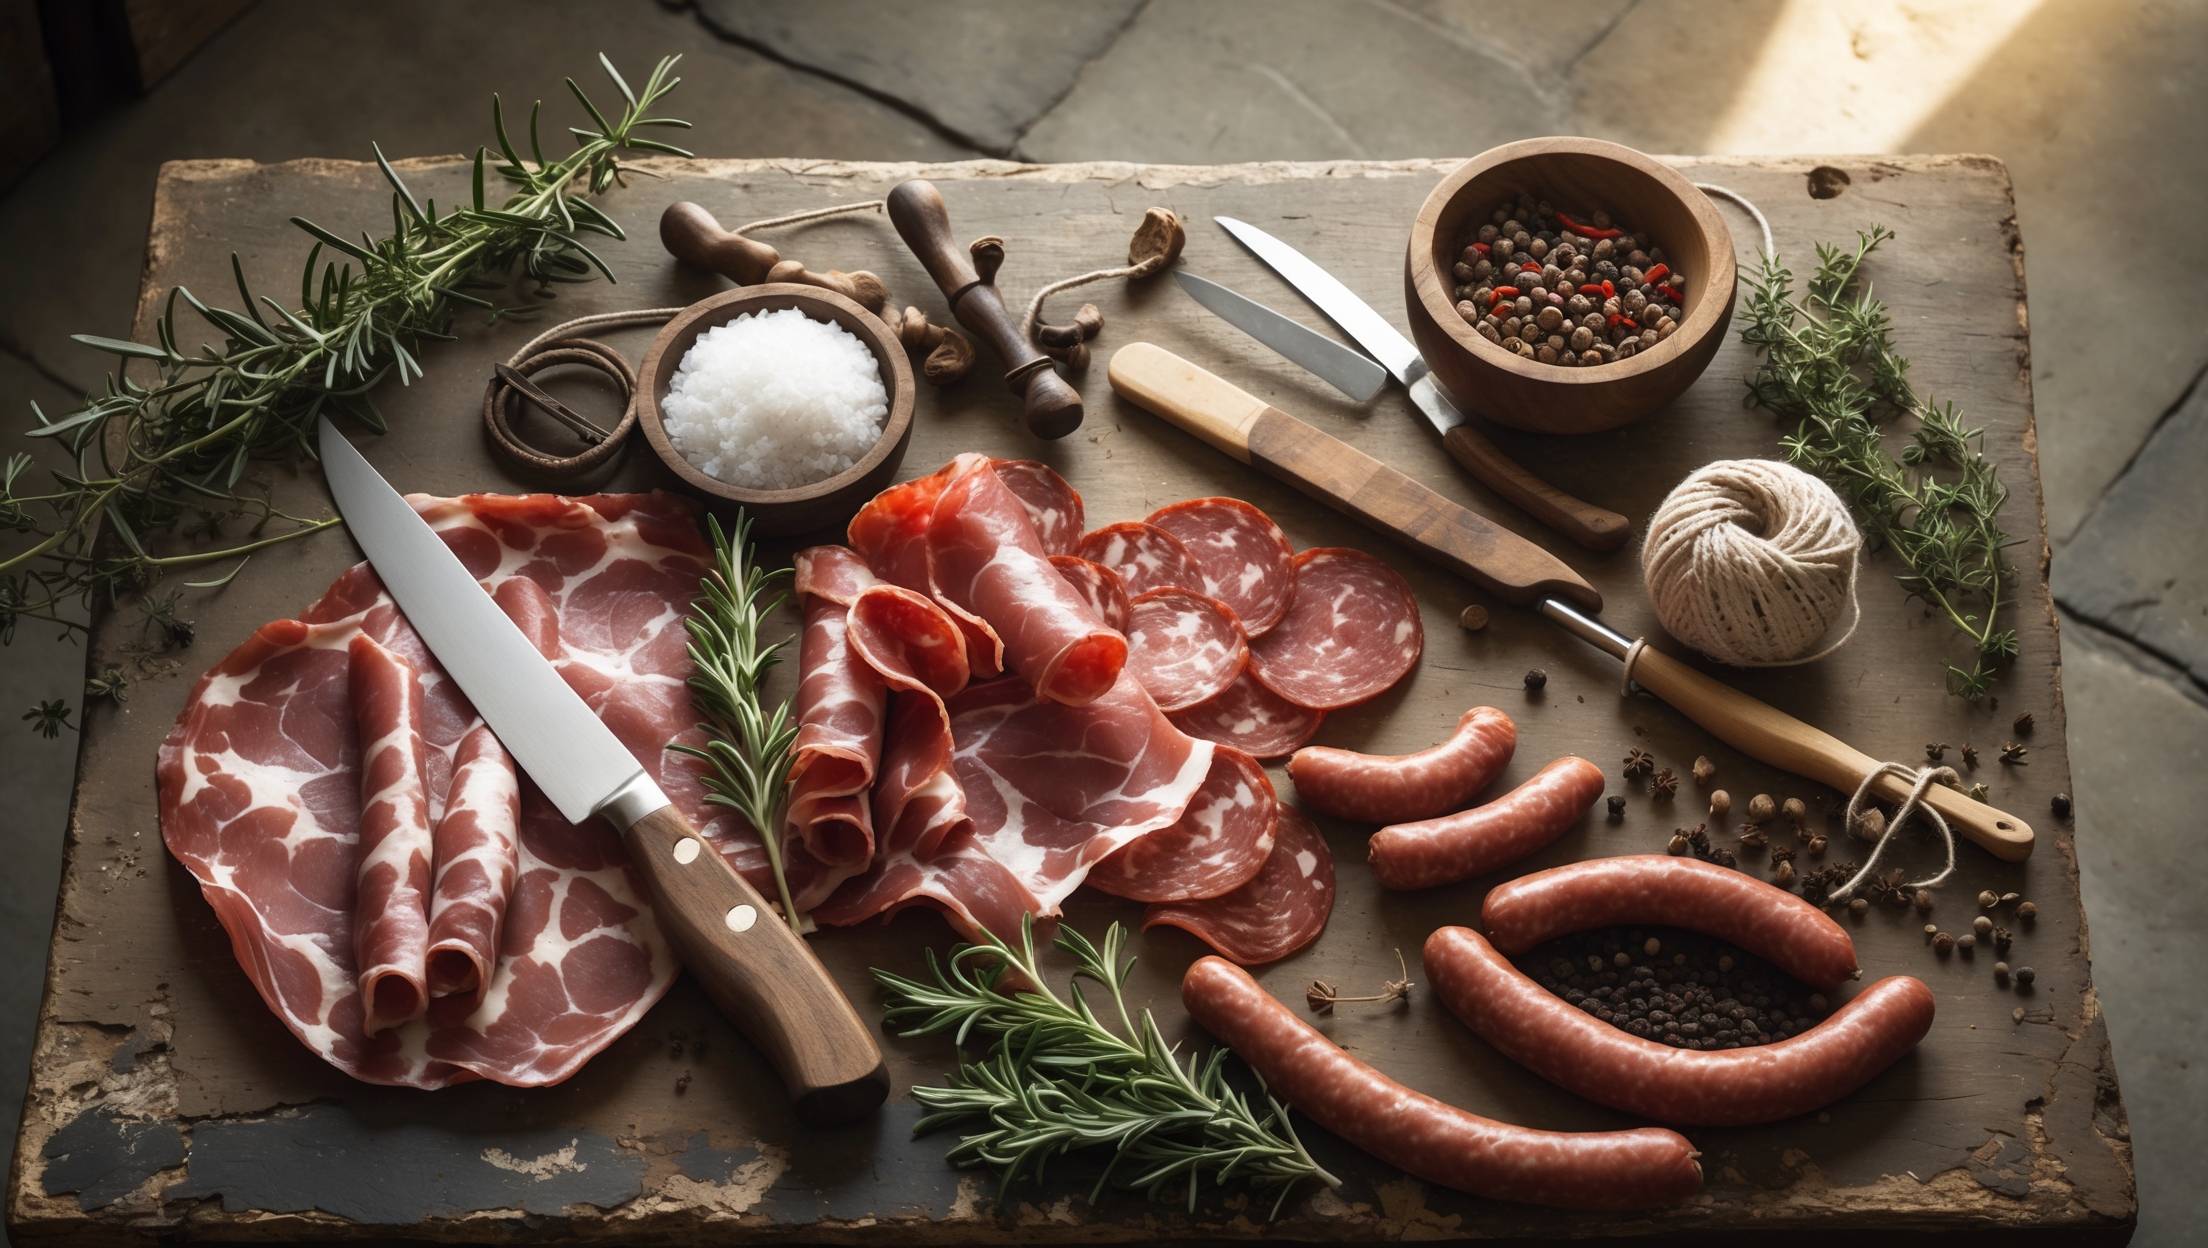
Essential Tools and Equipment: Building Your Charcuterie Setup
Core Equipment List
- Digital Scale (0.1g accuracy): For precise measurement of salt, curing agents, and spices.
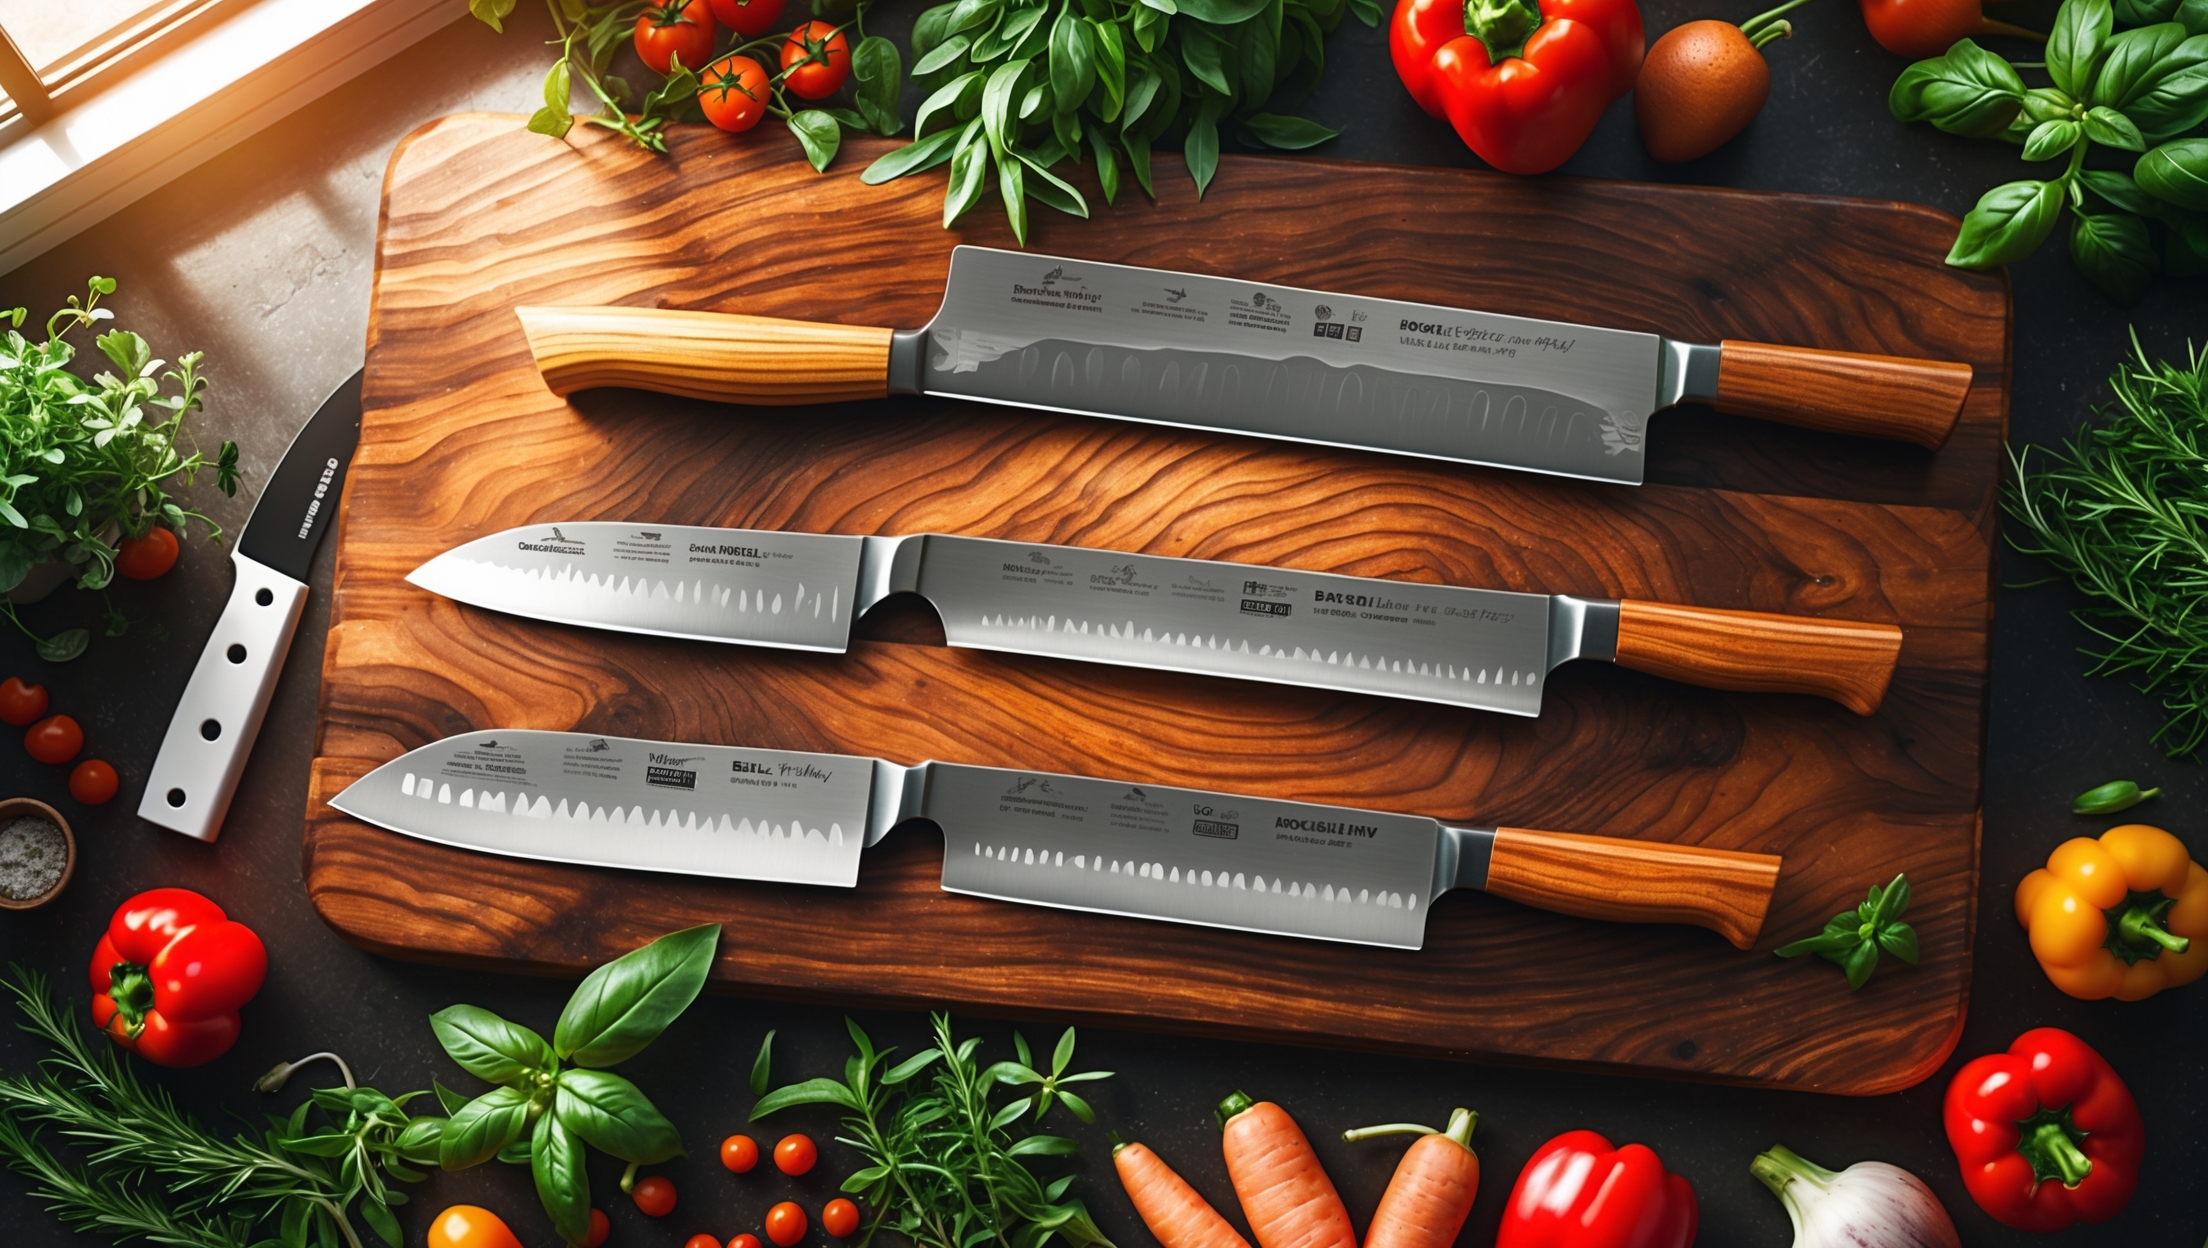
- Sharp Boning Knife: For trimming and portioning meats.
- Meat Grinder: Essential for fresh sausages and ground charcuterie. Choose stainless steel for easy cleaning.
- Sausage Stuffer: For filling casings without air pockets.
- Mixing Bowls (Stainless Steel): For marinating and mixing meat with seasonings.
- Vacuum Sealer or Zip Bags: For curing and storing meats under controlled conditions.
- Curing Chamber (or Modified Fridge): Maintains temperature (50–60°F/10–16°C) and humidity (65–80%).
- Thermometer and Hygrometer: For monitoring curing chamber conditions.
- Butcher’s Twine: For tying and hanging whole muscles.
- Non-Iodized Salt and Curing Salts: Kosher salt for flavor; pink curing salt #1 and #2 for preservation and safety.
- Casings: Natural hog/sheep casings or collagen casings for sausages.
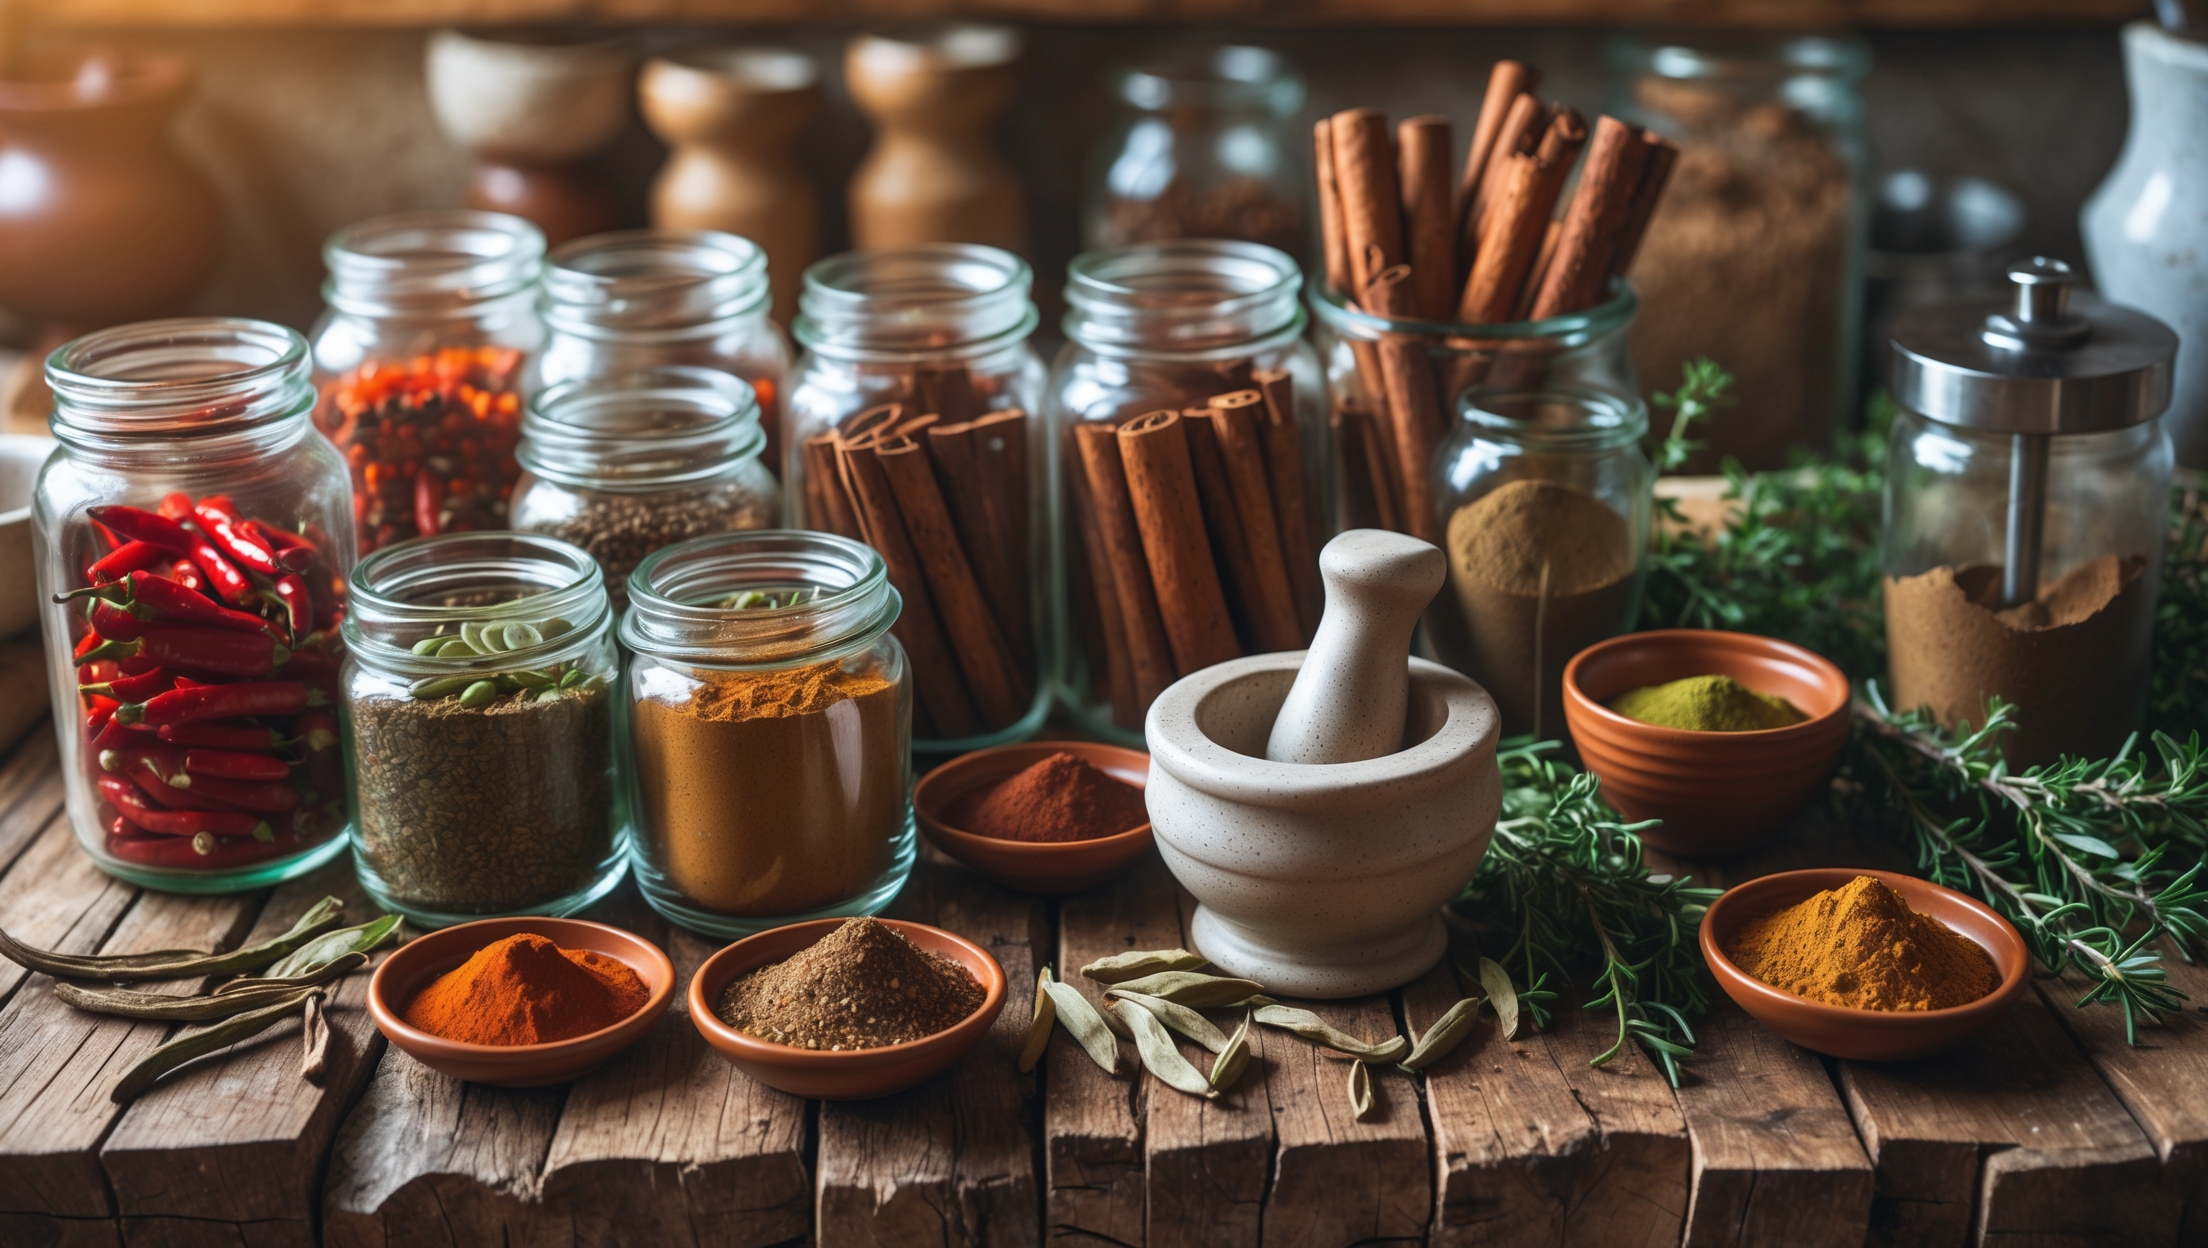
- Spices and Herbs: Whole and ground for custom blends.
- Food-Safe Gloves and Sanitizer: For safe handling and cleaning.
Starter Budget Tips
- Start with a small digital scale, basic knife, and a hand grinder for simple projects.
- Repurpose an old fridge with a humidity controller for an affordable curing chamber.
- Buy spices in bulk and share with fellow enthusiasts to reduce costs.
- Look for local butchers or farmers’ markets for quality, cost-effective meat cuts.
Step-by-Step Setup: Your First Charcuterie Project
Step 1: Choosing and Preparing Meat
Select fresh, high-quality meat from a reputable source. Pork shoulder, duck breast, or beef eye of round are excellent beginner choices. Trim excess fat and sinew while maintaining enough fat for flavor and texture.
Step 2: Measuring Ingredients Precisely
Weigh meat and all ingredients. Salt should be 2–3% of total meat weight; curing salts (as per recipe) are crucial for inhibiting harmful bacteria. Over- or under-measuring is a common beginner mistake—use your digital scale without guesswork.
Step 3: Seasoning and Curing
Mix salt, curing salt, and spices evenly. Massage into the meat, ensuring full coverage. For whole muscles, place in a vacuum-sealed or zip bag and refrigerate for the recommended period (typically 5–14 days, turning daily). For sausages, mix meat and seasonings, then chill thoroughly before grinding and stuffing into casings.
Step 4: Setting Up the Curing Environment
- Temperature: 50–60°F (10–16°C) for slow, controlled curing.
- Humidity: 65–80% to prevent case hardening and promote even drying.
- Use a dedicated curing chamber or a modified fridge with a temperature and humidity controller. Monitor daily with a thermometer and hygrometer.
- Hang meats with space for airflow; avoid crowding.
Step 5: Monitoring and Aging
Check meats daily for mold (white is typically good; green/black is not), weight loss (aim for 30–40% for most cured meats), and aroma (should be pleasantly meaty, not sour or rotten). Document progress with a logbook. Aging can take 2 weeks (small sausages) to several months (whole muscles).
Charcuterie Safety: Critical Practices for Home Curers
Understanding the Risks
Improper curing can lead to the growth of dangerous bacteria (botulism, listeria, salmonella). Professional charcutiers rely on tested recipes, precise measurements, and controlled environments to ensure safety. Home curers must be equally diligent.
Must-Know Safety Protocols
- Always use tested, reputable recipes—never improvise salt or curing salt amounts.
- Maintain strict hygiene: Sanitize all equipment, surfaces, and hands before and after handling meat.
- Monitor temperature and humidity daily.
- Discard any meat with signs of black, green, or fuzzy mold, or unpleasant odors.
- Label all products with start date, ingredients, and expected finish date.
- Use food-safe nitrile gloves for all handling and tying.
- Store finished charcuterie in the fridge or freezer if not consuming immediately.
Common Beginner Mistakes to Avoid
- Using table salt with additives (iodine or anti-caking agents)
- Guessing salt/curing salt amounts instead of weighing
- Skipping humidity control, leading to case hardening or spoilage
- Neglecting daily checks, allowing mold or bacteria to proliferate
- Improper cleaning of grinders and stuffers, leading to cross-contamination
Going Beyond: Flavor Experiments and Advanced Projects
Custom Spice Blends
Experiment with black pepper, fennel, garlic, juniper, smoked paprika, or wine. Toast whole spices before grinding for deeper flavor. Keep detailed notes to replicate or tweak successful blends.
Fermented Sausages
Advanced charcuterie includes fermented sausages, which require starter cultures (like Bactoferm) and careful monitoring of pH (target below 5.3) to ensure safety. Invest in pH strips or a digital pH meter if you want to explore this realm.
Smoking and Cooking
Cold-smoking adds complexity to some cured meats but requires strict temperature control. Hot-smoking can fully cook and preserve meats like smoked duck breast or kielbasa. Always follow tested guidelines for time and temperature.
Storage and Serving: Preserving Your Efforts
Proper Storage
- Wrap finished charcuterie in parchment, then plastic, and store in the fridge for up to several weeks.
- Vacuum-seal and freeze for longer storage, up to 6 months (texture may change slightly).
- Keep a dedicated meat drawer or container to avoid cross-contamination.
Serving Suggestions
- Slice meats thinly with a sharp knife or slicer.
- Pair with crusty bread, pickles, mustards, and cheeses for a classic board.
- Use trimmings in pasta, risotto, or omelets for zero waste.
Case Study: From Novice to Confident Home Charcutier
Consider the journey of Anna, a home cook who started with duck breast prosciutto—a simple project requiring only salt, patience, and a dedicated fridge shelf. After mastering the basics, she upgraded to a DIY curing chamber using a dorm fridge, humidity controller, and small fan. By following tested recipes, weighing every ingredient, and logging each batch, Anna gradually expanded to coppa and fennel salami, gaining confidence and sharing her creations with friends and family. Her biggest lessons? Invest in a good scale, never skip daily checks, and don’t rush the aging process. Anna’s story shows that with attention to detail and a respect for safety, home charcuterie is accessible, affordable, and deeply rewarding.
Conclusion: Embracing Craft, Culture, and Flavor at Home
Home charcuterie is more than a kitchen project—it’s an invitation to explore food traditions, refine your craft, and savor the remarkable transformation of simple ingredients into culinary treasures. While the process demands care, patience, and an investment in basic tools, the rewards are profound: distinctive flavors, newfound skills, and a tangible connection to culinary heritage. By starting with tested recipes, prioritizing safety, and gradually expanding your repertoire, you’ll find that each batch unlocks new tastes and textures—and a deeper appreciation for the intricacies of food craft. As you slice into your first home-cured salami or share a platter of savory duck prosciutto, you’ll experience the joy of creation and the satisfaction of sharing flavor forged by your own hands. Whether you aspire to master advanced techniques or simply want to elevate your next gathering, home charcuterie offers a delicious, enriching path into the world of taste, craft, and culinary culture. So gather your tools, select your spices, and embark on a journey that blends science, art, and the pleasures of the table—one savory bite at a time.


You mention that attention to food safety is critical when making charcuterie at home. As a beginner, what are the most common safety mistakes people make, and are there particular tools or processes you recommend to avoid them?
The most common safety mistakes are improper handling of raw meat, not keeping work surfaces clean, and inaccurate temperature control during curing. To avoid these, always use a food thermometer to check temperatures, sanitize your tools and surfaces regularly, and use dedicated cutting boards for meat. Using a digital scale for precise salt measurements also helps ensure safe curing and prevents spoilage.
You mention ingredient transparency as an advantage of making charcuterie at home. Are there specific types of meats or cuts from the grocery store that are safer or better for beginners to use when starting out?
When starting out with homemade charcuterie, it’s best to use fresh, whole muscle cuts like pork loin, beef eye of round, or boneless chicken breast, as these are easier to handle and cure safely. Choose meats labeled as ‘fresh,’ with no added solutions or preservatives, and look for cuts from reputable sources. Avoid pre-ground meats until you’re comfortable with the basics, since whole cuts reduce contamination risk and are more straightforward for beginners.
I’m intrigued by the mention of both whole muscle cures and sausages. For someone just starting out, would you suggest trying a simple whole muscle cure like bresaola first, or are there beginner-friendly sausage recipes that are safe and manageable at home?
Starting with a whole muscle cure like bresaola is often simpler for beginners because there are fewer steps and less equipment involved. You mainly need good-quality beef, curing salt, and a way to hang the meat in a controlled environment. Sausage making can be beginner-friendly too, but it usually involves grinding, mixing, stuffing, and careful attention to temperatures. Both are possible, but bresaola tends to be more straightforward and lower risk for your first project.
The article points out that charcuterie allows for a lot of flavor control and ingredient transparency. If I’m on a college budget, are there specific tools or cuts of meat you’d recommend that offer the best balance between affordability and quality for beginners?
For a college budget, you can start with basic tools like a sharp chef’s knife, a cutting board, and mixing bowls—no need for expensive equipment. Pork shoulder and chicken thighs are affordable cuts that work well for homemade charcuterie. These options give you good flavor and texture without breaking the bank, and you can experiment with different seasonings to suit your taste.
As someone who wants to try making charcuterie at home but is worried about food safety, could you explain what specific equipment or steps are non-negotiable to prevent any health risks, especially when curing meats for the first time?
When curing meats at home, a reliable refrigerator or dedicated curing chamber with precise temperature and humidity controls is essential. Always use a food-grade thermometer and hygrometer to monitor these conditions. Cleanliness is critical: sterilize all tools and surfaces before use. Use curing salts (like Prague Powder #1 or #2) as directed for safety, and never skip recommended salt and time amounts. Following these steps greatly reduces health risks during charcuterie making.
After reading about the different types of charcuterie like pâtés, terrines, and sausages, which would you recommend a total beginner try first? I’d like something that has a good balance of being safe, tasty, and not too intimidating for someone new to the process.
For beginners, making a simple pâté is a fantastic starting point. Pâtés are generally easier and safer to prepare at home than sausages, as they don’t require specialized casing or fermentation. You can start with a basic chicken liver pâté, which is delicious, quick to make, and gives you a good feel for charcuterie without overwhelming steps.
How long does the entire process typically take for a beginner-friendly charcuterie like a simple duck breast, from initial prep through to being ready to eat? I’m trying to get a sense of the time commitment before getting started.
For a beginner-friendly charcuterie like simple duck breast (duck prosciutto), the process usually takes about 7 to 10 days from start to finish. Preparation and seasoning only take about 30 minutes, but the bulk of the time is spent air-drying the duck breast in a cool place, which is essential for safety and flavor development. So, you’ll be actively working for less than an hour, but you’ll need to wait at least a week before it’s ready to eat.
You talk about transforming your kitchen into a charcuterie hub, but I’m wondering how long the whole process typically takes for a beginner, from preparing the meat to actually being able to serve it. Is this something that can be done in a weekend, or does it usually require weeks?
Making traditional charcuterie usually takes much longer than a weekend. Most cured meats, like salami or prosciutto, require several weeks or even months to fully cure and develop their flavors. Even simpler projects, such as homemade bacon or duck confit, generally need at least a week. For a true charcuterie experience, plan for an extended timeline, but you can start with quicker pickled vegetables or spreads for same-day results.
For someone new to making charcuterie, how long does it typically take to successfully cure something simple like duck breast, and are there signs I should watch for to know it’s progressing safely?
Curing duck breast at home, like making duck prosciutto, usually takes about 7 to 10 days. As it cures, the breast should lose about 30% of its initial weight. Safe progression signs include a firm texture, a pleasant aroma, and no signs of sliminess or fuzzy mold (white powdery mold can be normal, but green, black, or pink mold is not). Always cure in a cool place and check daily for any strange smells or textures.
If I want to try making duck breast or a simple terrine to start, about how long does the curing and preparation process usually take before it’s safe and ready to eat? I’m trying to plan my first project around a family event.
For duck breast (like duck prosciutto), curing typically takes about 7 to 10 days in the fridge, plus a few additional days to air dry. A simple terrine generally requires 1 to 2 days: preparing and chilling overnight so the flavors develop and it sets properly. Be sure to factor in cooling time before serving either at your family event.
For someone new to charcuterie and a bit nervous about safety, what is the easiest beginner project you recommend starting with? The article mentions duck breast and salami, but are there specific meats that are less risky or more forgiving for first-timers?
For beginners who are concerned about safety, starting with homemade cured meats like pancetta or simple bacon is a great option. These are more forgiving because they involve curing in the fridge rather than air-drying at room temperature, reducing the risk of spoilage. You can also try making gravlax (cured salmon), which is quick, easy, and requires only refrigeration. These projects help you build confidence before moving on to air-dried meats like duck breast or salami.
I noticed you included tips for those on a budget. Could you give some examples of basic equipment that I really need to get started, and what’s okay to improvise with kitchen tools I already have?
To start making your own charcuterie, the essentials are a sharp knife, a sturdy cutting board, and some airtight containers for storing your meats. You can improvise with items like clean kitchen towels for drying, and large pots or roasting pans for brining, instead of buying specialized tubs. Fancy slicers or sausage stuffers are helpful but not necessary for most beginner recipes.
I’m interested in trying out a simple duck breast as suggested. What kind of affordable equipment would you recommend for someone just starting out, and are there any tools you think are unnecessary for beginners?
For curing a simple duck breast, start with affordable basics like a sharp knife, a small digital scale for measuring salt, and a refrigerator. A standard baking rack and tray work well for air circulation during drying. Vacuum sealers and fancy curing chambers aren’t necessary at first—paper towels and plastic wrap can do the job for beginners. Focus on freshness and cleanliness over specialized gear when you’re just starting out.
I’m intrigued by the mention of starting with something simple like duck breast—could you clarify what a basic step-by-step process for curing a duck breast might look like? How long does it typically take from start to finish?
To cure a duck breast, first trim and pat it dry. Coat it thoroughly with a mix of salt, sugar, and any desired spices. Wrap it in cheesecloth and refrigerate it on a rack for about 24 hours. Then, rinse off the cure, dry the breast, and hang it back in the fridge or a cool place for 1–2 weeks until firm. The whole process usually takes 7 to 14 days.
I noticed you reference both sausages like salami and whole muscle cures such as coppa in your overview. For someone new to charcuterie, are there significant differences in the equipment or safety concerns between starting with a sausage versus a whole muscle project?
Yes, there are some key differences. Sausages like salami require a meat grinder, sausage stuffer, and casings, and there’s a greater risk of harmful bacteria because the meat is ground and mixed. Strict temperature, humidity, and hygiene control are crucial. Whole muscle cures like coppa need less specialized equipment—just good knives, twine, and a curing chamber or fridge. They generally have fewer safety risks if handled properly, making them a bit easier for beginners.
How long should a first-timer expect the process to take from start to finish for something like homemade salami, and are there any signs that would indicate if the curing is not progressing correctly?
For homemade salami, beginners should expect the process to take anywhere from 3 to 8 weeks, depending on the recipe and size of the salami. Key signs that curing isn’t going well include unpleasant smells (like strong rotting or sour odors), slimy textures, fuzzy or brightly colored mold, or an overly mushy texture. If you notice any of these, it’s safest to discard the batch.
For someone interested in charcuterie but on a tight budget, are there affordable ways to source quality meats or starter cultures in the US, or do you have recommendations for budget-friendly alternatives to pricier cuts?
You can find quality meats at lower prices by shopping at local butchers, ethnic grocery stores, or wholesale clubs, which often offer good deals on whole cuts. For starter cultures, several online retailers sell small, affordable packets suitable for beginners. Pork shoulder, chicken thighs, and turkey are budget-friendly alternatives to pricier meats like prosciutto or duck, and still work well for charcuterie projects.
You mentioned budget-friendly tips for beginners—what kind of affordable equipment can I get started with if I don’t have a dedicated curing chamber? Is a regular home fridge with some tweaks good enough for stuff like duck prosciutto or bresaola?
A regular home fridge can work for beginners making duck prosciutto or bresaola, as long as you manage humidity and airflow. Try using a small USB fan for air circulation and a container with salt or a bowl of water to help regulate humidity. Affordable kitchen scales, butcher’s twine, and a good sharp knife are also all you need to start. Just check your meats regularly for mold and adjust conditions if needed.
You mention that charcuterie requires strict attention to food safety, especially for beginners. Are there specific food safety certifications or resources you’d recommend for someone just starting out in the US, or is following careful guidelines from reputable sources usually sufficient?
For beginners, following detailed guidelines from reputable sources like the USDA or CDC is usually sufficient for safe charcuterie making at home. If you’re interested in more formal education, you might consider food handler certification, which is available online and covers key safety principles. This isn’t required for home use but can boost your understanding and confidence.
You mention that charcuterie requires strict attention to food safety. As a beginner working from a home kitchen, what are the most critical safety steps I should never skip when trying my first cured sausage or duck breast?
When making cured sausage or duck breast at home, always keep your workspace, tools, and hands meticulously clean to prevent contamination. Use a reliable food thermometer to ensure meat stays within safe temperature ranges, both during curing and storage. Always use the correct amount of curing salt (like Prague Powder) as specified in trusted recipes. Make sure to cure in a controlled environment, monitoring humidity and temperature closely. Never skip these steps to help ensure your charcuterie is safe and delicious.
You mention that charcuterie offers a way to control flavors and ingredients. For someone new to sourcing meats in the US, do you have advice on finding high-quality but affordable cuts suitable for home curing, especially if local butchers aren’t available nearby?
If you don’t have a local butcher, try checking larger grocery stores that carry whole cuts of pork, beef, or poultry—look for sales or bulk packages to save money. Ethnic markets often have good selections and prices, especially for cuts like pork shoulder or belly. Buying directly from local farms or at farmers’ markets, if available, can also offer quality options. Always choose fresh, unprocessed cuts with good marbling for best curing results.
I noticed the article mentions both curing whole muscles like coppa and making sausages such as salami. For a complete beginner, is there a significant difference in the required equipment or safety procedures between these two approaches, or can the same basic setup work for both?
There are some differences between curing whole muscles and making sausages, especially when it comes to equipment and safety. Whole muscles like coppa mainly require a good curing chamber, a reliable scale, and proper wrapping materials. Sausage-making, like salami, adds a few more steps: you’ll need a meat grinder, sausage stuffer, and extra care with mixing, stuffing, and ensuring fermentation. Both methods demand close attention to cleanliness and temperature control, but sausages usually require more precise humidity and starter cultures for safety. Beginners can start with whole muscles for a simpler process before moving on to sausages.
I’m curious about the best way for beginners to source quality meat for home charcuterie, especially if they’re limited to what’s available at standard grocery stores. Are there specific cuts or types of meat you’d recommend starting with to ensure safety and good results?
For beginners working with standard grocery stores, opt for fresh, whole cuts like pork shoulder, beef eye of round, or boneless chicken thighs, as these are easier to handle and cure safely. Look for meat with minimal additives or enhancements. Avoid pre-ground meats or pre-marinated products, since they can introduce bacteria or unwanted flavors. Always check for freshness and handle meats with clean tools and surfaces to support food safety.
I’m curious about sourcing quality meats for home charcuterie, as the article brings up ingredient transparency. Are there specific recommendations for finding trustworthy local suppliers or questions to ask at the butcher shop to get started?
When sourcing meats for home charcuterie, it’s smart to look for local butchers or small farms that can tell you exactly where their meat comes from. Ask about the animal’s origin, how it was raised, and whether antibiotics or hormones were used. Look for suppliers who are open about their sourcing and curing processes. If possible, choose meats labeled as pasture-raised or organic for better quality and traceability.
You mention a detailed equipment list for budget-conscious home charcutiers. Are there any tools in particular that I can substitute with common kitchen items before investing in specialized gear?
Absolutely, you can start charcuterie at home without buying all the specialized equipment right away. A sharp chef’s knife can replace a meat slicer for most cuts, and a basic mixing bowl can stand in for a dedicated meat mixer. For weighing ingredients, a regular digital kitchen scale works well. If you don’t have a curing chamber, your regular refrigerator or a cool basement can often suffice for some beginner recipes. This way, you can begin experimenting before investing in specific tools.
The article mentions being budget-conscious when getting started with charcuterie at home. What are some essential pieces of equipment that beginners absolutely need versus items that can be improvised or skipped at first?
For beginners, the essentials are a sharp kitchen knife, a sturdy cutting board, and a large tray or platter for arranging your items. These basics will let you slice meats and cheeses and display everything nicely. Specialized tools like a cheese wire, fancy serving utensils, or wooden boards can be skipped or improvised with what you already have until you decide charcuterie is a regular hobby.
I noticed you include both whole muscle cures like bresaola and sausages such as salami in your overview. For a complete beginner, is there one style that tends to be more forgiving or easier to manage when learning the basics of charcuterie at home?
For beginners, whole muscle cures like bresaola are generally easier and more forgiving than sausages such as salami. With whole muscles, you have fewer variables to control, and the risk of problems like air pockets or uneven fermentation is lower. They also require less specialized equipment. Starting with a simple whole muscle cure can help you gain confidence before moving on to more advanced sausage making.