Introduction: The Allure and Challenge of Home Fermentation
Fermentation is more than a culinary trend—it’s a transformative journey that brings together science, tradition, and tantalizing flavor. From tangy kimchi to effervescent kombucha and savory miso, fermented foods offer unique taste profiles and a host of benefits, including enhanced nutrition, probiotics, and preservation. Yet, for many home cooks and aspiring food artisans, fermentation can seem mysterious, even daunting. Stories of failed batches, funky odors, and safety worries often discourage experimentation. But here’s the truth: with the right knowledge, tools, and attention to detail, anyone can master fermentation at home. This in-depth guide explores the most frequent mistakes people make, provides actionable safety tips, and shares secrets for consistent, delicious results. Whether you’re a curious beginner or a seasoned fermenter looking to refine your craft, you’ll discover how to avoid pitfalls and unlock the full potential of this ancient art—turning your kitchen into a fermentation haven while keeping every batch safe and satisfying.
Understanding the Foundations of Fermentation
What Is Fermentation?
Fermentation is a metabolic process where microorganisms like bacteria, yeast, or molds convert sugars and other carbohydrates into acids, gases, or alcohol. This transformation not only preserves food but also develops complex flavors and textures. There are several types of fermentation—lactic acid (used in sauerkraut and yogurt), alcoholic (beer, wine), and acetic acid (vinegars)—each with distinct microbes and characteristics.
Why Ferment at Home?
- Flavor Exploration: Homemade ferments let you control ingredients, flavors, and textures.
- Health Benefits: Live cultures support gut health and digestion.
- Cost Savings: DIY fermentation is often cheaper than store-bought alternatives.
- Connection to Culinary Heritage: Fermentation links you to age-old food traditions from around the world.
The Most Common Fermentation Mistakes (And How to Avoid Them)
1. Using Unclean Equipment
Cleanliness is paramount in fermentation. Residual soap, old food particles, or dust introduce unwanted microbes that can spoil your batch or cause off-flavors. Always wash jars, weights, lids, and utensils thoroughly with hot water. Sterilization isn’t always necessary, but everything should be scrupulously clean and well-rinsed.
2. Ignoring Salt Measurements
Salt acts as a gatekeeper, encouraging beneficial bacteria while deterring harmful ones. Too little salt can allow spoilage organisms to thrive; too much can inhibit fermentation altogether. Weigh your ingredients and use precise salt ratios—generally 2–2.5% salt by vegetable weight for most lactic acid ferments.
3. Poor Ingredient Quality
Fermentation doesn’t fix bad produce. Use the freshest, highest-quality vegetables, fruits, or grains you can find. Avoid bruised, moldy, or overly soft items. Organic and locally grown options are ideal, as they often harbor beneficial native microbes.
4. Skipping the Submersion Step
Most ferments require anaerobic (oxygen-free) conditions. If vegetables or brine are exposed to air, mold and yeast can develop. Always use fermentation weights, cabbage leaves, or food-grade bags to keep ingredients submerged beneath the brine. Check daily for floaters and remove them promptly.
5. Inconsistent Temperatures
Fermentation is temperature-sensitive. Too cold, and the process slows to a crawl; too hot, and undesirable bacteria may flourish. Most vegetable ferments thrive at 65–75°F (18–24°C). Use a thermometer and avoid placing fermenting jars near ovens, windows, or direct sunlight.
6. Sealing Jars Too Tightly
Ferments generate gases. Sealing jars with airtight lids can result in dangerous pressure buildup or burst containers. Use fermentation lids with airlocks, or simply cover jars with a clean cloth and rubber band. If using screw-top lids, “burp” them daily to release gas.
7. Neglecting to Taste and Monitor Progress
Fermentation isn’t a set-it-and-forget-it process. Flavors, acidity, and textures evolve daily. Start tasting after a few days; continue until you find your preferred balance. Monitor for off-odors or visible spoilage, and trust your senses—if something smells truly rotten, discard it.
8. Disregarding Water Quality
Chlorine and chloramine in tap water can inhibit fermentation. Use filtered or dechlorinated water for brines. If you must use tap water, let it sit out overnight to allow chlorine to dissipate, or boil and cool it before using.
9. Overfilling or Underfilling Jars
Leave enough headspace (about one inch) at the top of fermenting jars to allow for expansion and bubbling. Overfilled jars can overflow; underfilled ones may expose ingredients to air. A full but not overflowing jar is the goal.
10. Rushing or Delaying the Process
Every ferment has an optimal window. Rushing to eat it too soon may yield bland results; leaving it too long could lead to mushy textures or excessive sourness. Follow recipes, but also adapt based on your kitchen conditions and taste preferences.
Fermentation Safety: Essentials for Every Batch
Recognizing Safe vs. Unsafe Signs
- Safe: Fizzing, tangy or pleasantly sour aromas, brine bubbles, mild cloudiness.
- Potentially Unsafe: Fuzzy mold (blue, black, pink, orange), strong rotten or chemical odors, slimy textures, visible rot.
White yeast (kahm yeast) is common and usually harmless; skim it off. Mold, however, is a sign to discard the entire batch.
Preventing Contamination
- Sanitize all surfaces before starting a batch.
- Wash hands thoroughly or wear food-safe gloves.
- Store ferments away from garbage cans, compost bins, or dusty areas.
- Label jars with start dates and ingredients for easy tracking.
Food Safety for Special Populations
Immunocompromised individuals, pregnant women, and children should consult healthcare professionals before consuming homemade ferments. When in doubt, pasteurize finished products by briefly heating, though live cultures will be reduced.
Essential Tools for Home Fermentation Success
Must-Have Equipment
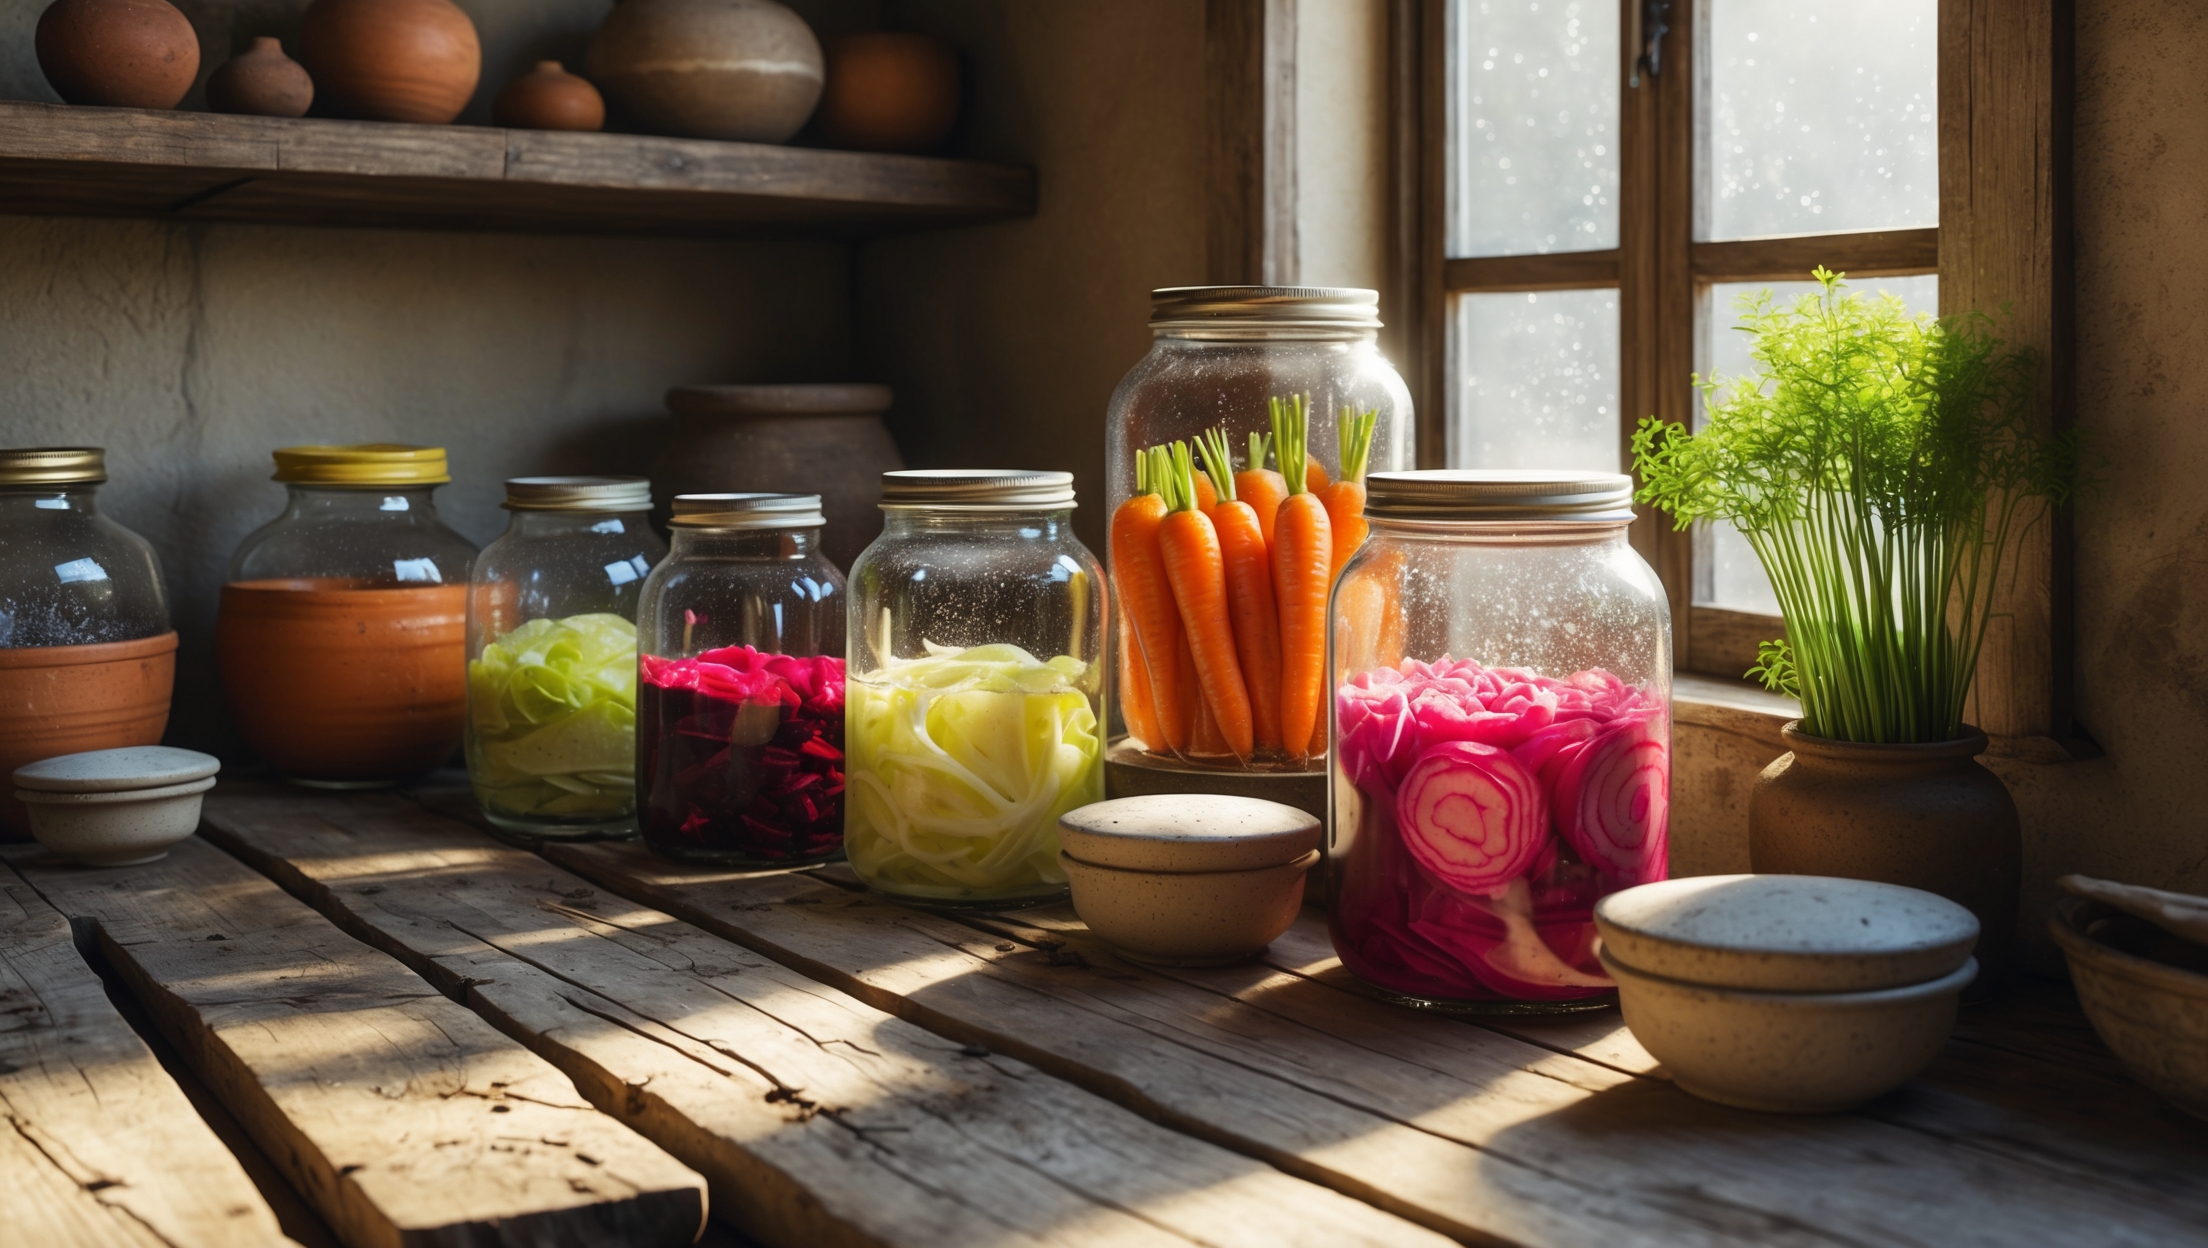
- Glass Jars or Ceramic Crocks: Non-reactive, easy to clean, and transparent for monitoring.
- Fermentation Weights: Keep contents submerged in brine.
- Fermentation Lids or Airlocks: Allow gases to escape while blocking contaminants.
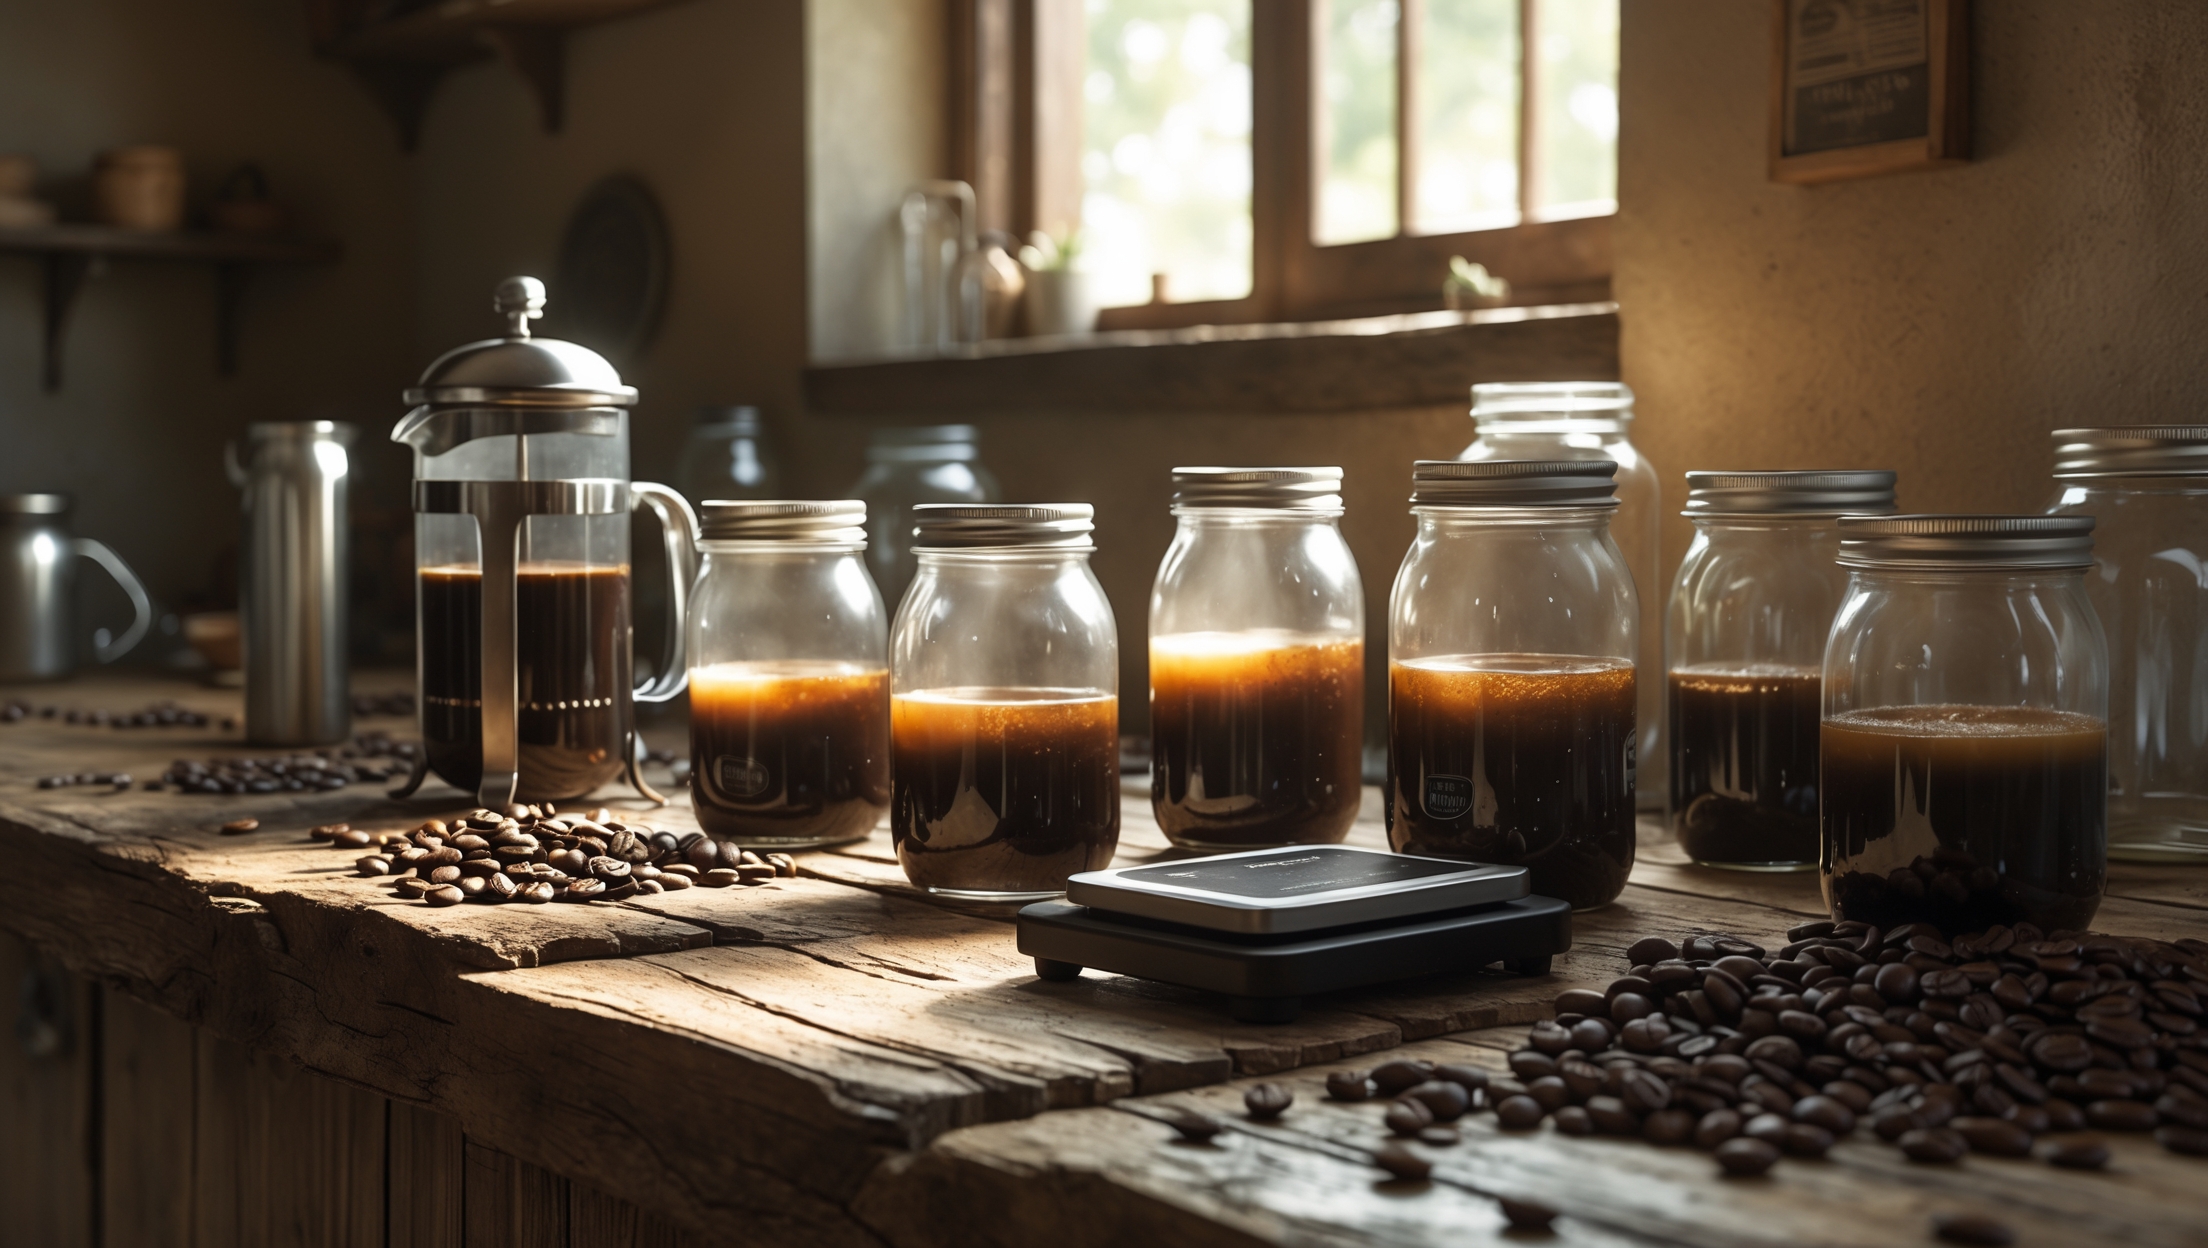
- Digital Scale: For precise salt and ingredient measurement.
- Fine-Mesh Strainer: Useful for removing solids or skimming yeast.
- Thermometer: Ensures optimal fermenting temperatures.
- pH Strips: Optional, but helpful for advanced monitoring of acidity.
Nice-to-Have Upgrades
- Mandoline or food processor for slicing vegetables evenly.
- Labeling supplies for easy batch tracking.
- Dedicated fermentation fridge for consistent temperature control.
Step-by-Step: Troubleshooting and Salvaging Fermentation Mistakes
When You Spot Mold
Surface mold (other than harmless kahm yeast) is a batch killer. Do not scrape off visible mold and consume the rest, as spores and toxins may be present throughout. Discard the batch and sanitize all equipment thoroughly before starting anew.
If Your Ferment Smells Off
Trust your senses. Sulfurous or rotting odors indicate spoilage. Occasionally, certain vegetables (like cabbage) emit strong smells early on, which dissipate. If in doubt, let the ferment progress for another day or two, but never consume anything that smells putrid or chemical-like.
Dealing with Kahm Yeast
Kahm yeast is a white, powdery film that sometimes forms on the surface. It’s not dangerous, but it can affect flavor and appearance. Skim it off with a clean spoon daily, and try to keep the ferment submerged more effectively in future batches.
Fixing Salty or Bland Ferments
- Too Salty: Rinse vegetables before serving, or mix with unsalted, fresh ingredients.
- Not Salty Enough: If caught early, add more brine at the correct ratio.
Mushy Textures
This can result from overfermentation, too much heat, or low salt levels. Use fresher produce, keep temperatures consistent, and stick to recommended fermenting times for future batches.
Crafting Consistency: Secrets to Fermentation Success
Batch Tracking and Documentation
Keep a fermentation journal. Record dates, ingredient weights, salt ratios, temperatures, and daily observations. Note flavor and texture changes, and tweak future recipes based on results. Over time, you’ll develop a personalized fermentation playbook.
Scaling Up Safely
Larger batches require proportionally scaled salt and brine ratios, as well as larger vessels. Monitor big ferments just as closely as small ones, and always err on the side of caution with cleanliness and submersion.
Experimenting with Flavors
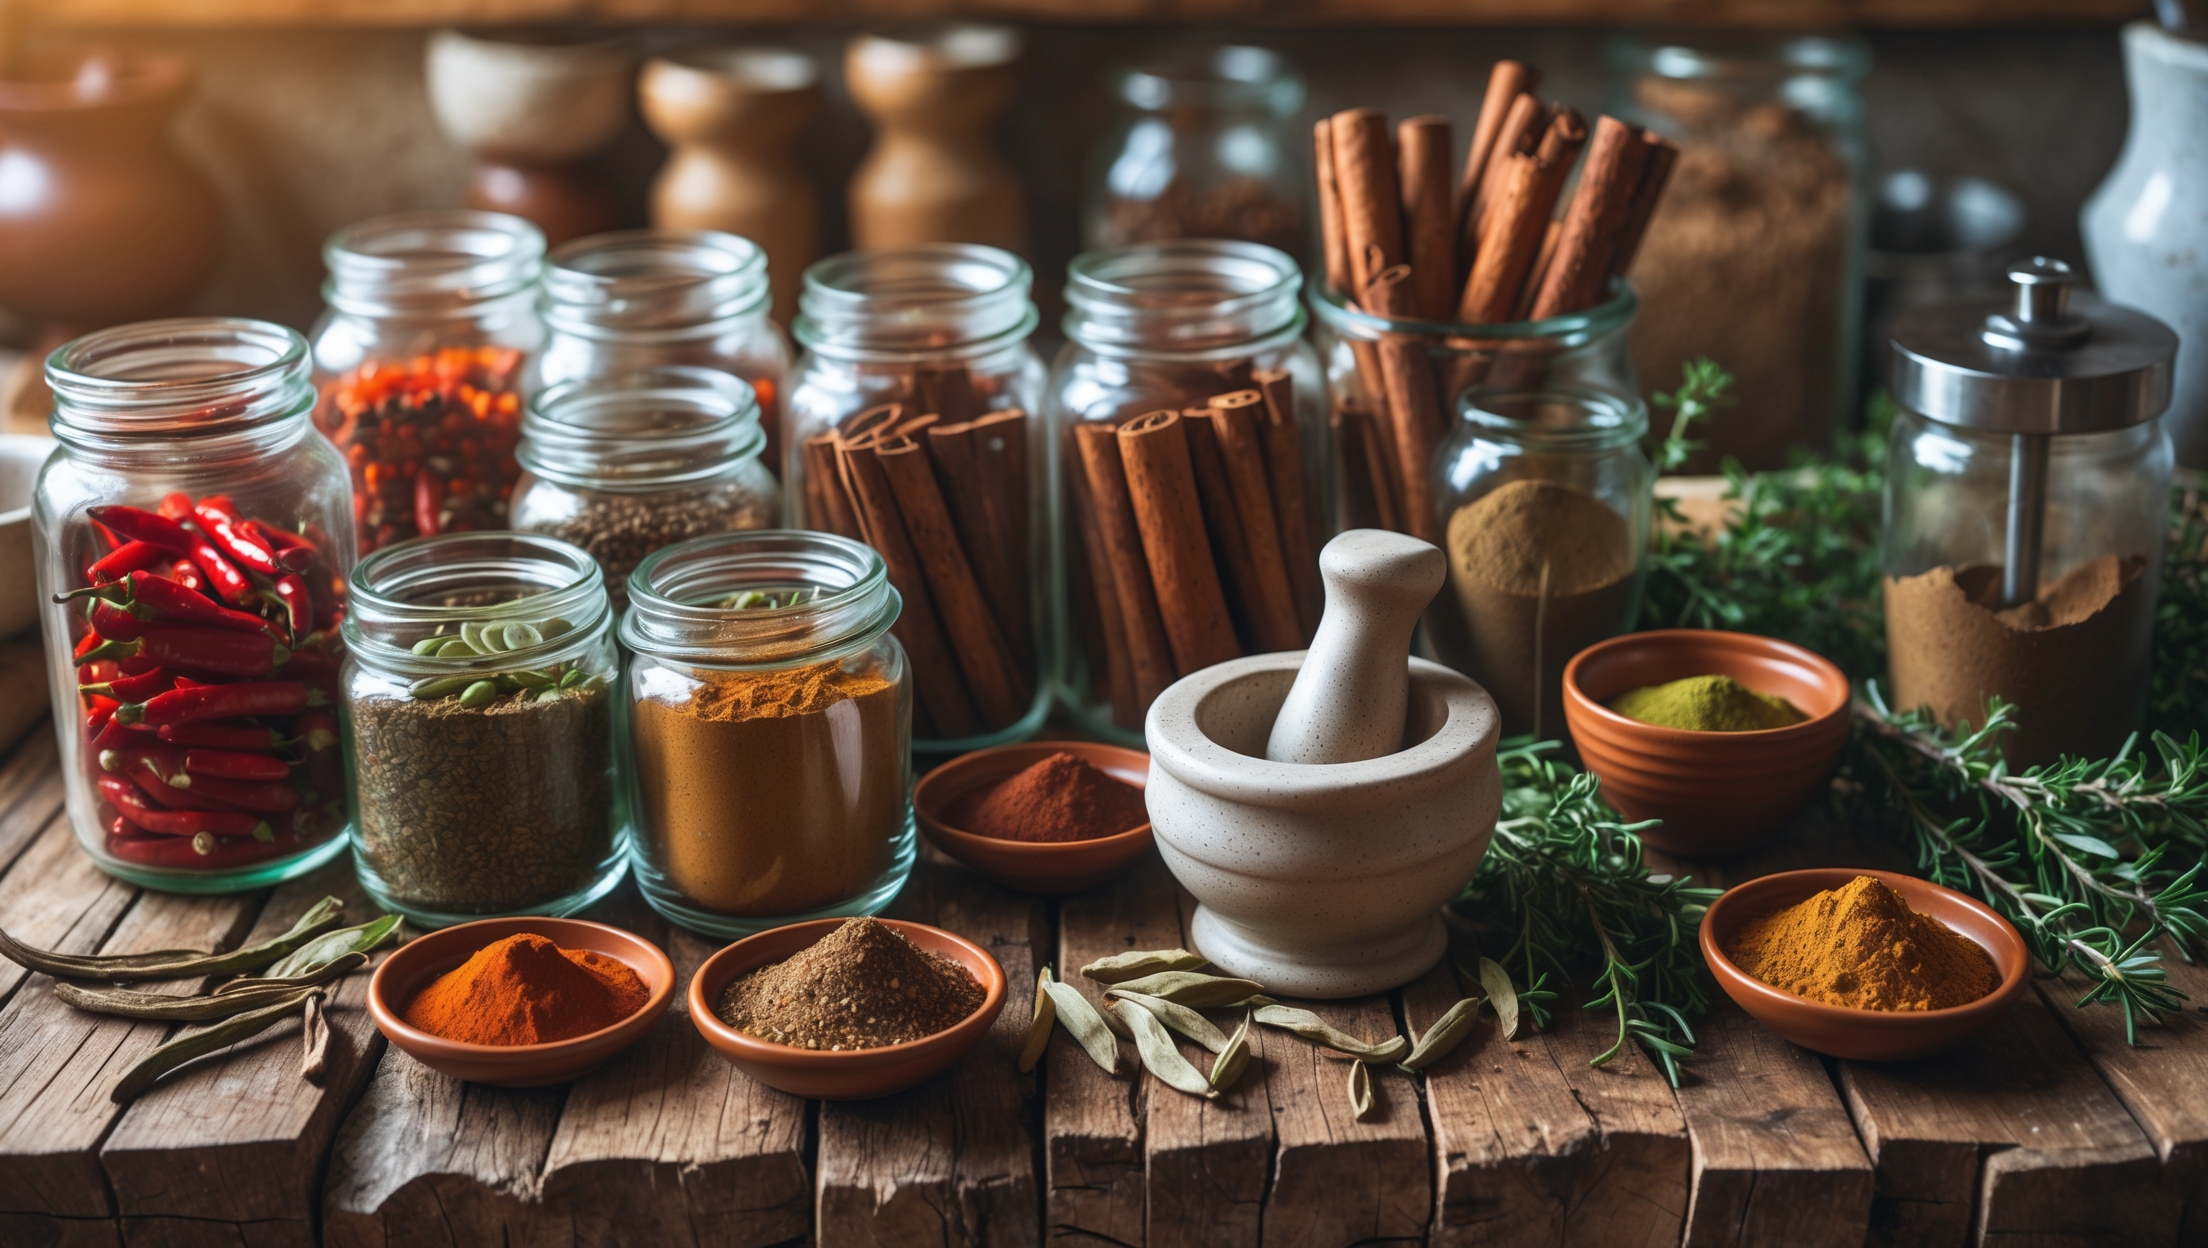
- Start with classic recipes (sauerkraut, pickles, kimchi) before branching out.
- Add spices, herbs, or aromatics after mastering the basics.
- Try mixing vegetables for unique blends, but always research compatibility and recommended salt ratios.
Storing Finished Ferments
Once you’ve reached your ideal flavor and texture, move the ferment to cold storage (a fridge or cool cellar). This slows microbial activity and preserves quality. Use clean utensils when serving to prevent contamination.
Fermentation Myths: Debunking Common Misconceptions
- Myth: All fermentation requires starter cultures.
Truth: Many ferments rely on wild, naturally occurring microbes. - Myth: If a ferment looks cloudy or bubbly, it’s gone bad.
Truth: Cloudiness and bubbles are normal signs of active fermentation. - Myth: Homemade ferments are risky.
Truth: When done properly, fermentation is safe and has been practiced for millennia.
Seasonal Fermentation: Harnessing Freshness Year-Round
Spring and Summer
- Best for cucumbers, radishes, spring onions, and soft herbs.
- Fast fermentation due to warmer temperatures; monitor closely.
Autumn and Winter
- Ideal for cabbage, root vegetables, and hearty greens.
- Cooler temperatures mean slower, more nuanced flavor development.
Planning Your Fermentation Calendar
Take advantage of seasonal abundance. Plan ferments when produce is at peak freshness and most affordable. Preserve autumn harvests for winter enjoyment and experiment with new ingredients as they come into season.
Conclusion: Transforming Mistakes into Mastery
Fermentation is a living, breathing partnership between cook, ingredient, and microbe. Mistakes are inevitable—sometimes even serendipitous—but every failed batch brings invaluable lessons. By understanding the most common pitfalls, prioritizing safety, and embracing a spirit of experimentation, you can move from tentative beginner to confident fermenter. Start small, document each attempt, and don’t let a setback discourage you. The satisfaction of cracking open a perfectly tart kraut, sipping a fizzy homemade ginger beer, or sharing a crunchy pickle with friends is well worth the effort. Remember: cleanliness, quality ingredients, meticulous submersion, and patience are your best allies. Stick to these core principles, and your kitchen will soon be brimming with colorful jars, enticing aromas, and the vibrant tastes of successful fermentation. Embrace the process, celebrate your progress, and savor the rich flavors of your own handcrafted culinary culture.

For someone who’s messed up a few batches in the past, how do you recommend troubleshooting common issues like surface mold or inconsistent textures, and at what point should you throw a ferment out versus try to salvage it?
If you spot surface mold, it’s usually safest to discard the batch, especially if the mold is fuzzy, colored, or has penetrated below the surface. For inconsistent textures, check your salt ratio, temperature, and whether everything stayed submerged—adjusting these can help in future batches. Trust your senses: if it smells off or unpleasant, don’t risk it. When in doubt, it’s better to start over than risk your health.
I’m just getting started with fermentation and the idea of things smelling weird or going wrong makes me nervous. How can I tell the difference between normal fermentation odors and signs that my batch might actually be unsafe?
It’s normal for fermented foods to develop strong, sometimes tangy or sour smells, but they shouldn’t smell rotten, putrid, or like something decaying. If you notice mold that’s fuzzy and colored (like pink, black, or green), or if the odor is offensive or makes you gag, it’s best to discard the batch. A healthy ferment usually smells pleasantly sour or yeasty rather than foul.
You mention cost savings as a benefit, but are there any essential tools or materials you always recommend budgeting for when just getting started with home fermentation to avoid common mistakes?
When starting home fermentation, some essential tools are worth budgeting for to help ensure safety and better results. I always recommend getting quality glass jars or fermentation crocks, airtight lids or fermentation weights, and a digital thermometer. A kitchen scale helps with accurate salt measurements, and a pH test strip kit is great for monitoring acidity. These basics can help you avoid common mistakes and give you more consistent, safe ferments.
You mention that fermentation offers cost savings compared to store-bought options. For someone just starting out, what are the bare minimum tools I need to safely try my first batch without spending too much upfront?
To start fermenting at home without a big investment, you’ll just need a clean glass jar (like a mason jar), salt, water, and your chosen produce. A simple lid or even a cloth with a rubber band will work for covering the jar. Make sure everything is thoroughly cleaned before use. You don’t need any fancy equipment to safely try your first batch.
You mention cost savings as a benefit to fermenting at home, but are there any must-have tools that are actually worth splurging on, or can I get by with basic kitchen stuff when starting out?
You can definitely start fermenting with basic kitchen items like mason jars, bowls, and clean cloths. However, if you plan to ferment regularly, investing in a good fermentation crock or airlock lids can help prevent mold and make the process easier. These tools aren’t essential right away, but they can be worthwhile upgrades as your interest grows.
I’ve had batches of sauerkraut go bad in the past due to what I think were safety missteps. Could you elaborate on the most common safety mistakes the article refers to, and how to identify early signs that a ferment might be unsafe to eat?
Some common safety mistakes in fermenting sauerkraut include not keeping the cabbage fully submerged under the brine, using unclean equipment, and fermenting at temperatures that are too high or too low. Early warning signs that a batch may be unsafe are a foul or rotten smell, slimy texture, or visible mold (usually fuzzy, black, pink, or orange). If any of these occur, it’s safer to discard the batch.
You talk about transforming your kitchen into a fermentation haven, but as someone new to this, what are the absolute essentials I need to get started so I don’t waste time or money on unnecessary tools?
To start fermenting at home, you only need a few essentials: clean glass jars (like Mason jars), non-metal lids or cloth covers, a mixing bowl, and a wooden spoon. For some recipes, weights (like a small jar or a fermentation weight) help keep food submerged. Avoid fancy gadgets at first—focus on high-quality salt and fresh produce. Once you get comfortable, you can explore more specialized tools if needed.