
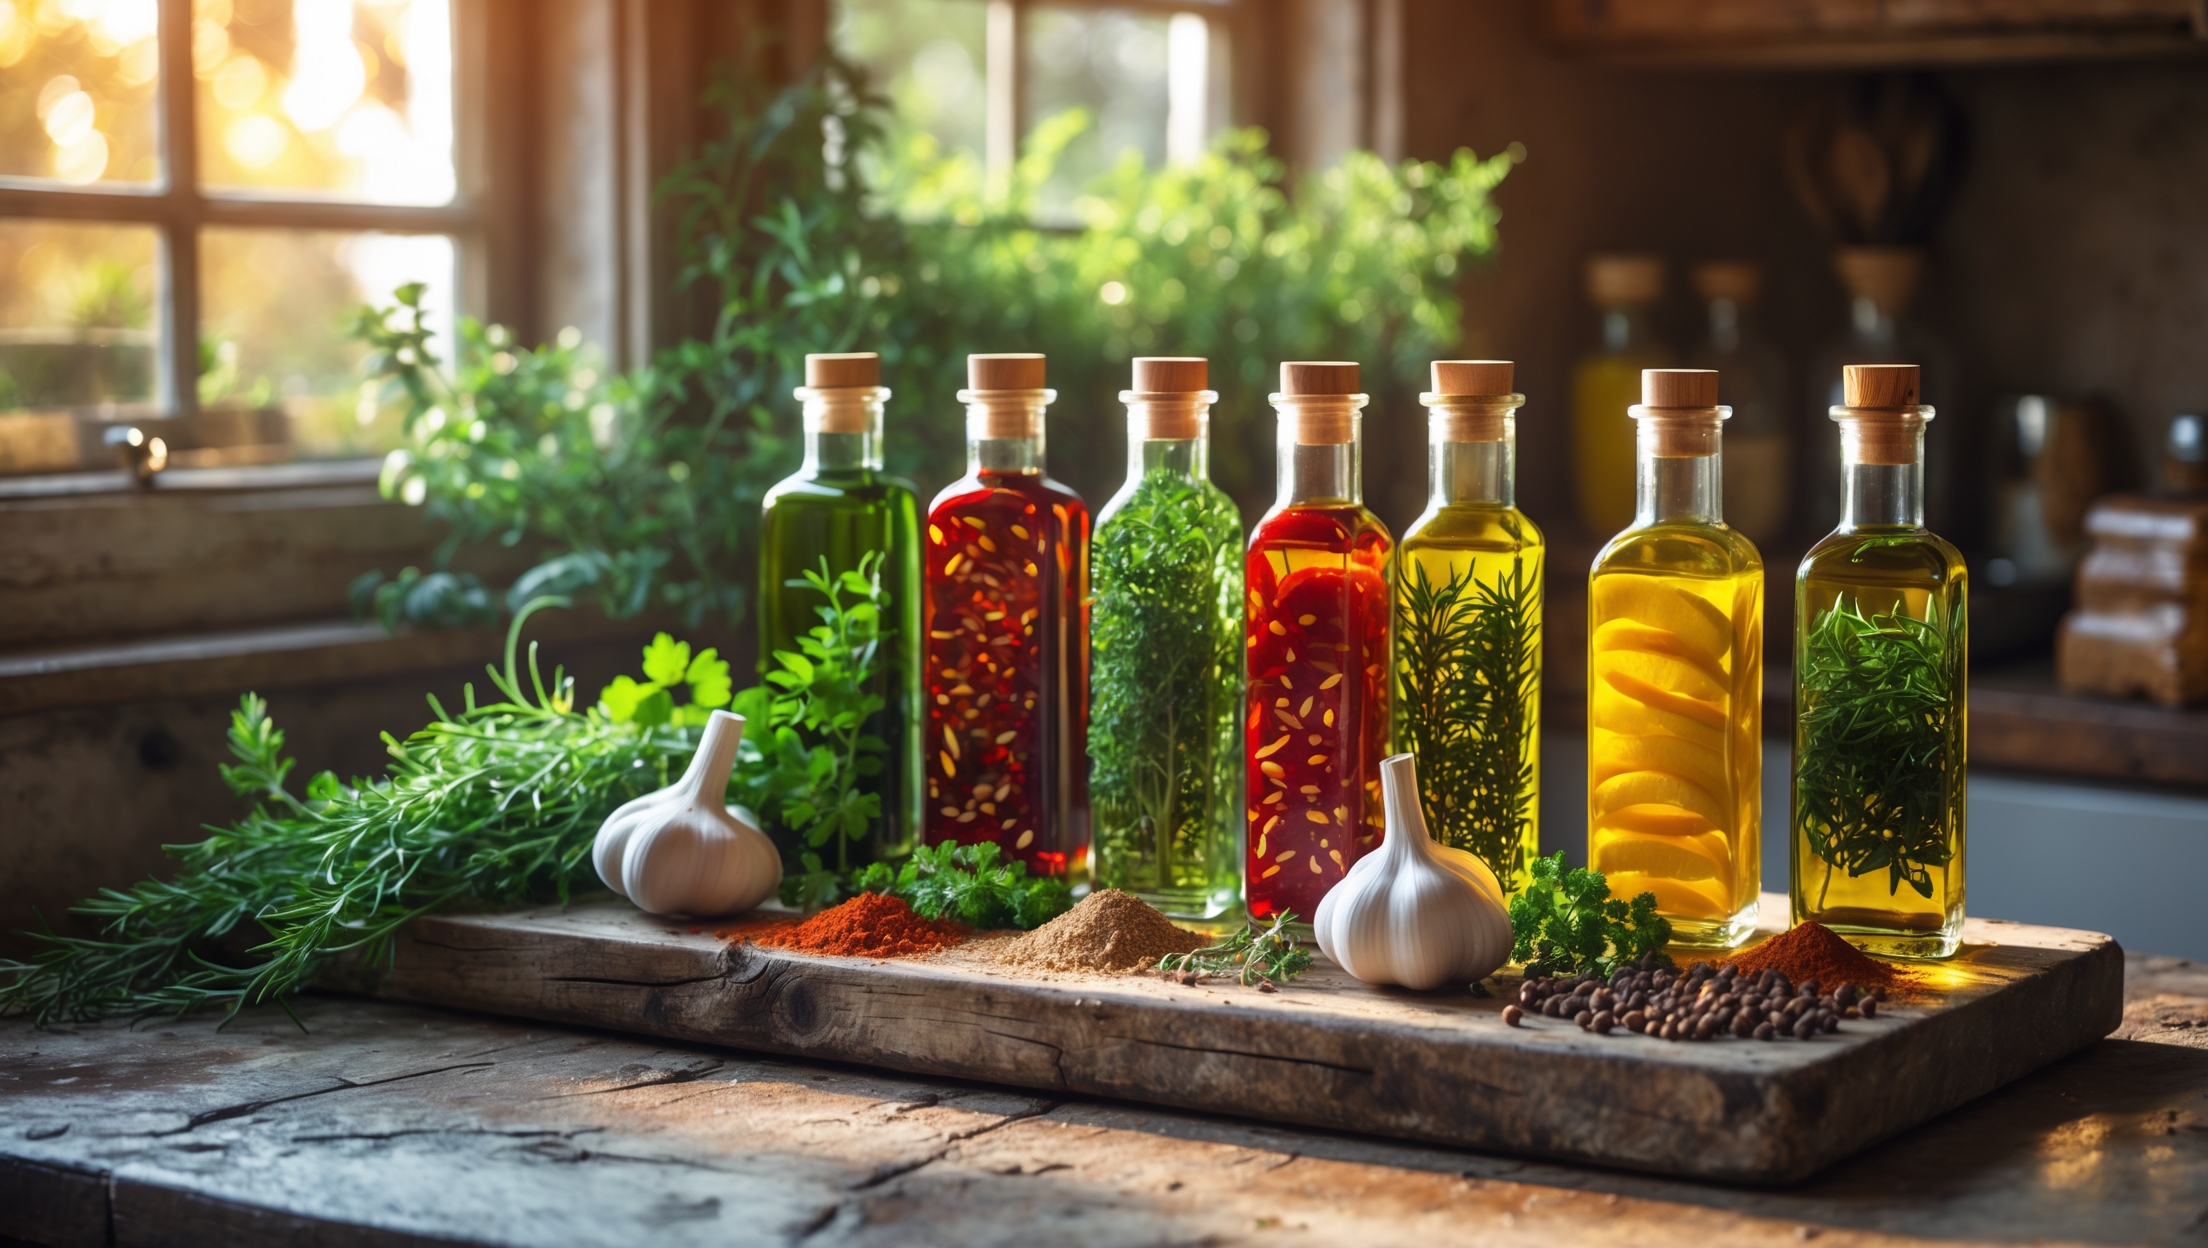
Infused oils are the secret ingredient behind many unforgettable culinary experiences. Whether drizzled over roasted vegetables, swirled into a soup, or brushed onto freshly baked bread, these aromatic elixirs can transform simple dishes into gourmet masterpieces. Yet, beyond their vibrant flavors and captivating aromas, infused oils offer a way to capture the essence of each season, preserve fleeting ingredients, and inject creativity into your cooking routine. Home infusion is a practice rooted in both science and tradition, where the right methods ensure not only delicious results but also safety and longevity. This comprehensive guide will take you deep into the craft of homemade infused oils—from selecting the perfect seasonal pairings to assembling DIY infusion equipment and, crucially, understanding the safety essentials that keep your creations both flavorful and safe to enjoy. Whether you’re a curious beginner or an experienced home cook seeking to refine your technique, you’ll find actionable insights, pro tips, and inspiration to help you unlock the full potential of infused oils in your kitchen.
Understanding Infused Oils: Foundations and Flavor Potential
What Are Infused Oils?
Infused oils are oils—typically neutral or mildly flavored, such as extra-virgin olive oil, grapeseed, or sunflower—steeped with aromatic ingredients to extract flavor, aroma, and sometimes vibrant color. Common infusions include fresh herbs (basil, rosemary), spices (chili, peppercorn), citrus zest, garlic, mushrooms, or even dried fruits.
Why Infuse at Home?
- Flavor Customization: Control the intensity and combinations to suit your palate and menu.
- Seasonal Expression: Capture the flavors of peak produce—think spring ramps, summer basil, or autumn truffles.
- Ingredient Quality: Choose the freshest, highest-quality oils and botanicals for a superior result.
- Creative Gifting: Beautifully bottled infused oils make thoughtful, gourmet gifts.
Essential Equipment for Home Infusion
Must-Have Tools
- Heavy-bottomed saucepan or double boiler: For gentle heat infusion.
- Heat-proof glass jars or bottles: For storage; sterilized to reduce contamination risk.
- Fine mesh strainer and cheesecloth: For filtering out solids.
- Funnel: For easy, spill-free bottling.
- Instant-read thermometer: To monitor oil temperature and prevent overheating.
- Labels: For dating and identifying each batch.
Recommended Upgrades
- Vacuum sealer with canisters: For advanced cold-infusion, preserving delicate flavors.
- Small sous vide circulator: For precise, low-temperature infusions.
- UV-protective glass bottles: To prolong shelf life and prevent light-induced spoilage.
Seasonal Pairings: Infusion Inspiration Year-Round
Spring
- Wild garlic & lemon zest in extra-virgin olive oil
- Chive blossom & black pepper in grapeseed oil
- Young rosemary & Meyer lemon in avocado oil
Summer
- Basil & sun-dried tomato in olive oil
- Chili & lime zest in sunflower oil
- Lavender & thyme in canola oil
Autumn
- Sage & roasted garlic in olive oil
- Smoked paprika & bay leaf in grapeseed oil
- Porcini mushroom & cracked black pepper in sunflower oil
Winter
- Orange zest & star anise in olive oil
- Cinnamon stick & clove in canola oil
- Rosemary & black garlic in avocado oil
Step-by-Step Infusion Methods
1. Cold Infusion
Best for delicate herbs and ingredients that release flavor easily. Cold infusion preserves vibrant, fresh flavors but takes longer and must be handled with care to avoid spoilage.
- Place clean, dry aromatics in a sterilized glass jar.
- Cover completely with oil, ensuring no ingredients protrude above the surface.
- Seal and store in a cool, dark place for 1–2 weeks, gently shaking daily.
- Strain thoroughly, bottle, and refrigerate.
2. Warm Infusion
Suitable for heartier ingredients (e.g., dried chilies, spices) and for reducing risk of spoilage. Warm infusion accelerates flavor extraction.
- Combine oil and aromatics in a heavy-bottomed saucepan.
- Heat gently to 140–180°F (60–82°C), monitoring closely to avoid frying.
- Simmer for 30–60 minutes; do not allow any ingredient to brown.
- Cool, strain through cheesecloth, and bottle while still slightly warm.
3. Sous Vide Infusion
Yields clear, bright flavors with minimal oxidation. Perfect for advanced home cooks with sous vide equipment.
- Seal oil and aromatics in a vacuum bag or glass canning jar.
- Set circulator to 140°F (60°C) and immerse for 2–4 hours.
- Cool rapidly in an ice bath, strain, and bottle.
Safety Essentials: Botulism and Spoilage Prevention
Understanding Botulism Risk
Infused oils are at risk for botulism—a rare but serious illness caused by the bacterium Clostridium botulinum. This bacteria thrives in low-acid, anaerobic environments such as oil, especially when fresh ingredients are used. To minimize risk:
- Always refrigerate infused oils containing fresh ingredients.
- Use dried ingredients (herbs, chilies, garlic) for longer shelf life and reduced risk.
- Label and date each batch; discard after two weeks if refrigerated, or follow ingredient-specific guidelines.
Best Practices for Safe Infusions
- Thoroughly wash and dry all fresh ingredients before use; excess water promotes spoilage.
- Sterilize all bottles and utensils before starting.
- Strain oil thoroughly to remove all solids; tiny particles can harbor bacteria.
- Store finished oil in small bottles to minimize repeated exposure to air and contaminants.
When to Discard
- If oil becomes cloudy, develops off odors, or shows any sign of mold, discard immediately.
- Err on the side of caution—homemade infused oils are best enjoyed fresh and not stored for extended periods.
Cost Breakdown: Infusing Gourmet Flavor on Any Budget
Ingredient Costs
- Base oils: $8–$15 per liter (quality extra-virgin olive oil or neutral oils)
- Herbs and aromatics: $2–$5 per batch (homegrown or farmers’ market finds can reduce costs)
- Spices: $3–$6 per batch (bulk bins offer savings)
- Bottles and jars: $1–$3 each (reuse sterilized glass bottles for sustainability)
Estimated cost per 250ml batch: $4–$8, depending on oil and ingredient choices.
Equipment Investment
- Entry-level setup: $0–$10 (most home cooks have the basics on hand)
- With upgrades (sous vide, vacuum sealer): $50–$150 (one-time investment, multipurpose use)
Creative Applications: Beyond the Drizzle
- Finishing oil: Elevate pizza, pasta, or soup with a last-minute flourish.
- Homemade aioli or mayonnaise: Start with infused oil for an instant flavor boost.
- Marinades: Use as a base for grilling or roasting proteins and vegetables.
- Baking: Infused oils can impart subtle flavor to breads and savory pastries.
- Gifting: Bottle in decorative glass, tie with a label, and share with fellow food lovers.
Common Myths Debunked
- “Infused oils last forever.”
False. Homemade versions, especially with fresh ingredients, have a limited shelf life—usually two weeks refrigerated. - “If it smells fine, it’s safe.”
False. Botulism toxins are odorless and tasteless; strict safety practices are essential. - “All oils work the same.”
False. Oil flavor and smoke point affect both the infusion process and the final taste. - “You must use heat for every infusion.”
False. Many delicate herbs are best infused cold to preserve their character.
Maintenance and Storage Best Practices
- Store infused oils in sterilized, opaque glass bottles in the refrigerator.
- Make small batches to ensure freshness and minimize waste.
- Wipe bottle rims before sealing to prevent bacterial introduction.
- Keep detailed labels: infusion date, ingredients, and recommended use-by date.
- Regularly inspect oils for signs of spoilage; discard if in doubt.
Conclusion: Bringing Infused Oils Into Your Culinary Story
Infused oils are more than just a finishing touch—they are a reflection of your culinary curiosity, your connection to the seasons, and your commitment to both flavor and safety. Crafting these oils at home is both an art and a science, demanding attention to detail, respect for ingredients, and an understanding of food safety. With the guidance provided here, you can confidently experiment with seasonal pairings, select the right equipment for your style and budget, and navigate the crucial steps that make all the difference between an ordinary and an exceptional result. Remember, the most memorable infused oils are those that capture a moment in time—spring’s first herbs, summer’s sun-ripened chilies, autumn’s earthy mushrooms—preserved with intention and enjoyed with friends and family. Start with small batches, let your palate lead you, and don’t be afraid to explore new combinations. By following best practices for safety and storage, you’ll gain not only delicious oils but also peace of mind. Infused oils invite you to slow down, observe, and savor the process—a true celebration of taste, craft, and culinary culture. Happy infusing!
You mention the importance of safety essentials in home oil infusion. Could you explain the main risks involved with infusing oils at home, especially when using fresh ingredients like garlic or herbs, and how to store them to avoid issues like botulism?
Infusing oils at home with fresh ingredients like garlic or herbs can pose a risk of botulism if not handled properly. The bacteria that cause botulism thrive in low-oxygen, moist environments like oil. To reduce risk, always refrigerate infused oils and use them within a week. Alternatively, you can use dried herbs or vegetables, which are much safer. Never store homemade infused oils with fresh ingredients at room temperature.
I’d like to assemble some basic equipment for making infused oils without spending too much. Are there any essential tools you’d suggest for someone just starting out, and are there any low-cost alternatives for beginners?
For making infused oils on a budget, you really just need a few basics: a clean glass jar with a tight lid, a fine mesh strainer or cheesecloth for filtering, and a small saucepan if you’re using heat. Instead of buying fancy equipment, you can reuse empty jam jars and strain with a coffee filter or even a clean piece of cloth. Just make sure everything is thoroughly cleaned before you start.
How complicated is it to set up the DIY infusion equipment at home, and are there any budget-friendly tips for beginners who want to try making small batches without buying a lot of specialized tools?
Setting up DIY infusion equipment at home is actually quite straightforward. For beginners, you can start with items you likely already have: a clean glass jar, a strainer or cheesecloth, and a saucepan for gentle heating if needed. You don’t need expensive gear. Small batches are easy to manage in basic jars, and labeling each jar helps keep track of your infusions. Just be sure everything is clean to avoid contamination.
I want to start infusing oils at home but I’m on a student budget. Are there any affordable DIY equipment hacks or household items you recommend for the infusion process instead of buying specialized gear?
You can absolutely start infusing oils at home without buying special equipment. A simple clean glass jar with a tight lid works well for most infusions. Use a fine mesh strainer or even a clean piece of cheesecloth or coffee filter for straining. For gentle heating, a double boiler can be improvised by placing your jar in a pot of warm water on the stove. This keeps costs low while still getting great results.
Could you clarify which methods or equipment are specifically recommended for ensuring the safety and longer shelf life of homemade infused oils, especially when using fresh ingredients like garlic or herbs?
To keep homemade infused oils safe and extend their shelf life, it’s best to use dried ingredients rather than fresh, as moisture can encourage bacteria growth. If you do use fresh garlic or herbs, refrigerate the oil and use it within a week. Sterilizing your jars and bottles before use is crucial, and always store infused oils in clean, airtight containers. For extra safety, consider briefly heating the oil with the ingredients (not deep frying), then straining and bottling once cooled.
I’m interested in experimenting with different carrier oils. Are there any specific neutral oils you recommend for infusing versus ones that might overpower delicate ingredients like citrus zest or mushrooms?
For infusing delicate ingredients like citrus zest or mushrooms, it’s best to use neutral carrier oils such as grapeseed oil, sunflower oil, or light olive oil. These oils have mild flavors that won’t compete with or overpower the subtle notes of your infusions. Oils like extra virgin olive oil or unrefined coconut oil are more robust and could mask delicate flavors, so they’re better reserved for heartier infusions.