Introduction: Rediscovering Vinegar as a Culinary Canvas
Vinegar is often relegated to the background in kitchens, quietly working its magic in salad dressings, marinades, and pickles. Yet, for those who dare to look deeper, vinegar is a living, breathing ingredient—capable of expressing terroir, technique, and creativity. Artisanal vinegar crafting is gaining momentum among culinary enthusiasts who want to elevate everyday cooking and develop signature flavors. This craft is more than just transforming wine, fruit, or grains into a tangy condiment; it’s about harnessing the natural processes of fermentation, understanding ingredient seasonality, and using specialized tools to coax out complex, nuanced profiles. In this comprehensive guide, you’ll learn how to select the best seasonal bases, master essential equipment, avoid costly mistakes, and experiment with innovative infusions—all while keeping your budget and food safety in check. Whether you’re a curious beginner or an experienced fermenter seeking new challenges, this article demystifies the world of artisanal vinegar, providing practical, step-by-step insights so you can craft vinegars that truly tell a story of taste and place.
Understanding the Foundations: What Makes Vinegar Artisanal?
What Is Artisanal Vinegar?
Artisanal vinegar is a product of controlled fermentation, crafted with intention and care, often in small batches. Unlike commercial vinegars, which are typically produced for consistency and speed, artisanal vinegars focus on unique flavor development, seasonal ingredients, and traditional techniques. Each batch reflects the maker’s choices, from the base ingredient and fermenting vessel to the aging process and final infusion.
Why Craft Your Own?
- Flavor Depth: Homemade vinegars can be tailored to your taste, offering complexity that’s hard to find in store-bought varieties.
- Ingredient Control: Use organic, local, or foraged ingredients for distinctive results.
- Creative Expression: Infuse vinegars with herbs, fruits, or spices for signature blends.
- Low Waste: Transform kitchen scraps or surplus produce into high-value condiments.
Seasonal Ingredient Sourcing: Timing Is Everything
Choosing Your Base: Wine, Fruit, or Grain?
- Wine Vinegar: Use leftover red, white, or rosé wine, ideally from small vineyards or with minimal additives.
- Fruit Vinegar: Apples, pears, berries, stone fruits, and even tropical fruits work beautifully. The key is peak ripeness.
- Grain (e.g., Rice) Vinegar: Start with sake or rice wine for delicate, umami-rich vinegars.
Seasonal Sourcing Checklist
- Spring: Strawberries, rhubarb, early herbs like chives or tarragon.
- Summer: Berries, peaches, tomatoes, basil, oregano.
- Autumn: Apples, pears, plums, grapes, rosemary.
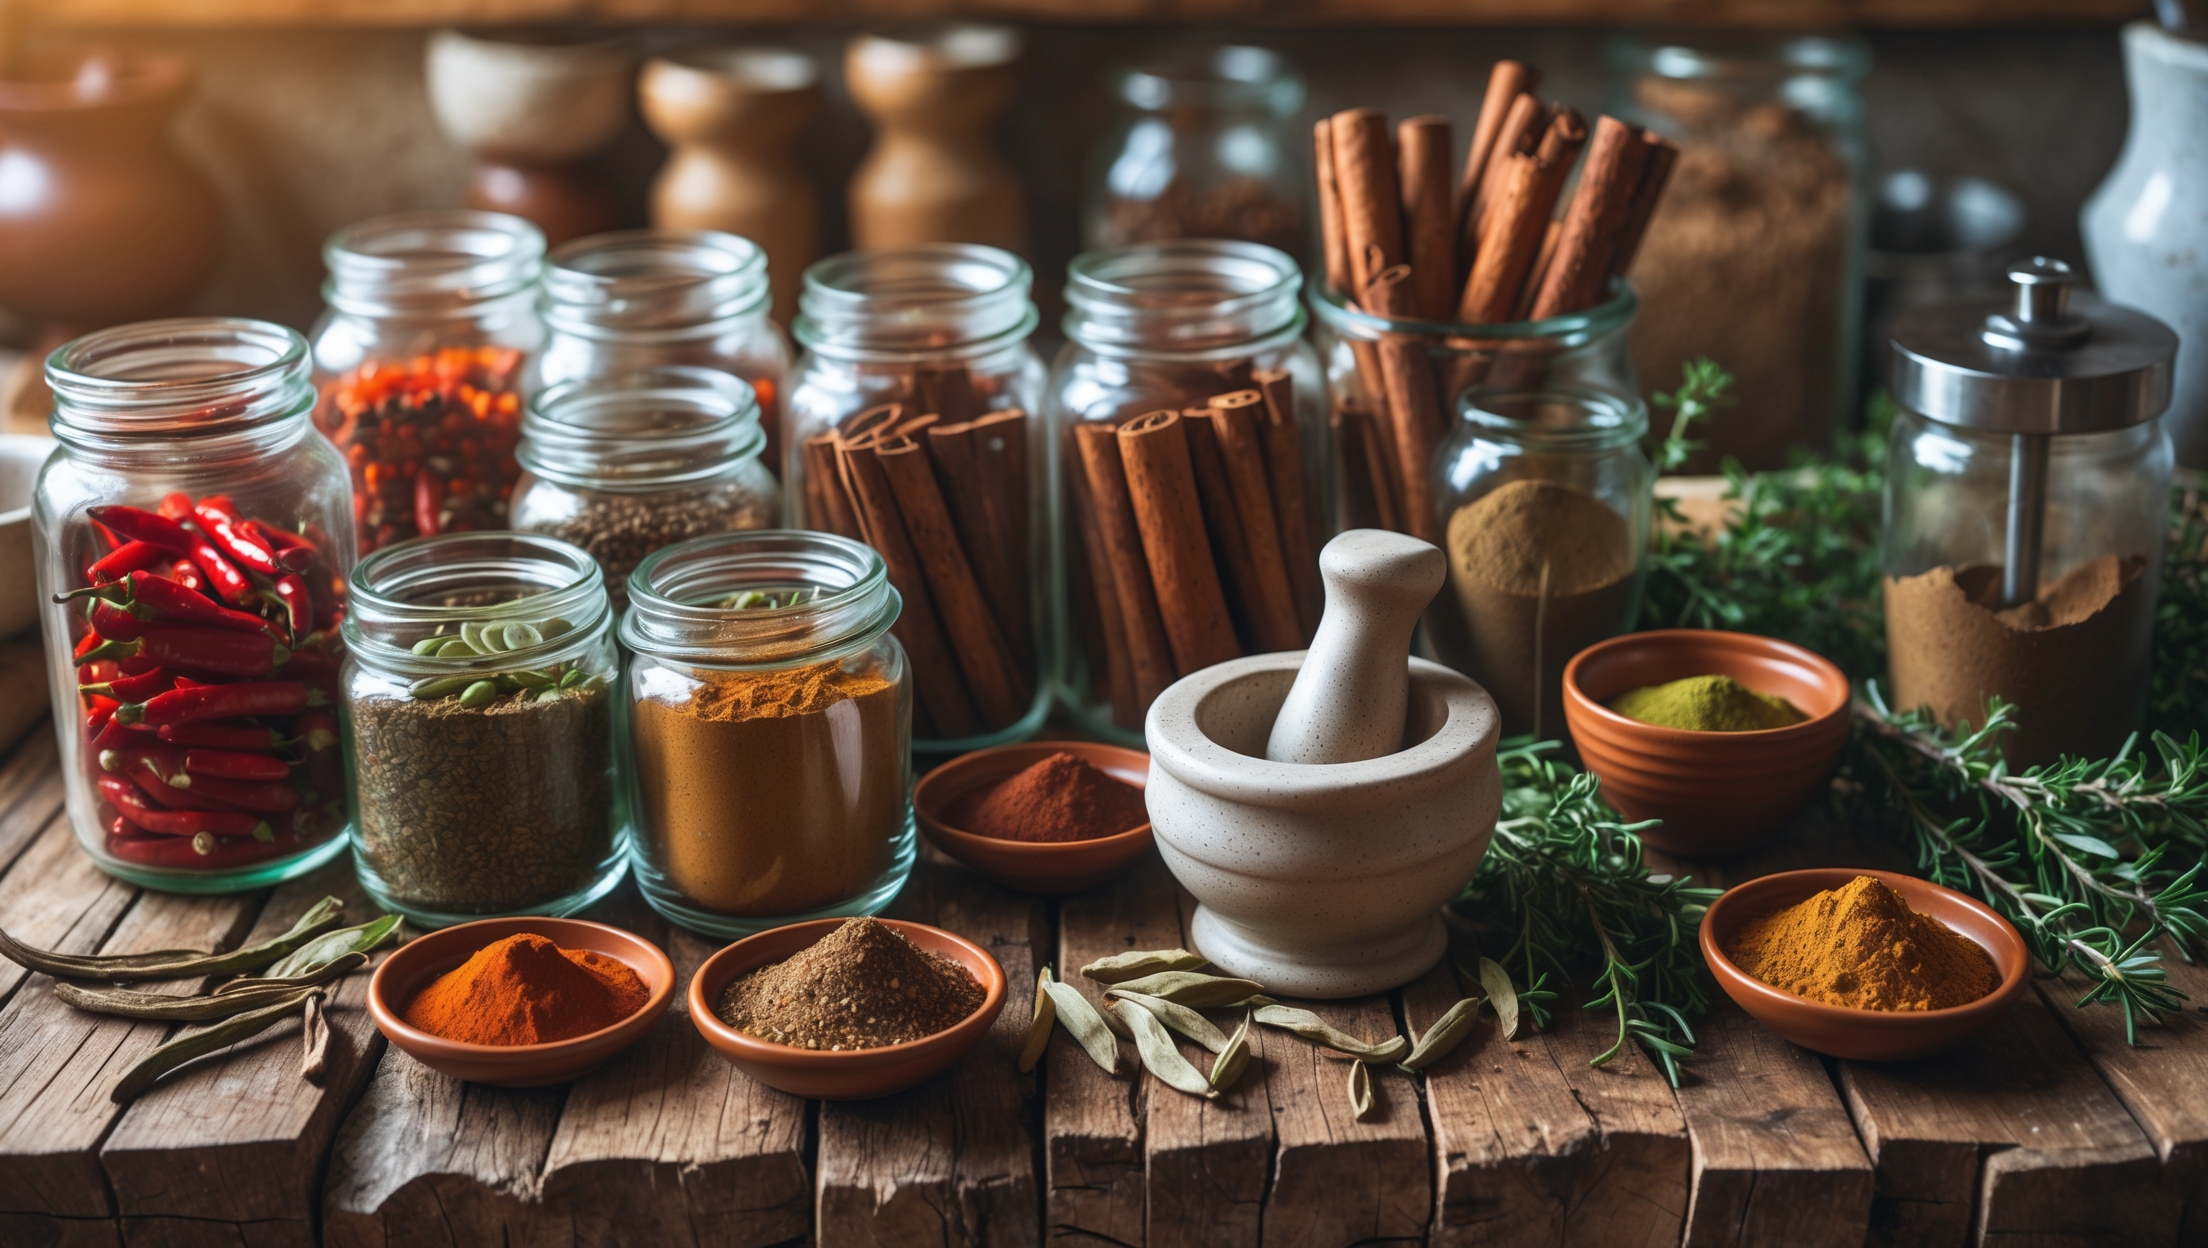
- Winter: Citrus (lemons, oranges), pomegranate, dried spices, hardy herbs.
Plan your vinegar batches around what’s fresh and abundant. Farmers’ markets, foraging, or CSA boxes are ideal sources.
Essential Tools and Equipment: Setting Up for Success
Non-Negotiables for Vinegar Crafting
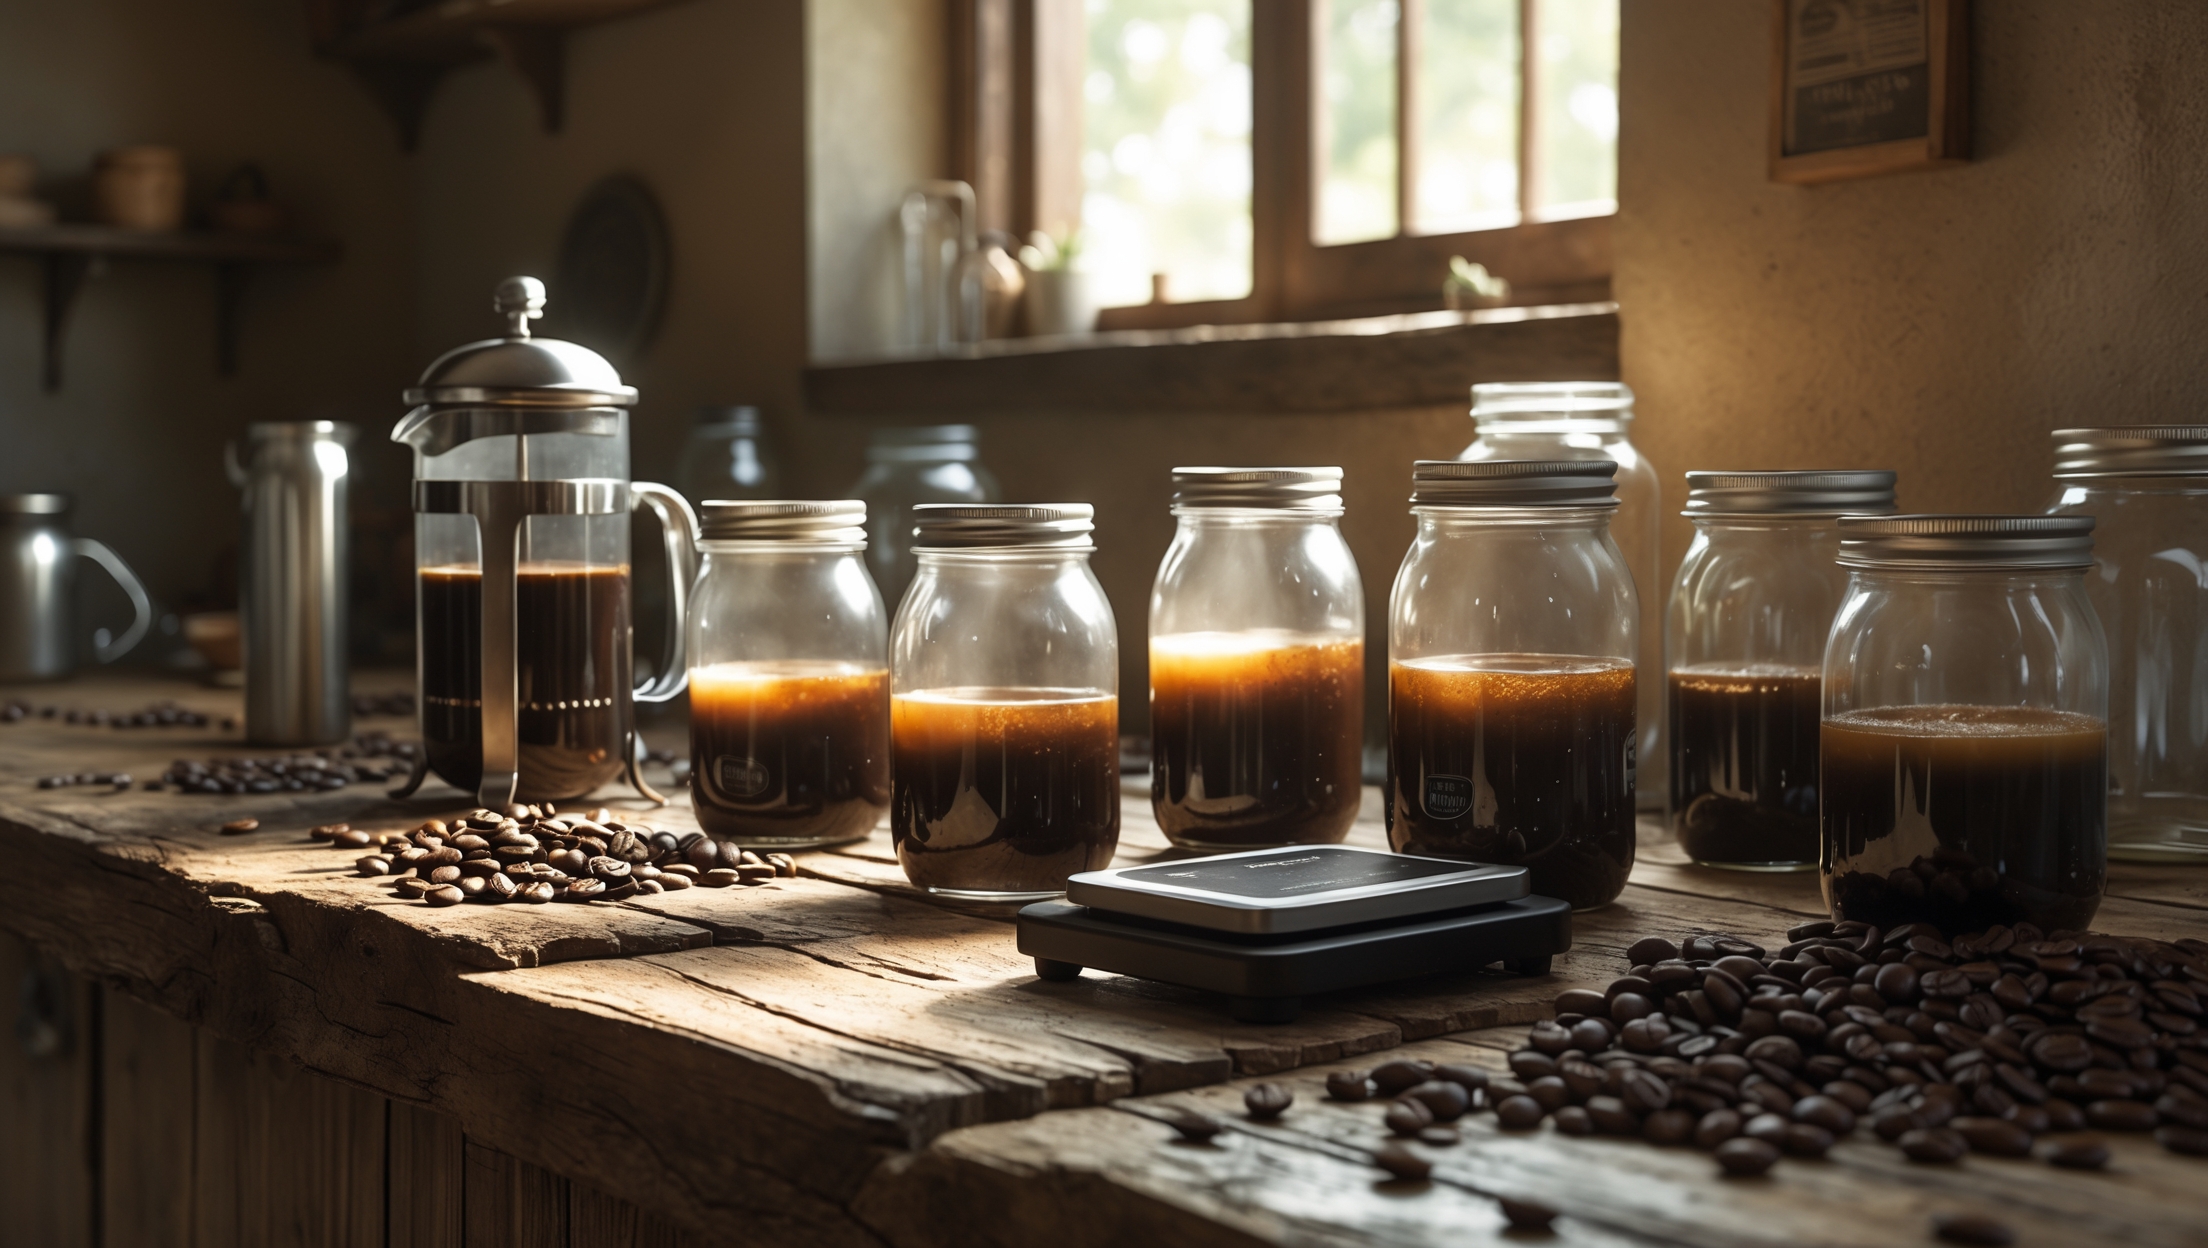
- Fermentation Vessel: Glass jars, ceramic crocks, or food-grade plastic containers. Avoid metals (except stainless steel) as vinegar is highly acidic.
- Cheesecloth or Fermentation Lid: To allow airflow but keep out insects and debris.
- Mother of Vinegar: A cellulose film containing acetic acid bacteria; can be purchased online or cultivated from unpasteurized vinegar.
- pH Strips or Meter: For monitoring acidity and ensuring food safety.
- Fine Mesh Strainer: For filtering finished vinegar.
- Bottling Supplies: Sterile glass bottles with non-metallic caps/corks.
Nice-to-Haves for the Dedicated Artisan
- Temperature Control: Consistent ambient temperatures (60–80°F/16–27°C) are ideal. A fermentation chamber or seedling heat mat helps in cooler climates.
- Hydrometer: Optional, for measuring alcohol content in your base before fermentation.
- Labeling Supplies: Date and ingredient labels for each batch.
Cleaning and Maintenance
Cleanliness is crucial. Always sanitize vessels and tools before use to prevent unwanted bacteria or mold. Use hot, soapy water or a food-safe sanitizer.
Cost Breakdown: What to Expect When Starting Out
Initial Investment
- Fermentation vessel: $15–$40 (size and material dependent)
- Mother of vinegar: $8–$15
- Bottles and lids: $10–$30 for a set
- pH meter: $15–$35 (or $6–$10 for strips)
- Strainers, cheesecloth, and labels: $10–$20
Total Estimated Startup Cost: $60–$140
Ongoing Costs
- Seasonal produce or wine: Varies ($10–$30 per batch, often less if using scraps or surplus)
- Replacement mother of vinegar (if needed): $5–$8
- Bottle replacement and new infusions: Minimal
Many costs decrease over time as equipment is reused and you propagate your own mother of vinegar.
Step-by-Step Tutorial: Crafting Your First Batch
Step 1: Prepare Your Base
- Wine Vinegar: Use leftover wine. Avoid sulfite-heavy wines, as sulfites inhibit fermentation. Allow wine to breathe for several hours before use.
- Fruit Vinegar: Chop fruit into small pieces. Add to a clean jar with filtered water and a bit of sugar (1–2 tbsp per quart) to kickstart fermentation.
Step 2: Alcoholic Fermentation (for Fruit Bases)
- Allow the sugary fruit-water mixture to ferment for 1–2 weeks, covered loosely with cheesecloth, until it smells boozy (wild yeast will do the work).
Step 3: Acetification
- Once alcoholic fermentation is complete (or if starting with wine), add the mother of vinegar.
- Cover with cheesecloth and secure with a rubber band.
- Keep the vessel in a dark, warm spot (60–80°F/16–27°C).
Step 4: Monitor and Wait
- Check the vinegar weekly. It will begin to smell sharp and tangy.
- Test pH after 3–6 weeks. Safe vinegar has a pH of 3.0 or lower.
Step 5: Strain, Bottle, and Age
- Strain the finished vinegar through a fine mesh or coffee filter.
- Bottle in sterilized containers. Optional: Age for several months for deeper flavor.
Step 6: Infuse and Elevate (Optional)
- Add fresh herbs, citrus peels, whole spices, or berries to bottles for unique blends. Steep for 1–4 weeks, then strain again.
Common Beginner Mistakes (and How to Avoid Them)
- Skipping Sanitation: Always clean and sanitize equipment to avoid spoilage and off-flavors.
- Using Sulfited Wine: Excess sulfites can prevent acetification. Use wines with low or no added sulfites.
- Neglecting Temperature: Too cold or hot environments slow or stall fermentation. Aim for 60–80°F/16–27°C.
- Sealing Too Tightly: Vinegar fermentation requires oxygen. Use breathable covers, not airtight lids.
- Ignoring pH: Without acidity checks, you risk unsafe vinegar. Always verify pH before consuming or gifting.
Maintenance and Mother Care: Keeping Your Culture Healthy
Mother of Vinegar: Reuse and Storage
After each batch, the mother can be reused for future fermentations. If you need to pause vinegar making, store the mother in a small amount of finished vinegar, covered, at room temperature. Replace if it develops mold or an off smell.
Sanitizing Between Batches
Rinse equipment in hot water and sanitize with a food-safe solution to keep wild yeasts and bacteria at bay.
Flavor Innovation: Creative Infusions to Try
Classic Pairings
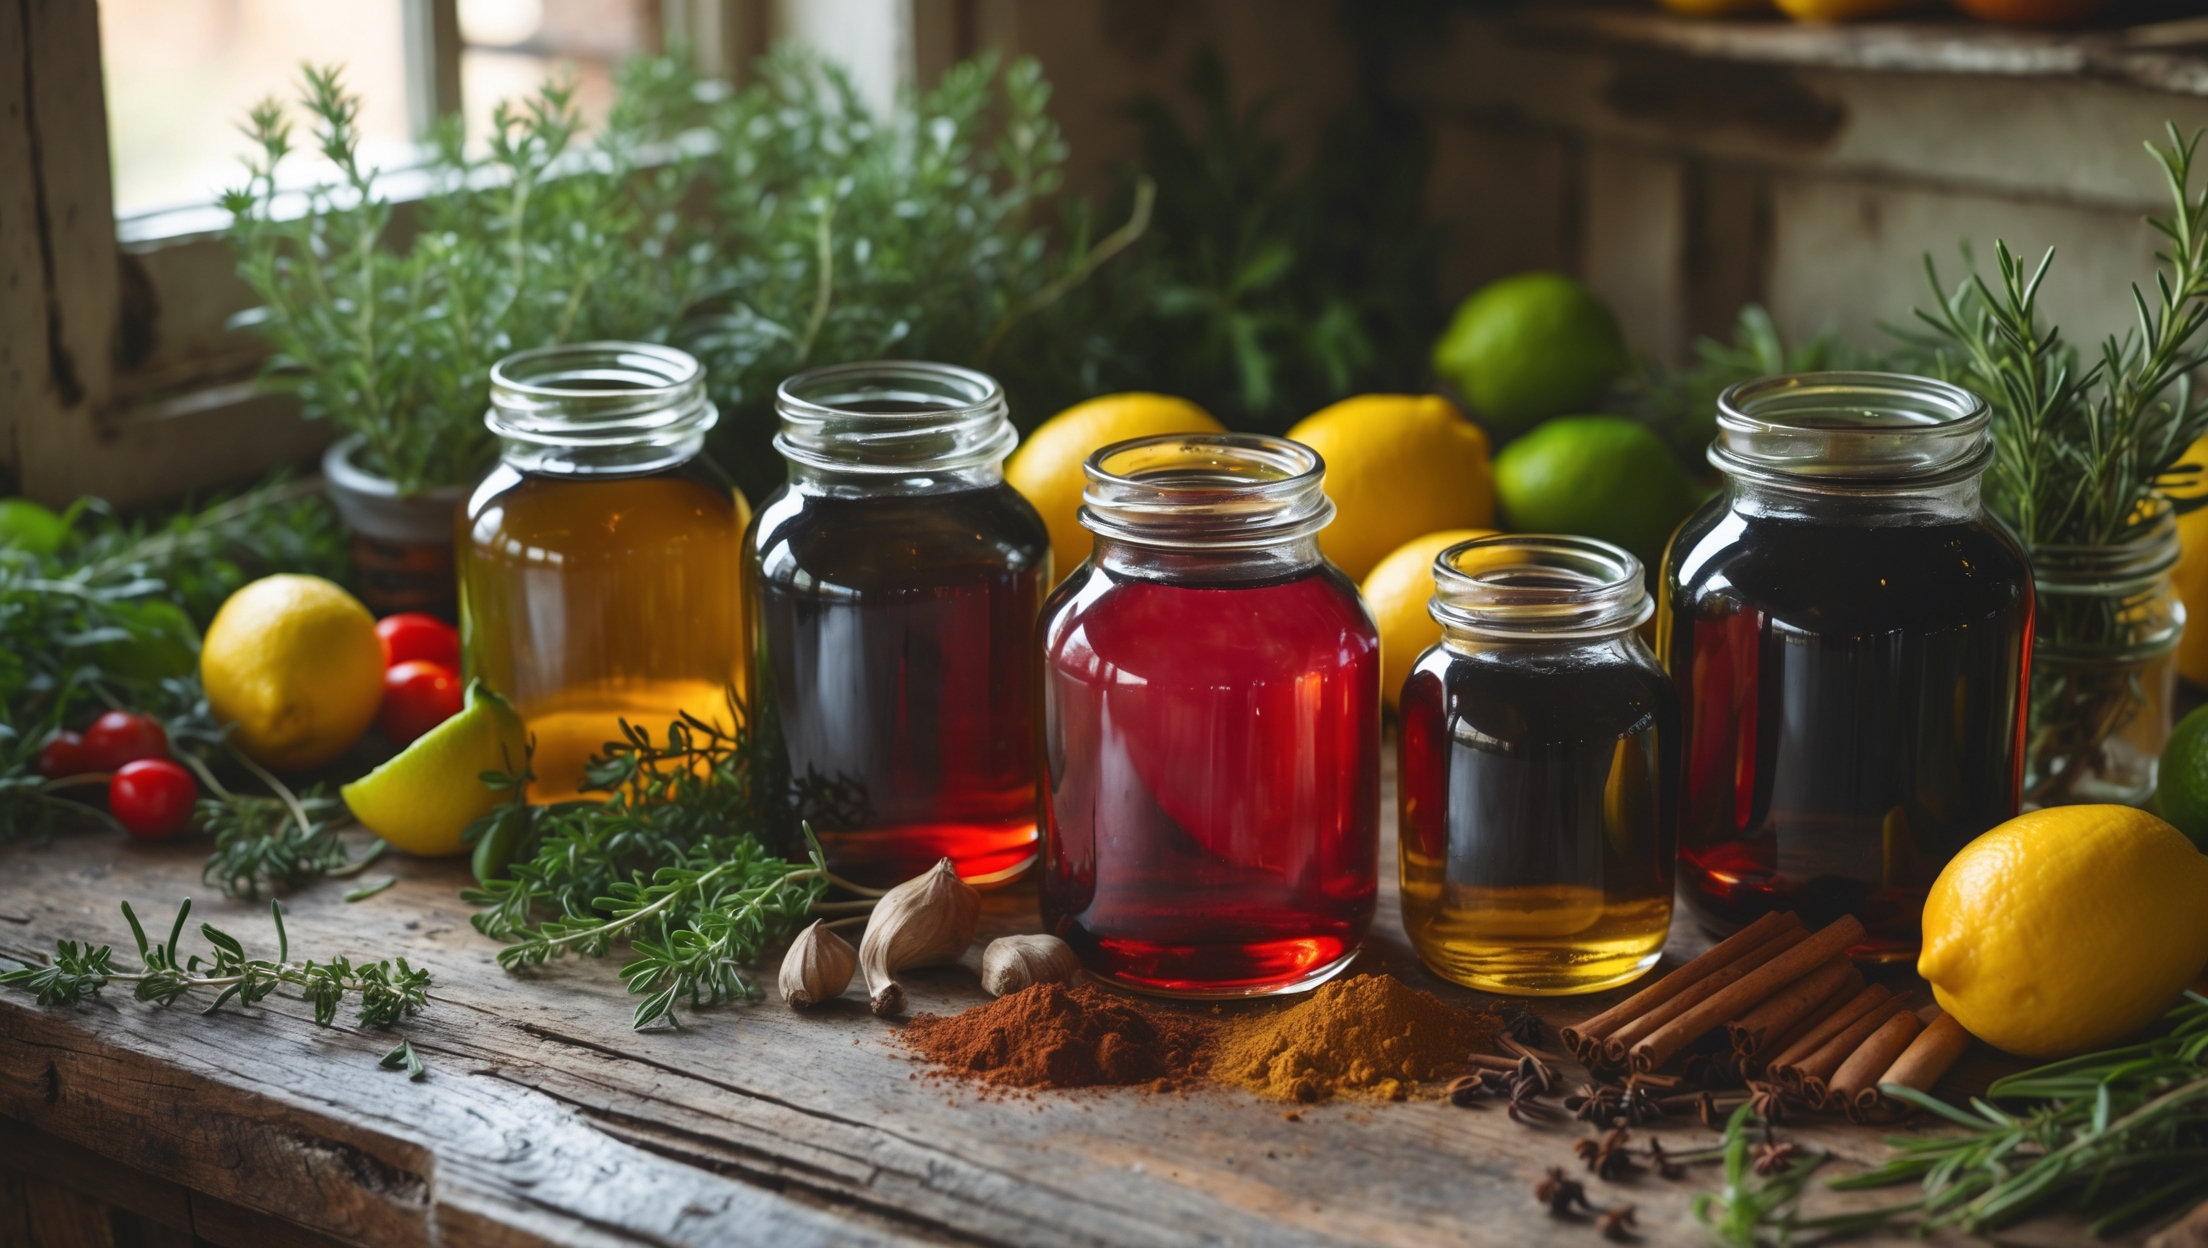
- Raspberry and tarragon
- Apple and rosemary
- Fig and black pepper
- Peach and basil
- Citrus zest and thyme
Advanced Infusions
- Smoked chiles and garlic (for savory depth)
- Green tea and ginger (for Asian-inspired blends)
- Roasted nuts (hazelnut, walnut) for nutty undertones
- Wild foraged herbs: spruce tips, wild fennel, or juniper
Infuse after the vinegar is fully fermented and strained. Taste frequently to avoid overpowering flavors.
Food Safety and Compliance
pH and Shelf Stability
Ensure your finished vinegar is at or below pH 3.0 for safe storage and culinary use. Store in cool, dark places and use clean utensils to avoid contamination.
Gifting and Selling: Legal Considerations
- Home use: No permits needed, but always label ingredients and dates.
- Selling at markets or online: Check local regulations for cottage food laws. Some areas require testing for acidity and food safety certifications.
Case Study: Seasonal Pear and Sage Vinegar
Batch Profile
- Base: Overripe autumn pears
- Infusion: Fresh sage leaves after fermentation
- Process: Fermented for 6 weeks, aged an additional 2 months
Results: A golden-hued vinegar with floral pear notes, earthy sage aroma, and balanced acidity. This batch became a favorite for vinaigrettes and pan sauces, demonstrating how seasonal inspiration leads to memorable flavors.
Beyond the Bottle: Culinary Uses for Artisanal Vinegar
- Salad dressings: Use as a base for vinaigrettes or drizzle over greens.
- Marinades: Tenderize meats or vegetables with a burst of acidity.
- Deglazing: Add complexity to pan sauces and reductions.
- Pickling: Quick-pickle vegetables for charcuterie boards or sandwiches.
- Finishing touch: A few drops on roasted vegetables or fruit elevate the dish.
Conclusion: Crafting Vinegar, Crafting Culture
Embracing the art of artisanal vinegar making is an invitation to slow down and engage with your ingredients on a deeper level. Each batch is an experiment, reflecting the seasons, the terroir of your kitchen, and your evolving palate. The process fosters patience, attention, and creativity—qualities that extend well beyond the vinegar crock. By mastering the basics of fermentation, understanding the power of seasonal sourcing, and investing in the right tools, you’ll unlock a world of flavor that transforms humble ingredients into culinary gold. Mistakes are inevitable, but each misstep is a lesson on your journey toward mastery. As you refine your technique, you’ll find ways to express your culinary identity through bold infusions, subtle blends, or classic profiles. Share your creations with friends, family, or fellow food lovers, and you’ll soon discover that homemade vinegar isn’t just an ingredient—it’s a story, bottled and ready to inspire. Whether used as a finishing flourish or the backbone of a new recipe, artisanal vinegar adds depth and vibrancy to every dish. So gather your jars, seek out the best of the season, and let your next culinary adventure begin with a splash of something truly unique.

I noticed the article mentions using specialized equipment for crafting artisanal vinegar. For someone starting out on a budget, which pieces of equipment are truly essential and which can be improvised with what I might already have at home?
For beginners on a budget, you only need a clean glass jar or bottle, a breathable cloth (like cheesecloth or a clean kitchen towel), and a rubber band or string to secure the cloth. These let you ferment vinegar safely at home. More advanced equipment like airlocks or oak barrels can be added later, but they’re not necessary when you’re starting out.
I’m new to making vinegar at home and was wondering, when you mention using seasonal bases, do certain fruits or grains work better for beginners? Are there some ingredients that are easier to ferment successfully than others for a first-timer?
For beginners, apples and grapes are excellent choices because they ferment reliably and produce pleasant-tasting vinegar. Apples (for apple cider vinegar) and grapes (for wine vinegar) both have the right balance of sugar and acidity to help the process go smoothly. Avoid starchy grains or overly fibrous fruits at first, as they can be trickier to ferment and may require more precise conditions.
I’m curious about the mention of food safety while experimenting with innovative infusions—do you have specific guidelines for avoiding contamination or spoilage, especially when using fresh or foraged ingredients in small batches?
When using fresh or foraged ingredients in vinegar infusions, always wash and sanitize them thoroughly to remove dirt and potential microbes. Sterilize all jars and utensils before use. Avoid using ingredients that are bruised or moldy. Keep your workspace clean, and monitor your infusions for off smells or mold growth. If you see cloudiness, unexpected colors, or odd odors, it’s safest to discard the batch. Small batches make it easier to control quality and spot issues early.
I’d love to experiment with flavor infusions once I’ve got the basics down. Are there certain seasonal ingredients or combinations that you’ve found consistently work well together, or is it mostly trial and error until you find something you like?
Seasonal ingredients can really shine in vinegar infusions, and some combinations reliably work well together. For example, strawberries and basil in spring, peaches and thyme in summer, or apples and cinnamon in autumn all create vibrant flavors. While there is always room for experimentation, starting with classic pairings often yields great results. Taste as you go, and note which flavors complement each other best for your palate.
I often cook with kids and food safety is a concern. Are there particular fermentation mistakes or signs of spoilage I should look out for to make sure our homemade vinegar is safe for everyone to eat?
Absolutely, food safety is key, especially with children. When making vinegar at home, watch out for mold growth (fuzzy, unusual-colored spots), unpleasant or rotten odors, or slimy textures—these are signs of spoilage. The vinegar should smell sharp and pleasantly acidic, not foul. Always use clean utensils and containers, and store your vinegar in a cool, dark place with a tight lid. If in doubt, it’s safest to discard any questionable batch.
When it comes to mastering essential equipment for vinegar making, are there certain tools that are truly necessary for food safety, or can beginners start with basic kitchen items without risking the quality of their vinegar?
You can absolutely start vinegar making with basic kitchen items like clean glass jars, a breathable cloth, and a rubber band. The key for food safety is using sterilized, non-reactive containers and keeping everything very clean. Specialized equipment like fermentation locks or pH meters can help fine-tune your process, but they’re not required for safe, high-quality results when you’re just starting out.
You mention food safety while experimenting with innovative infusions. What are the key signs that a vinegar batch has gone wrong or is unsafe to consume, and what steps should someone take if that happens?
If a vinegar batch develops unusual mold (other than the harmless “mother” of vinegar), strange colors, foul or rotten odors, or appears slimy, it’s a sign the batch may be unsafe. Always discard any vinegar that shows these warning signs. Ensure all equipment is cleaned before use, and when in doubt, it’s safer to start a new batch rather than risk consuming spoiled vinegar.
Could you explain a bit more about how ingredient seasonality really affects the vinegar flavor? For example, would starting a batch with early summer fruits produce noticeably different results compared to fall fruits, and do you recommend any specific pairings for beginners?
Ingredient seasonality plays a big role in vinegar flavor. Early summer fruits like strawberries or cherries usually give lighter, brighter vinegars, while fall fruits such as apples or pears produce deeper, richer flavors. For beginners, pairing apples with cinnamon or pears with a hint of ginger is both easy and rewarding, letting you notice how the characteristics of each fruit shine through.
I’m curious about the equipment part you talked about. For someone on a tight budget, what are the bare minimum tools I need to safely make vinegar at home without sacrificing quality or food safety?
You only need a few basics to start making vinegar safely at home on a budget. Use a clean glass jar or food-grade plastic container for fermentation, a breathable cloth or coffee filter to cover the opening (secured with a rubber band), and a non-reactive spoon for stirring. Make sure everything is thoroughly cleaned before use. That’s enough to maintain quality and food safety as you experiment with artisanal vinegar.