
Introduction: The Allure of Home-Smoked Flavors
There’s an unmistakable magic to smoked food—the way a gentle haze of wood transforms humble ingredients into culinary masterpieces, layering them with depth, aroma, and a whisper of nostalgia. For generations, smoked flavors were the domain of pitmasters and outdoor enthusiasts, but today, home cooks are reclaiming this ancient craft, infusing their kitchens with the tantalizing essence of smoke. The modern home smoker isn’t limited to brisket or salmon; from cheeses to vegetables, salts to nuts, nearly every ingredient can be elevated with a touch of smoke. Yet, the journey from curiosity to culinary mastery isn’t always straightforward. Many home cooks falter at the first whiff of wood chips, unsure how to select the right tools, budget for quality equipment, or avoid the common pitfalls that lead to bitterness or uneven results.
This guide is your trusted companion into the world of home smoking. Whether you’re craving cold-smoked cheeses for a charcuterie board, perfectly smoked chicken for Sunday dinner, or simply want to experiment with bold, restaurant-style flavors, you’ll find everything you need here. We’ll break down essential gear (no space-hogging behemoths required), offer a transparent look at costs, and share pro-level secrets for ensuring every batch is delicious and safe. Let’s demystify home smoking—so you can bring soulful, smoky flavor to your table, no matter your kitchen size or experience level.
Understanding the Basics: What Is Home Smoking?
At its core, food smoking is the process of exposing ingredients to flavorful smoke from burning or smoldering material—typically hardwood chips or pellets. This ancient preservation technique imparts not only a unique taste but also a subtle aroma and, in some cases, a beautiful color. There are two primary types of smoking:
- Hot Smoking: Cooks and flavors food simultaneously, typically at 165°F–275°F (74°C–135°C). Ideal for meats, fish, and some vegetables.
- Cold Smoking: Infuses flavor without significant heat (usually below 90°F/32°C). Used for cheeses, cured meats, salts, and delicate items like butter or vegetables.
Each method requires specific tools and techniques, and understanding these differences is key to successful home smoking. The choice between hot and cold smoking will shape your equipment needs, safety practices, and recipe options.
Essential Gear for Home Smoking
1. Smokers: Finding the Right Fit for Your Space and Ambitions
- Stovetop Smokers: Compact, affordable, and perfect for beginners or apartment dwellers. Brands like Cameron’s offer stainless steel models that fit over a single burner. Pros: easy cleanup, low learning curve. Cons: limited capacity, may not achieve deep smoke flavor as quickly as larger units.
- Electric or Pellet Smokers: Portable and versatile, these units maintain consistent temperatures, making them ideal for set-it-and-forget-it smoking. Look for models with precise temperature controls and insulated walls. Pros: user-friendly, consistent results. Cons: higher upfront cost, requires outdoor use.
- Charcoal/Kettle Grills: With smoking accessories (like a smoker box or indirect heat setup), your everyday grill can double as a smoker. Pros: dual-purpose, familiar operation. Cons: requires close monitoring, temperature management can be tricky.
- Cold Smoke Generators: Small devices or tubes that produce smoke without heat, ideal for cold-smoking in your grill or box. Pros: affordable, excellent for cheeses and delicate foods. Cons: not suitable for cooking; safety (foodborne illness) must be carefully managed.
2. Accessories: Tools That Make a Difference
- Wood Chips, Chunks, or Pellets: Choose hardwoods like hickory, apple, cherry, or oak. Each wood imparts a unique flavor. Avoid softwoods (pine, cedar) as they produce bitter, sometimes toxic smoke.
- Thermometers: A reliable digital probe thermometer is essential for both food safety and perfect doneness. For serious smoking, consider a dual-probe model to monitor both food and ambient smoker temperature.
- Drip Pans and Water Trays: Catch fat drippings and help regulate humidity for juicy results.
- Heat-Resistant Gloves: Protect hands from burns when handling hot grates or pans.
- Food-Grade Spray Bottles: Use for spritzing meats with water, apple juice, or vinegar to keep them moist and encourage smoke adherence.
- Racks and Mesh Trays: Allow for maximum smoke circulation around cheeses, nuts, or small vegetables.
3. Optional Upgrades for the Ambitious Home Smoker
- Vacuum Sealer: Essential for safely storing smoked goods, maximizing shelf life and flavor.
- Wireless Temperature Monitors: Let you track progress from your phone, perfect for long smokes.
- Dedicated Outdoor Smoking Table or Cart: Organize tools and ingredients for efficient workflow.
Cost Breakdown: Budgeting for Home Smoking
Initial Setup Costs
- Stovetop Smoker: $40–$80
- Entry-Level Electric Smoker: $120–$250
- Charcoal Grill (with Smoker Box): $60–$200 (if you don’t already have one)
- Cold Smoke Generator: $20–$60
- Thermometer: $15–$50
- Accessories (chips, gloves, pans): $25–$75
Many home cooks can get started for under $100 using existing grills and a few inexpensive accessories. Those seeking more advanced setups should budget $300–$400 for a plug-and-play experience.
Ongoing Costs
- Wood Chips/Pellets: $6–$15 per 5-lb bag (enough for several sessions)
- Replacement Parts: Gaskets, racks, or thermometers may need occasional replacement—budget $10–$30 annually.
- Ingredient Costs: Smoking turns affordable ingredients (like chicken thighs, seasonal vegetables, or bulk cheese) into gourmet offerings, helping offset equipment investments.
Tip: Buying wood chips in bulk or splitting with friends lowers costs. Keep an eye out for sales on meat or cheese to maximize your smoking sessions.
Safety Essentials: Protecting Your Food and Home
Food Safety
- Hot Smoking: Always ensure foods reach safe internal temperatures (e.g., 165°F/74°C for poultry). Use a digital probe thermometer and monitor throughout the process.
- Cold Smoking: Only use for foods that are cured, salted, or otherwise preserved. Never cold-smoke raw meats at home unless you are equipped for professional-level curing and monitoring.
- Cross-Contamination: Keep raw and cooked foods separate, and clean all surfaces and utensils thoroughly.
Smoke and Fire Safety
- Ventilation: Use stovetop or electric smokers near open windows or under a range hood to prevent smoke buildup.
- Outdoor Use: Always operate larger smokers and charcoal grills outdoors, away from flammable materials and structures.
- Fire Extinguisher: Keep a small kitchen-rated fire extinguisher nearby.
Choosing Your Wood: Flavor Profiles and Pairings
Wood selection is the heart of great smoking. Here’s a quick guide to common hardwoods and their best culinary pairings:
- Hickory: Bold and smoky, ideal for pork, ribs, and hearty vegetables.
- Apple: Mild, sweet, and fruity. Perfect for poultry, pork, cheese, and even desserts.
- Cherry: Slightly sweet with a rosy hue—great with chicken, duck, and cheeses.
- Oak: Medium-strong, versatile for red meats, fish, and vegetables.
- Pecan: Nutty and rich, complements pork, beef, and cheeses.
- Maple: Sweet and subtle, wonderful for bacon, ham, and vegetables.
Avoid softwoods (pine, spruce, cedar) as they contain resins that can impart unpleasant flavors and harmful compounds.
Pro-Level Smoking Secrets: Techniques for Restaurant-Quality Results
1. Layering Flavors
Combine different woods for custom smoke signatures—try apple with a touch of hickory for balanced sweetness and depth. Experiment with adding fresh herbs (like rosemary or thyme) to the smoker tray for nuanced notes.
2. The Importance of Dry Surfaces
Pat food dry before smoking. Moisture can inhibit smoke adhesion, resulting in a patchy flavor. For extra flavor, let meats or cheeses air-dry uncovered in the fridge for an hour before smoking (a technique called “pellicle formation”).
3. Temperature and Timing Mastery
- Maintain a low, steady temperature for more pronounced smoke flavor without overcooking.
- For hot smoking, resist the urge to peek—opening the smoker drops the temperature and extends cooking time.
- Use a timer and keep notes on each batch to refine your process.
4. Resting for Maximum Flavor
Let smoked foods rest after cooking—10 minutes for meats, 2–24 hours (wrapped and chilled) for cheeses or nuts. This allows smoke flavors to mellow and penetrate deeper.
Creative Smoking Projects: Beyond the Basics
- Smoked Butter: Place sticks of butter on a rack in a cold smoker for 30–60 minutes. The result is incredible on fresh bread or vegetables.
- Smoked Salt: Spread coarse salt on a tray and cold-smoke for 1–2 hours. Use as a finishing touch on steak or chocolate desserts.
- Infused Oils: Cold-smoke olive oil in a shallow dish for subtle, gourmet flavor in salad dressings.
- Vegetable Magic: Smoke cherry tomatoes, eggplant, or mushrooms for a unique twist on salads and pasta.
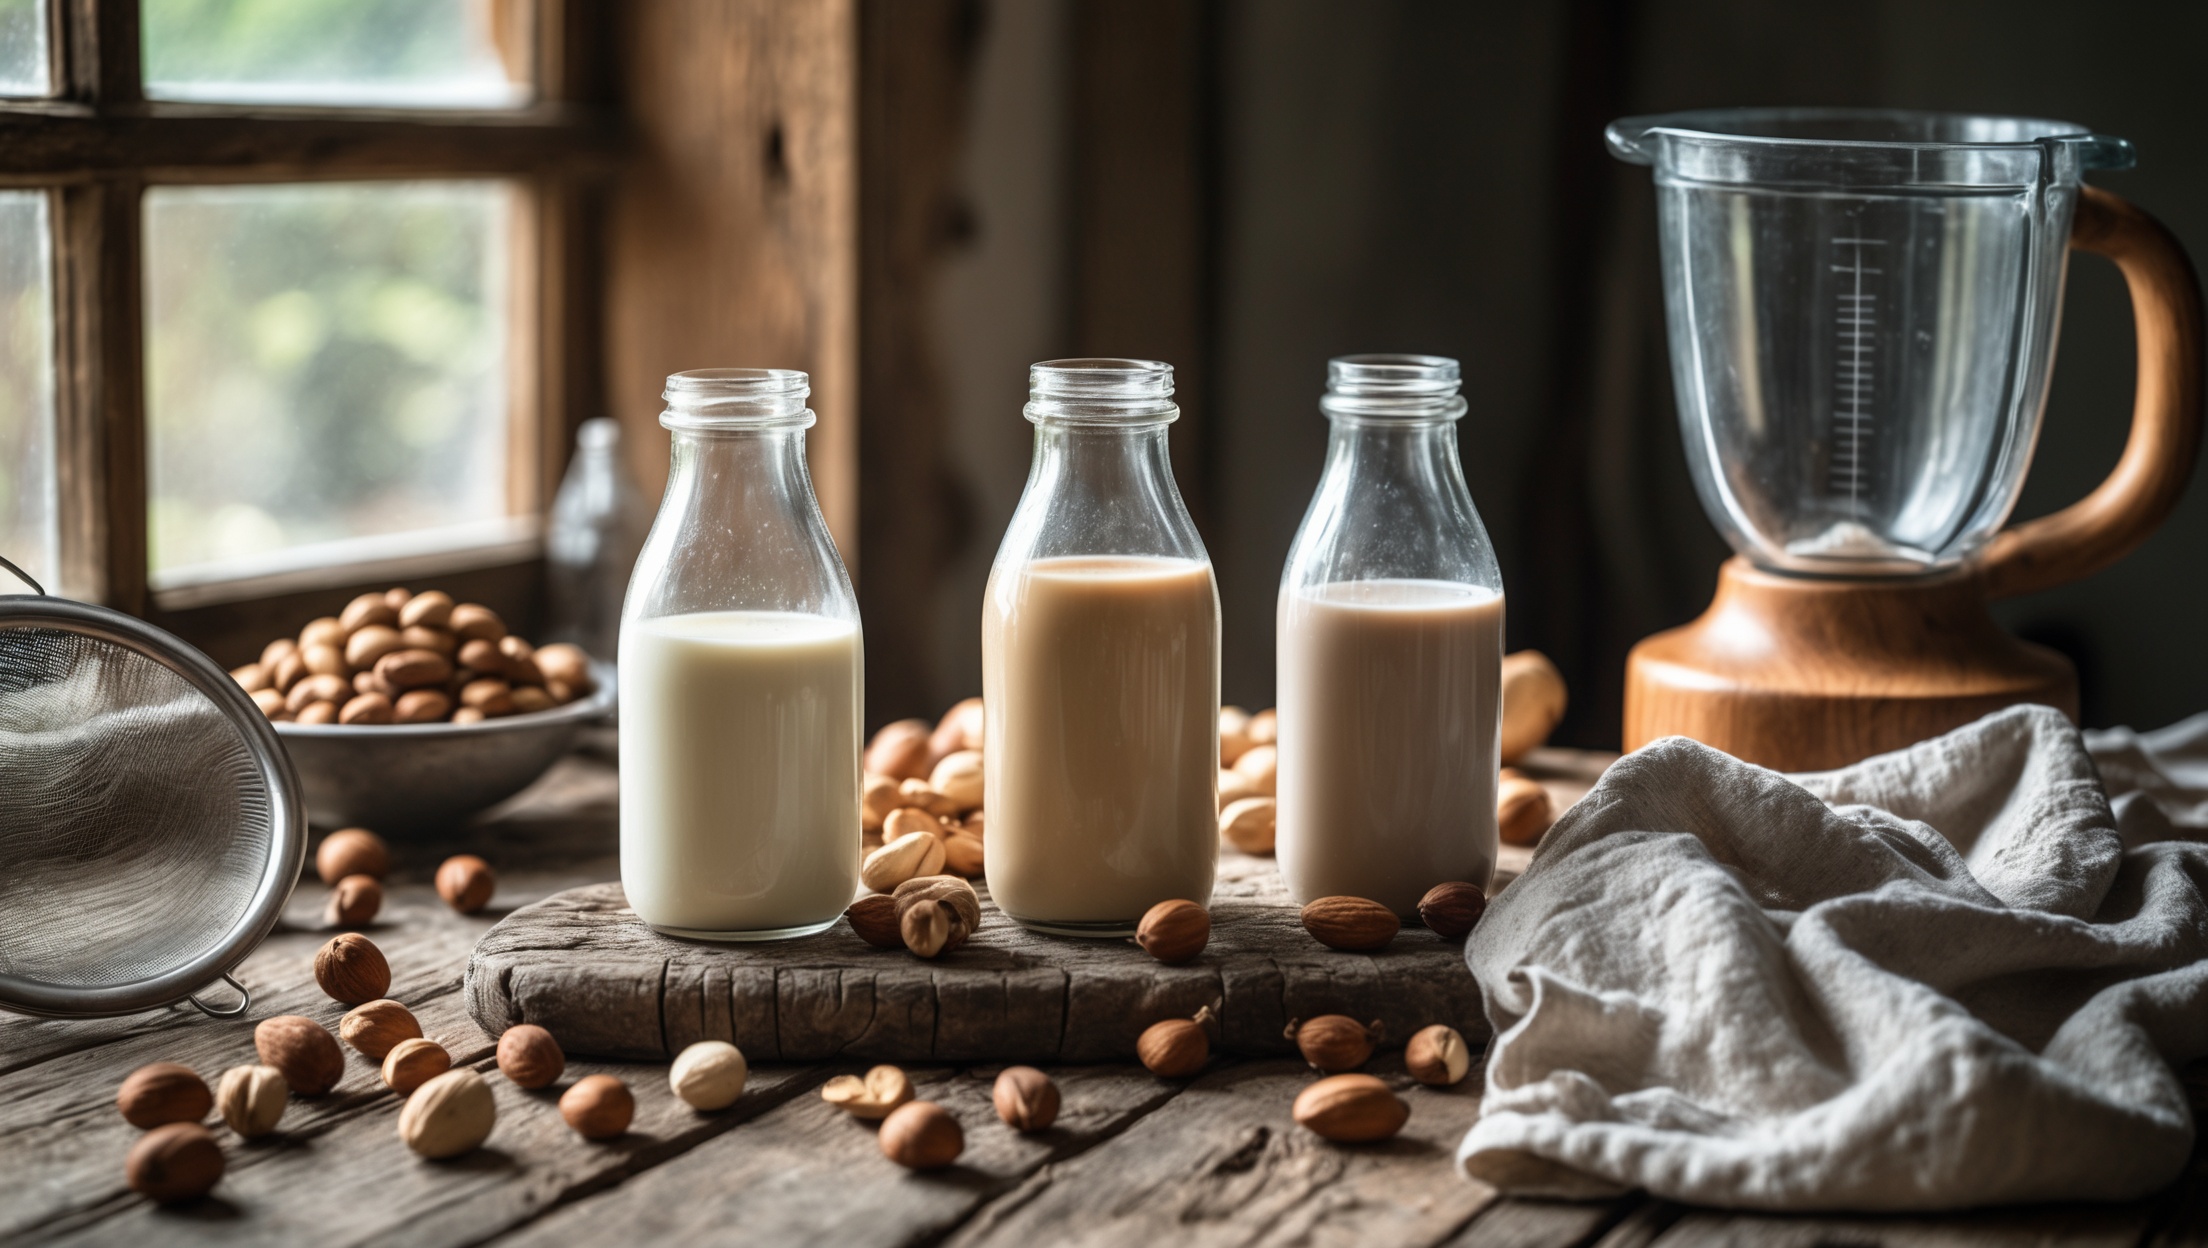
- DIY Smoked Nuts: Toss nuts with a little oil and salt, then smoke for 30–45 minutes for a crunchy, savory snack.
- Cheese Boards Elevated: Cold-smoke mozzarella, cheddar, or gouda for an unforgettable addition to your next gathering.
Maintenance Best Practices: Keep Your Smoker in Top Shape
- Clean grates and trays after each use to prevent buildup and off-flavors.
- Empty ash and old wood chips to maintain clean airflow and prevent corrosion.
- Inspect seals and gaskets regularly. Replace if you notice excessive smoke leakage.
- Wipe down the exterior with a damp cloth; avoid harsh chemicals that could damage finishes.
- Store in a dry place or use a cover to protect from moisture and rust.
Debunking Common Myths About Home Smoking
- Myth: “You need a backyard or large outdoor space to smoke food.”
Reality: Compact stovetop smokers and cold smoke generators make smoking in small kitchens entirely feasible, with proper ventilation. - Myth: “Smoked foods are always unhealthy.”
Reality: Smoking is a technique, not a recipe. You control the ingredients, salt, and fat content—smoke can enhance even the simplest vegetables or lean proteins. - Myth: “It’s too expensive to get started.”
Reality: Many home smokers begin with less than $100 in gear, using basic grills and creative accessories. - Myth: “All smoked foods taste the same.”
Reality: Wood choice, technique, and seasonings create endless variety. Home smoking is a playground for flavor innovation.
Conclusion: Bringing Smoked Craft Into Your Culinary Repertoire
Home smoking offers a rare blend of ancient tradition and modern creativity—a way to infuse everyday meals with the kind of layered, evocative flavor that sparks conversation and lingers in memory. As you embark on your smoking journey, remember that great results come from attention to detail: the careful selection of wood, the patience to monitor temperature, the confidence to experiment with new ingredients. The investment in equipment is modest compared to the culinary dividends: smoked chicken with juicy, aromatic flesh; crisp vegetables touched with campfire sweetness; cheeses and nuts transformed into gourmet delights for your next gathering.
Perhaps most rewarding is the sense of mastery and discovery that comes with each batch. You’ll learn to balance smoke intensity, to pair woods with your favorite foods, and to troubleshoot with the confidence of a seasoned chef. Whether you’re working with a stovetop unit in a city apartment or a dedicated smoker on your patio, the essential tools and smart practices outlined here will help you avoid beginner mistakes and maximize your results. Don’t be afraid to start small—a single smoked salt or butter can transform your cooking and inspire new directions.
As with all culinary crafts, home smoking is about more than the finished product. It’s about savoring the process, inviting friends and family to share in the aroma, and building a repertoire of flavors unique to your kitchen. With the right gear, mindful budgeting, and a willingness to experiment, you’ll unlock a new world of taste and tradition—one smoky, delicious bite at a time.


I’m new to home smoking and feeling a bit overwhelmed by equipment choices. The article mentions not needing huge gear, but are there specific compact smokers or tools you recommend for someone with limited kitchen space? I’d love some advice on starting small without sacrificing flavor.
You can definitely start small and still get great smoked flavors. For limited kitchen space, consider a stovetop smoker or a smoking gun—both are compact and easy to store. Electric or portable charcoal smokers are also good options for balconies or small patios. Whichever you choose, focus on quality wood chips and fresh ingredients to maximize flavor, even with a smaller setup.
You mention that almost any ingredient can be smoked at home, including nuts and salts. From your experience, do these items require different smoking times or techniques compared to meats or vegetables?
Yes, nuts and salts do require different smoking times and techniques compared to meats or vegetables. Nuts usually absorb smoke quickly, often within 30 minutes to an hour, and benefit from lower temperatures to avoid roasting them. Salts take even less time—sometimes only 20 to 30 minutes—since they just need to pick up the smoky aroma. In contrast, meats and vegetables often require hours of low and slow smoking to infuse flavor and reach the desired texture. Always use indirect heat for the best results.
The article talks about budgeting for quality equipment without needing ‘space-hogging behemoths.’ For someone just starting out with minimal space and funds, what would you recommend as the most essential and cost-effective gear to get good results?
For beginners with limited space and budget, a compact, portable smoker like a kettle grill or a small electric smoker is a great choice. Pair it with a reliable thermometer and a set of wood chips for adding smoke flavor. These essentials will let you achieve tasty results without overspending or taking up much room.
When you mention budgeting for quality equipment, can you give a ballpark range for what a beginner should expect to spend on the essential gear? I want to get started but I’m not sure if I need to invest a lot upfront, or if there are solid budget-friendly options.
For beginners, you can start with a basic charcoal or electric smoker for around $100 to $250. Add-on essentials like a thermometer, wood chips, and a chimney starter usually total another $30 to $60. While there are premium options, you don’t need to spend a lot upfront—there are plenty of reliable, budget-friendly setups that work well for getting started.
I noticed the article mentions that home smokers don’t necessarily need huge, expensive setups. Can you recommend any compact or beginner-friendly smoking gear that won’t break the bank but still gives good results for things like cheese or smaller cuts of meat?
Absolutely, there are several compact and affordable options that work well for beginners. Electric or stovetop smokers are easy to use and ideal for smaller spaces. You might also consider a simple smoke tube or a handheld smoking gun, both of which are great for infusing cheese or small meat cuts with smoky flavor without a big investment. These options let you experiment without committing to bulky or expensive gear.
The introduction mentions avoiding the bitterness or uneven smoke results that can trip up beginners. Can you elaborate on what causes these problems and the simplest adjustments a home cook can make to get consistently flavorful results?
Bitterness in smoked foods often comes from using too much wood or letting the smoke get too thick and stale. Uneven smoke results can happen if heat and airflow aren’t balanced, causing some parts to overcook while others stay underdone. To fix this, use only seasoned (not green) wood, keep your vents open for steady airflow, and aim for a gentle, thin blue smoke. Also, maintain a consistent low temperature and avoid overloading the smoker.