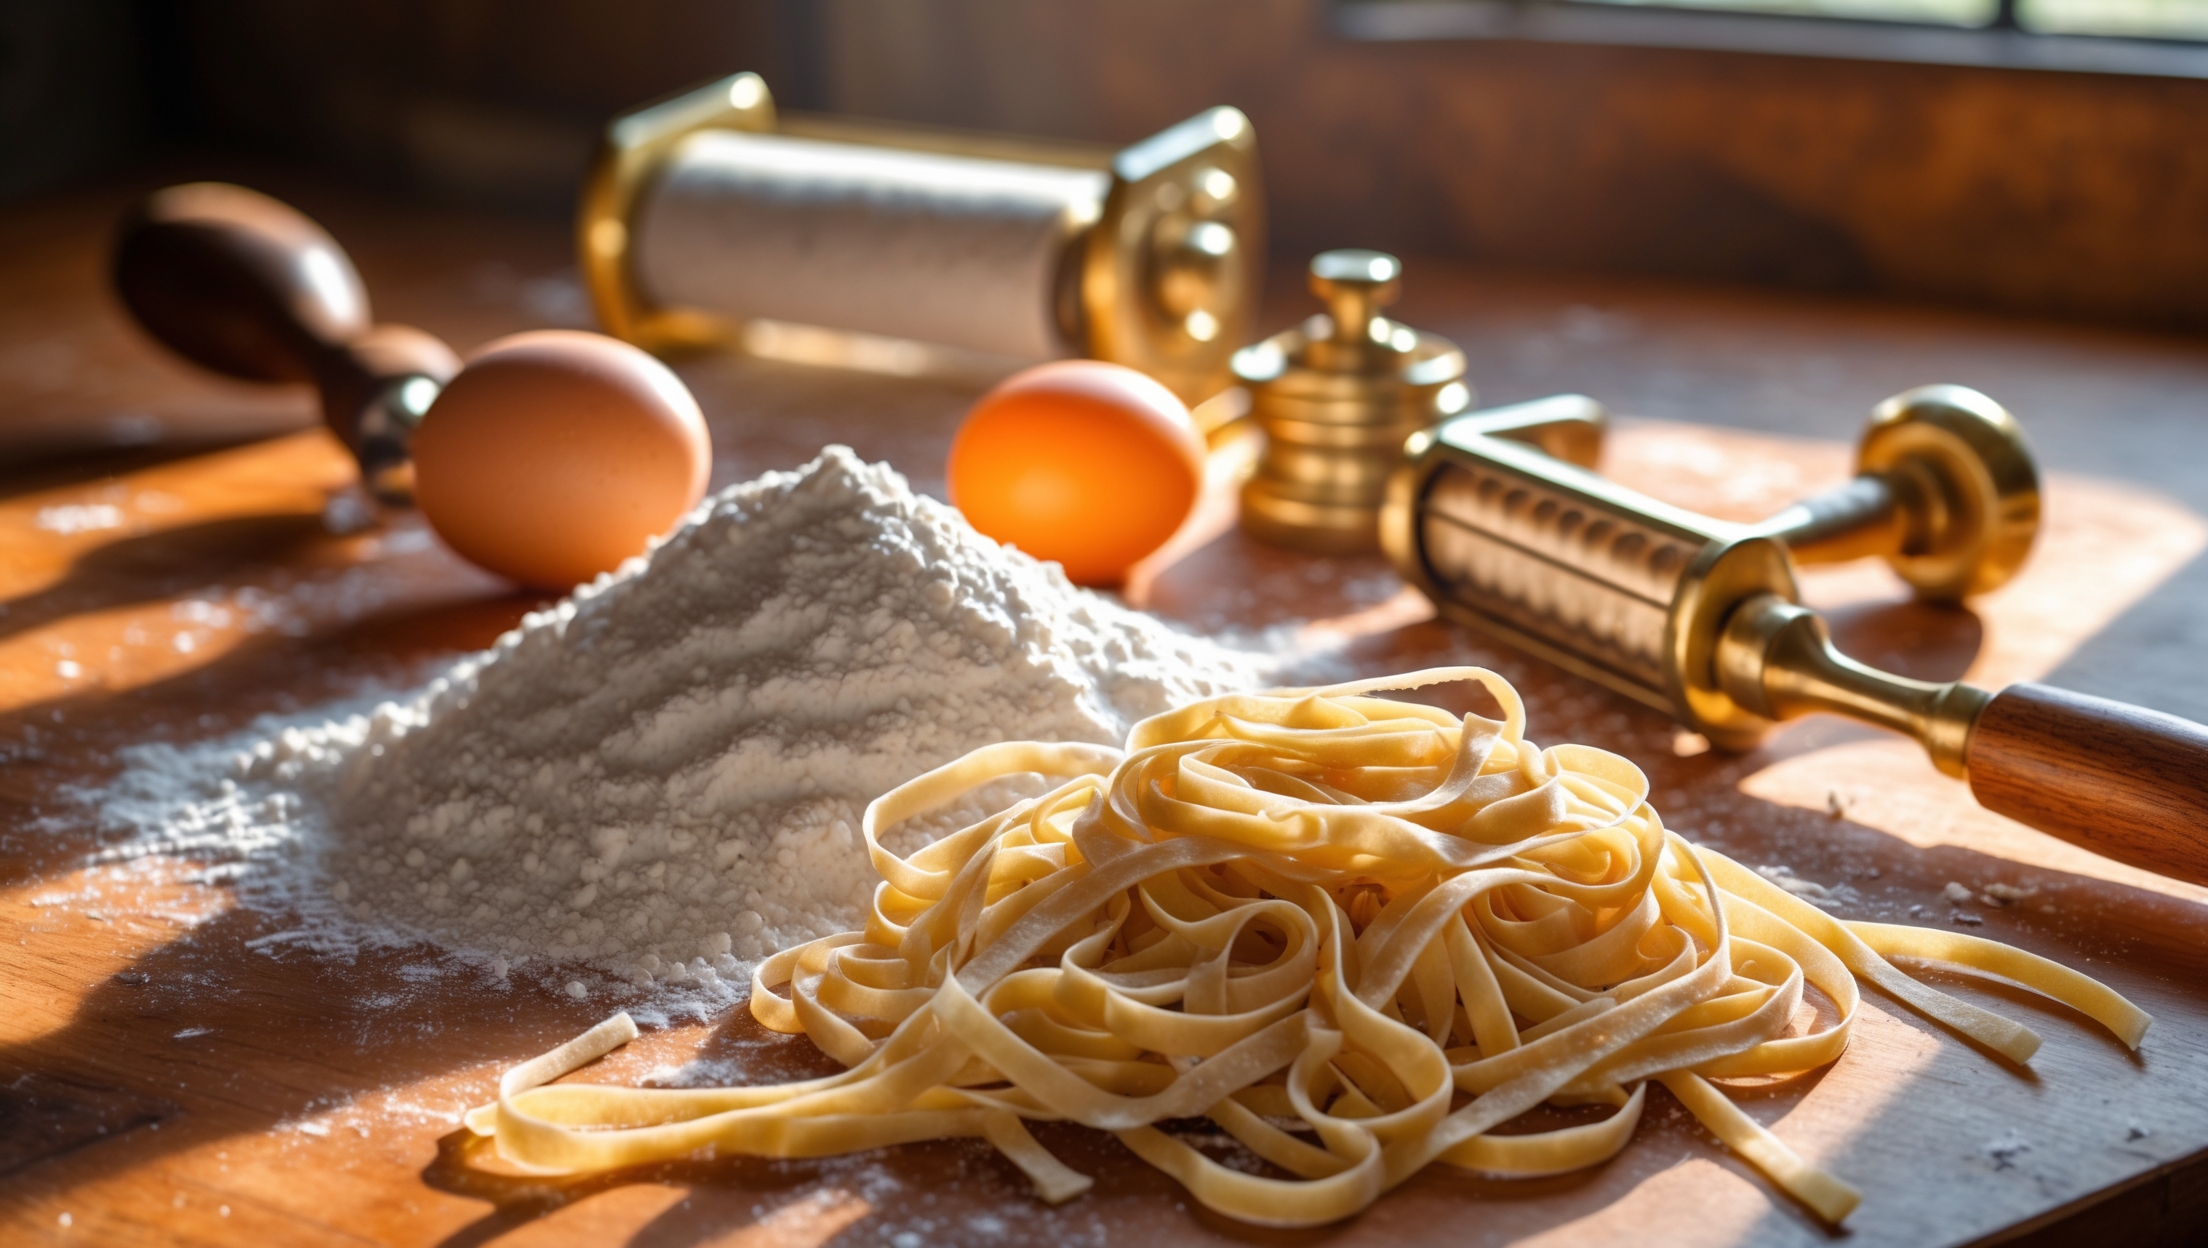
There’s something undeniably magical about transforming humble flour and eggs into silken ribbons of pasta. For home cooks and culinary creators alike, small-batch pasta making offers an accessible yet endlessly rewarding craft—one that blends tradition, creativity, and a tactile connection to your ingredients. But beyond the romance lies a practical question: how do you set yourself up for success, manage costs, and choose the right tools without overwhelming your kitchen or budget?
This guide delves deep into the world of small-batch pasta, focusing on the real-world details that matter. We’ll explore the essential tools (and which gadgets are worth skipping), break down the cost per batch, outline a step-by-step setup for first-timers, and share maintenance practices to ensure your equipment and technique stand the test of time. Whether you’re aiming to impress dinner guests or simply savor the ritual of pasta making, this comprehensive resource is your roadmap to refined, flavorful results.
Why Small-Batch Pasta? The Allure and the Advantages
Handmade pasta isn’t just about taste—it’s about craft. Unlike large-scale production, small batches allow for total control over texture and flavor. You can experiment with flours (semolina, 00, or even ancient grains), adjust hydration, and perfect your shaping technique. This approach is also ideal for modern home kitchens, where counter space is precious and time is often limited.
- Freshness: Small batches ensure your pasta never sits around long enough to lose its character.
- Customization: Easily tweak recipes for dietary needs (gluten-free, vegan) or seasonal inspiration.
- Minimal Waste: Make only what you need—no more stale, forgotten dough in the fridge.
- Enhanced Learning: Smaller amounts mean you can practice and refine your technique without being overwhelmed.
Cost Breakdown: What Does Small-Batch Pasta Really Cost?
Many home cooks assume that artisanal pasta requires a hefty investment. In reality, the costs are modest—especially when compared to premium store-bought fresh pasta. Let’s break it down.
Ingredient Costs per Batch (4 Servings)
- Flour (Type 00 or Semolina): 300g (~2.5 cups): $1.20
- Eggs: 3 large: $1.50
- Olive Oil (optional): 1 tbsp: $0.20
- Salt: 1 tsp: negligible
Total Ingredient Cost: Approximately $2.90 for four hearty servings.
Equipment Costs: One-Time Investments
- Pasta Roller (Manual): $40–$80
- Pasta Cutter/Wheel: $8–$20
- Bench Scraper: $8–$15
- Mixing Bowl: $10–$25
- Drying Rack (optional): $15–$30
Total Initial Setup: $70–$170 (much of which is reusable for years).
Utilities and Hidden Costs
- Energy: Minimal—boiling water and a few minutes of rolling.
- Maintenance: Occasional oiling of rollers and regular cleaning (see Maintenance section below).
Overall, once you invest in a few key tools, ongoing costs are trivial—particularly considering the quality and satisfaction of homemade pasta.
Essential Tools and Equipment: What You Need (and What You Don’t)
The world of kitchen gadgets is vast, but small-batch pasta favors simplicity. Here’s what you truly need, and what’s nice to have but optional.
Must-Have Tools
- Manual Pasta Roller: The backbone of small-batch pasta. Choose one with adjustable thickness and sturdy clamps. Electric rollers are convenient but not essential.
- Bench Scraper: For manipulating dough and cleaning surfaces efficiently.
- Mixing Bowl (or clean work surface): To combine ingredients and knead.
- Pasta Cutter or Knife: A simple wheel or sharp chef’s knife handles most shapes.
- Digital Scale: Precision ensures consistent results, especially with flour-to-egg ratios.
Optional but Useful
- Pasta Drying Rack: Fantastic for long noodles, but a floured kitchen chair works in a pinch.
- Ring Mold or Gnocchi Board: For shaping specialty pastas such as tortellini or gnocchi.
- Fine Mesh Sieve: For dusting flour or sifting semolina.
What to Skip
- Expensive Electric Machines: Overkill for small batches and harder to clean.
- Pasta Extruders: Fun, but not necessary for classic shapes and textures.
- Specialty Drying Cabinets: Not needed unless scaling up to semi-professional production.
Step-by-Step Setup: From Ingredients to Finished Pasta
Ready to begin? Here’s a straightforward workflow designed for the modern home kitchen, emphasizing efficiency, craft, and delicious results every time.
1. Mise en Place: Prep Your Station
- Clear your counter and gather tools: pasta roller, bench scraper, mixing bowl, scale, and cutter.
- Measure out flour and crack eggs into a separate bowl.
- Keep a damp towel nearby to cover dough during resting.
2. Mixing and Kneading
- Pour flour onto your work surface and create a well in the center.
- Add eggs (and a dash of olive oil, if desired) to the well.
- Use a fork or fingertips to gradually incorporate flour into eggs, working from the center outwards.
- When the mixture forms a shaggy dough, switch to kneading by hand. Knead for 8–10 minutes until smooth and elastic.
Pro Tip: If dough feels dry, add a teaspoon of water. If sticky, dust with flour sparingly.
3. Resting
- Wrap dough in plastic or cover with a damp towel. Rest at room temperature for at least 30 minutes. This relaxes gluten and makes rolling easier.
4. Rolling Out
- Divide dough into quarters. Flatten one piece and keep others covered.
- Set roller to the widest setting. Feed dough through, fold in thirds, and repeat twice.
- Continue rolling, reducing thickness with each pass, until desired thinness is achieved (typically setting #6 for tagliatelle, #7 for ravioli).
5. Shaping and Cutting
- Dust sheet lightly with flour. Cut into desired shapes—ribbons, lasagna, or filled forms.
- For noodles: Roll sheets up loosely and slice to width. Unfurl and lay on a floured surface or drying rack.
- For stuffed pasta: Place fillings, fold, and seal edges with a touch of water.
6. Cooking and Finishing
- Boil a generous pot of salted water.
- Fresh pasta cooks in 2–4 minutes—taste for doneness.
- Reserve some pasta water for emulsifying sauces.
Pair with seasonal sauces and finish with high-quality olive oil or freshly grated cheese for a refined touch.
Budgeting and Batch Management: Maximizing Value
Small-batch pasta is inherently cost-effective, but a few strategies can help you get the most from your investment—both in ingredients and time.
Buy Ingredients in Bulk (Selectively)
- Flour: Purchase high-quality flour in 5–10 lb bags for savings—store in airtight containers.
- Eggs: Local sources or farmers markets often offer fresher, more flavorful eggs for a similar price.
Batch Tasks for Efficiency
- Double the recipe and freeze half the dough or formed pasta (especially stuffed shapes).
- Prep sauces or fillings while dough rests to save time.
Waste Not, Want Not
- Trimmings can be rolled into rustic shapes or added to soups.
- Unused dough can be wrapped tightly and refrigerated for up to 2 days, or frozen for a month.
Maintenance Best Practices: Keeping Your Tools in Top Shape
Proper care of your pasta tools ensures longevity and peak performance. Here are maintenance essentials for each key piece of equipment:
Pasta Roller
- Never submerge in water. Instead, brush off excess flour after each use.
- If dough sticks inside rollers, allow it to dry, then chip away with a wooden skewer.
- Apply a drop of food-grade mineral oil to gears every few months.
Bench Scraper and Cutters
- Wash in warm, soapy water and dry thoroughly.
- Avoid dishwasher if wooden handles are present.
Mixing Bowls
- Standard dishwashing is fine, but avoid abrasive pads on glass or ceramic surfaces.
Storage
- Store tools in a dry area to prevent rust.
- Cover rollers with a cloth or store in original box to block dust.
Seasonal Inspiration: Flavor Variations and Creative Pairings
One of the joys of small-batch pasta is its adaptability to the seasons. Consider these ideas as starting points for your own culinary experiments:
- Spring: Add pureed peas or wild garlic to dough; pair with asparagus and lemon zest.
- Summer: Infuse dough with roasted red pepper or basil; serve with cherry tomato confit.
- Autumn: Incorporate pumpkin or sage into fillings; match with brown butter and hazelnuts.
- Winter: Try chestnut flour in dough; finish with porcini cream sauce.
Don’t be afraid to test unusual combinations—small batches make experimentation low-risk and highly rewarding.
Common Beginner Mistakes (and How to Avoid Them)
- Over-hydrating or under-hydrating dough: Add liquid or flour in small increments and trust your hands.
- Skipping the rest period: This leads to tough, hard-to-roll dough—always rest for at least 30 minutes.
- Rolling too thick or thin: Err on the side of thinner sheets for most shapes; use guides on your roller.
- Not flouring enough during rolling: Prevent sticking by dusting lightly and regularly.
- Overcooking fresh pasta: It cooks much faster than dried. Taste after two minutes.
Conclusion: Bringing Small-Batch Pasta into Your Culinary Repertoire
Embracing small-batch pasta making is more than a culinary project—it’s a hands-on journey through the traditions and innovations that define refined home cooking. With a modest investment in tools and a clear understanding of the process, you unlock a world of flavors and textures that far surpass what’s possible with store-bought alternatives. The cost per serving is minimal, the creative opportunities are limitless, and the satisfaction of crafting something truly special—by hand, for yourself and your guests—becomes a highlight of your kitchen routine.
Remember, mastery comes from repetition and curiosity. Each batch is a chance to refine your technique, test new flavor combinations, and develop a deeper appreciation for the simple ingredients at the heart of pasta. Whether you’re shaping silky tagliatelle for a quick weeknight meal or experimenting with seasonal fillings for a celebratory dinner, small-batch pasta offers a perfect balance of tradition, innovation, and everyday luxury.
So clear your counter, dust off your roller, and let the stories of taste and craft begin—one small batch at a time.

I’m interested in offering gluten-free and vegan pasta options at my small cafe, but I’m concerned about cross-contamination and ingredient costs. Do you have tips for setting up a workflow that keeps things simple and budget-friendly, especially when working in a tight kitchen space?
To minimize cross-contamination, designate a separate prep area and tools for gluten-free and vegan pasta, even if it’s just a dedicated counter and utensils. Store ingredients in labeled, sealed containers. Batch-cook and freeze portions to save on labor and reduce waste. For cost savings, buy core ingredients like gluten-free flour in bulk and focus on versatile, simple recipes that use overlapping components. Regularly train staff on your protocols to ensure everything stays clear and consistent.
If I only have a very small kitchen and limited countertop space, what would be the absolute minimum set of tools you’d recommend to get started, and are there any common kitchen items that can realistically substitute for a real pasta roller?
For a small kitchen, you only need a mixing bowl, a fork, and a clean surface like a cutting board or even a large plate to knead dough. Instead of a pasta roller, you can use a regular rolling pin or even a sturdy wine bottle to roll out the dough. For cutting shapes, a sharp knife works fine. These basics are enough to start making homemade pasta without special equipment.
I’d love to get started with small-batch pasta, but my kitchen space is really limited. Could you elaborate on which tools are absolutely essential for beginners and which ones I can pass on if I don’t want to clutter my counter?
For a small kitchen, you only need a mixing bowl, a fork, and a clean surface or a silicone mat to knead and roll the dough. A rolling pin (or a wine bottle) helps with flattening. Skip the pasta maker, drying rack, or fancy cutters at first. A sharp knife or pizza cutter works great for most shapes. This way, you keep things simple and avoid clutter.
You mention swapping out different types of flour like semolina, 00, or ancient grains for small-batch pasta. Are there any combinations you’ve found that work best for beginners, and do these flours have a big impact on the final texture?
For beginners, a simple mix of all-purpose flour with a bit of semolina works very well—usually about 75% all-purpose to 25% semolina. This combo is easy to handle and gives pasta a nice bite without being too chewy. The type of flour does impact the texture: semolina adds firmness and a yellow color, while 00 flour makes the dough silkier and more tender.
For someone running a small food business out of their home kitchen, which pasta tools would you say are absolutely essential, and which ones are more of a nice-to-have but not necessary? I need to avoid clutter but still want to produce quality pasta.
For a small home-based food business, the essential pasta tools are a quality rolling pin, a bench scraper, and a reliable pasta cutter (either a knife or wheel). A manual pasta machine is also very helpful for consistency and speed but not strictly required. Extras like ravioli molds, drying racks, or specialty cutters are nice-to-haves if you expand, but you can make excellent pasta with just the basics and keep your workspace uncluttered.
You mentioned experimenting with different flours like semolina and 00 for small-batch pasta. How do the costs and results compare if I want to try ancient grains or gluten-free options instead?
Ancient grain flours like einkorn, spelt, or emmer tend to be pricier than semolina or 00, and usually create a nuttier flavor and slightly denser texture in pasta. Gluten-free options, such as rice or chickpea flour, can also be more expensive and may require xanthan gum or eggs for structure. The results with gluten-free flours will differ—they’re often more delicate and less elastic than traditional pasta.
The guide mentions step-by-step setup for first-timers, but I’m curious how long it actually takes to make a small batch from start to finish, including cleanup. Is this a realistic weeknight endeavor, or does it work best on weekends?
Making a small batch of pasta from scratch, including cleanup, typically takes about 1.5 to 2 hours if you’re new to the process. With practice, you might get it closer to an hour. While it’s doable on a weeknight if you have the time and energy, many find it more enjoyable and relaxed as a weekend project.
I have very limited counter space in my apartment kitchen—do you have any tips for setting up an efficient pasta-making area or for drying pasta in a small space without extra gadgets?
To make pasta in a small kitchen, use a large cutting board or a clean tray placed over your sink or stove for extra workspace. For drying, drape noodles over a clean broom handle or rolling pin balanced between two chairs, or hang them on the back of a clean chair. Lay short shapes on a towel-lined baking sheet. No fancy gadgets needed—just get creative with what you have!
You mention that some gadgets are worth skipping when it comes to small-batch pasta. Can you give examples of which tools are truly essential and which ones you’ve found to be unnecessary for a beginner trying to keep costs low?
For small-batch pasta, truly essential tools are a rolling pin (or even a wine bottle), a sharp knife or pizza cutter, and a clean surface for rolling dough. A simple mixing bowl is handy too. Unnecessary gadgets for beginners include pasta drying racks, specialty cutters, and motorized pasta machines. You can always add more tools later, but these basics are all you need to start making delicious pasta at home.
The article hints at a per-batch cost breakdown for homemade pasta—could you provide a sample budget for a basic setup, including both starter tools and typical ingredient costs per batch? I’m trying to figure out if this is financially practical for casual use.
Absolutely, here’s a basic budget estimate: For tools, a simple hand-crank pasta machine is around $30–40, a rolling pin about $10, and a bench scraper $5–10. For each batch (serving 2–3), you’ll need about 2 cups flour ($0.60) and 2 eggs ($0.50), totaling roughly $1–1.20 per batch. Your upfront tool investment is about $45–60. For casual use, it’s cost-effective over time, especially if you enjoy fresh pasta regularly.
Could you give a ballpark estimate on the actual cost per small batch, including ingredients and basic equipment? I want to know what I’d be investing upfront before I commit to making homemade pasta regularly.
For a single small batch (enough for 2–3 servings), ingredients like flour and eggs typically cost $2–$4. Basic equipment—rolling pin, mixing bowl, knife, and a drying rack—can be sourced for around $30–$50 total. If you decide to add a pasta machine, that adds about $40–$80. So, the upfront investment ranges from $30 to $130, with each batch afterward costing just a few dollars.
The article mentions experimenting with different flours like semolina, 00, and ancient grains for pasta. Are there certain flours that are more forgiving for beginners, or should first-timers just stick with a classic type?
For beginners, starting with classic all-purpose flour or 00 flour is often easiest because they yield smooth, elastic dough that’s simple to work with. Semolina gives a firmer texture but can be slightly trickier to knead and shape at first. Ancient grains like spelt or einkorn can behave unpredictably, so it’s usually best to experiment with those after you’re comfortable with the basics.