
Introduction: The Modern Renaissance of Artisanal Ice Cream
In recent years, the world of ice cream has undergone a delicious transformation. No longer limited to supermarket tubs or standard vanilla-chocolate-strawberry fare, ice cream today is a canvas for culinary creativity—a place where the craftsperson’s hand, the grower’s harvest, and the food lover’s curiosity intersect. Artisanal ice cream, with its focus on small batches, quality ingredients, and imaginative flavors, has become a staple of refined home entertaining and a marker of culinary culture. Whether inspired by local farmers’ markets or global taste trends, more home cooks and aspiring dessert artisans are investing in the craft of homemade ice cream. But where does one begin? From essential tools and equipment to the science of texture, seasonal flavor inspiration, and cost-effective strategies, this guide will equip you with everything you need to master the art of artisanal ice cream at home. We’ll demystify the process, help you avoid common pitfalls, and reveal how to create creamy, scoopable, and utterly irresistible frozen treats—without breaking the bank or sacrificing quality. Let’s dive into the frosty world of culinary creativity and decode what it takes to churn out ice cream that rivals your favorite boutique scoop shop.
Essential Tools for Crafting Artisanal Ice Cream
The Ice Cream Maker: Manual vs. Electric
The foundation of great ice cream is the right machine. Choosing between manual and electric makers depends on your desired batch size, budget, and hands-on involvement.
- Manual (Hand-Cranked) Makers: These evoke nostalgia and offer tactile control, but require more physical effort and can be less consistent. Ideal for those seeking a traditional experience and smaller batches.
- Electric Compressor Machines: These are the gold standard for home artisans, offering built-in freezing (no pre-frozen bowls) and superior consistency. They’re pricier, but save time and deliver professional results.
- Freezer Bowl Machines: More affordable, but require pre-freezing the bowl for 12-24 hours. Suitable for beginners and occasional makers.
Supporting Equipment: Beyond the Churn
- Heavy-Bottomed Saucepan: Essential for custard-based (French-style) ice creams—prevents scorching during base preparation.
- Fine Mesh Sieve: Removes lumps or cooked egg bits for a silky texture.
- Instant-Read Thermometer: Ensures precise temperature control, especially when working with eggs and sugar.
- Mixing Bowls (Stainless Steel/Glass): For combining and chilling your base.
- Silicone Spatulas: For scraping every last drop and folding in mix-ins.
- Storage Containers (Shallow, Airtight): For rapid freezing and preventing freezer burn—look for BPA-free plastic or stainless steel options.
- Ice Cream Scoops: Heavy-duty, with a heat-conducting handle for smooth serving.
- Digital Scale: For weighing ingredients, especially crucial in balancing sugar and solids for perfect texture.
Niche Tools for the Obsessed
- Pacojet or Blender: For ultra-smooth textures or unique purees.
- Whisk Attachments: For integrating air (overrun) and achieving lightness.
- Candy Thermometer: For sugar syrups and caramel-based flavors.
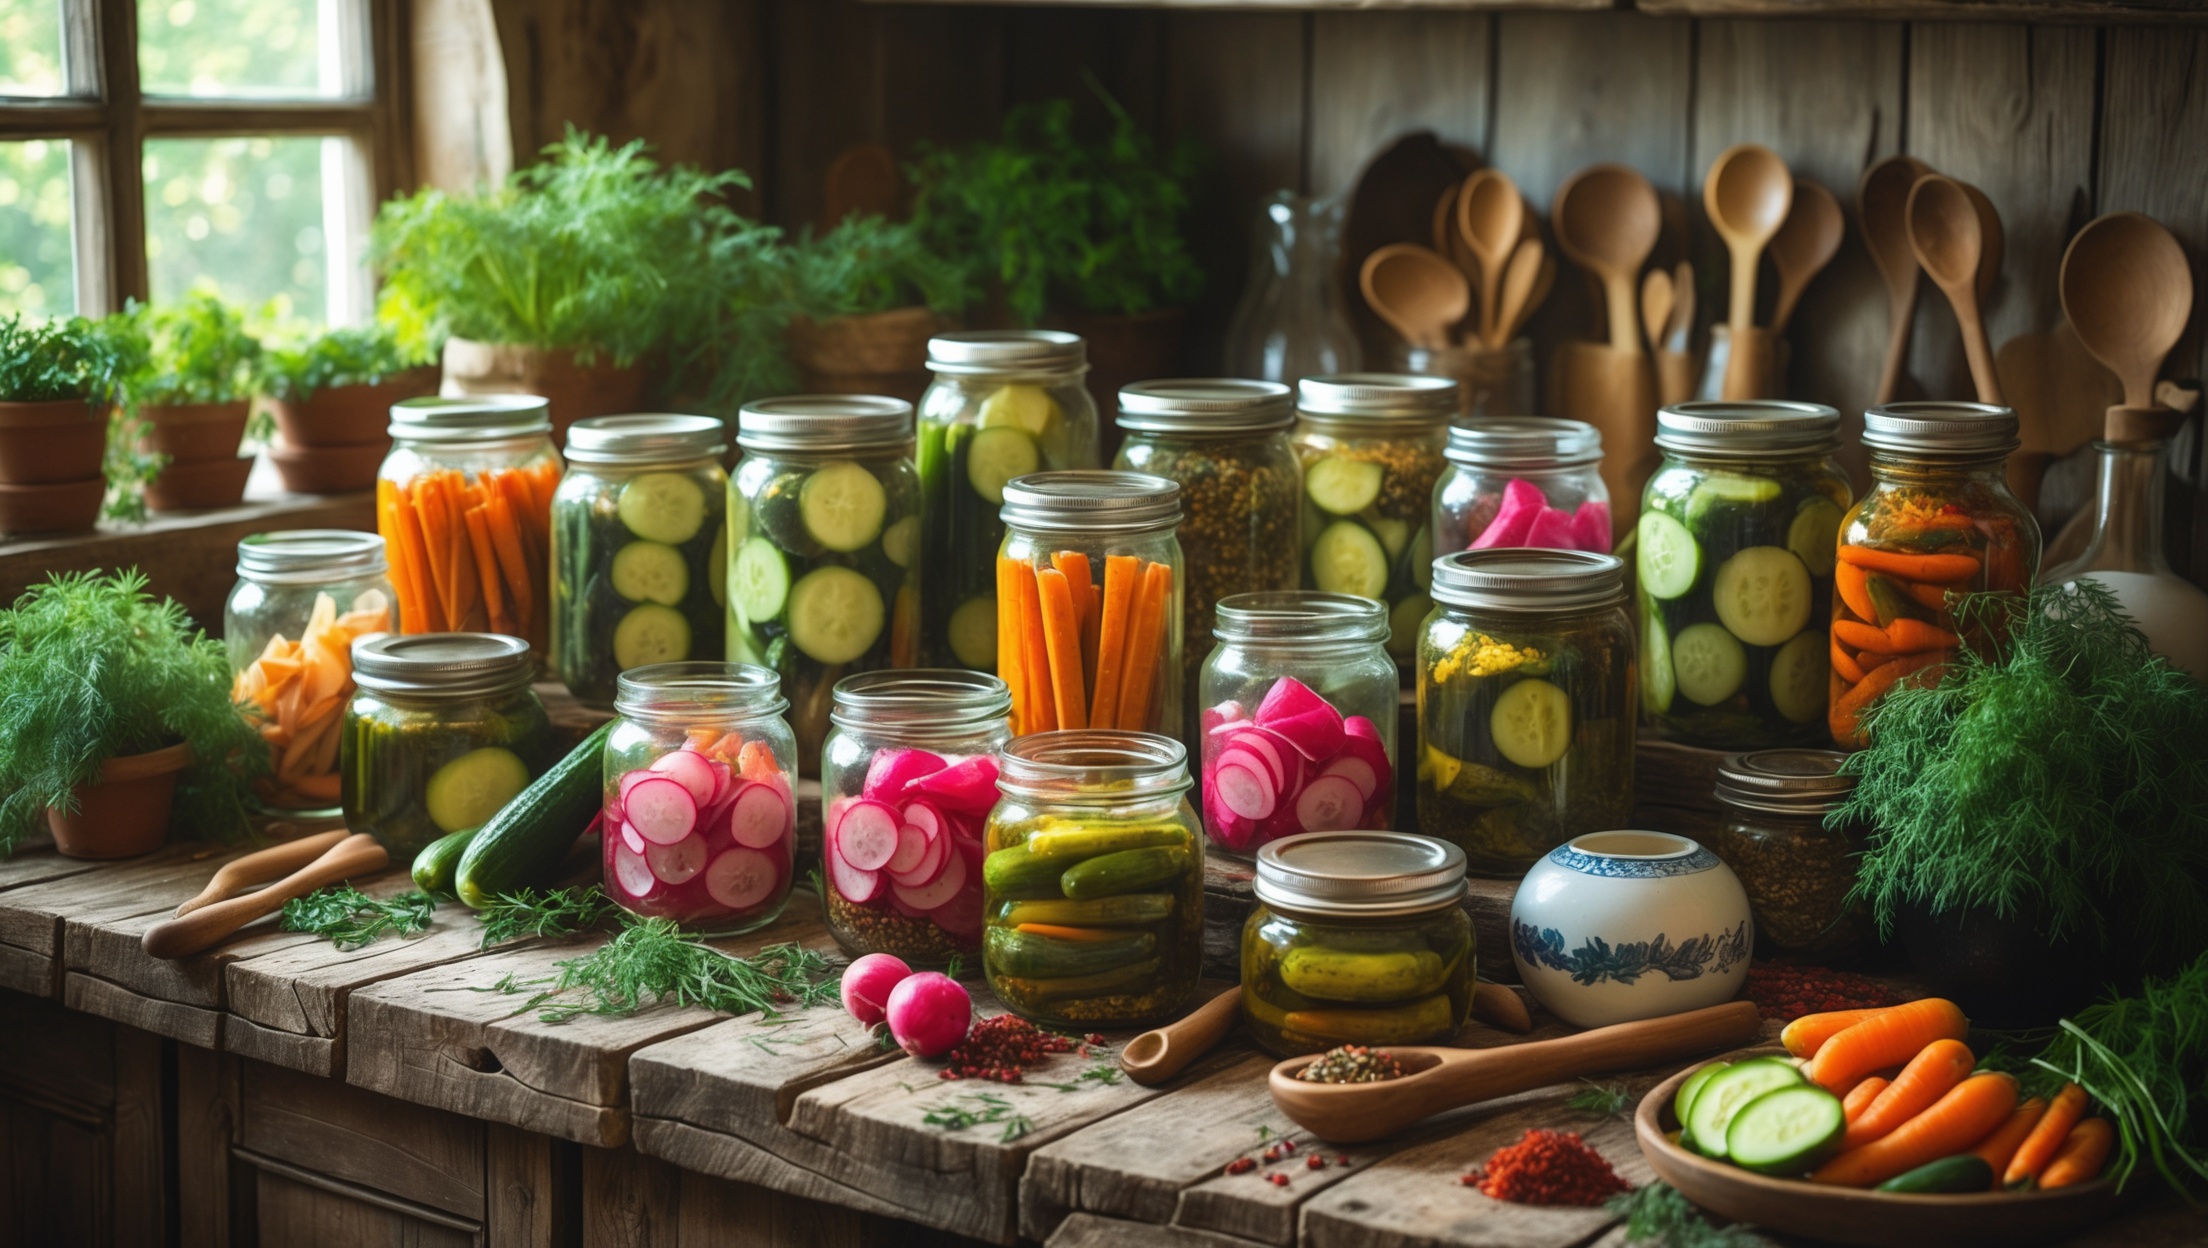
Seasonal Flavor Inspiration: From Farmstand to Freezer
Spring: Florals and Fresh Greens
- Elderflower & Lemon Zest: Fragrant and uplifting, perfect with a custard base.
- Matcha & Sweet Pea: Earthy green tea pairs surprisingly well with the sweetness of fresh peas.
- Rhubarb Swirl: Tangy ribbons folded into a creamy vanilla base.
Summer: Peak Fruit & Herbaceous Notes
- Roasted Peach & Basil: Roasting intensifies flavor; basil adds a savory punch.
- Blackberry & Lime Leaf: Tart berries balanced by aromatic citrus leaves.
- Cucumber Mint Sorbet: A refreshing non-dairy option for hot days.
Autumn: Nuts, Spices, and Harvest Bounty
- Brown Butter Pecan: Nutty, caramelized, and deeply comforting.
- Maple Pumpkin Chai: Warm spices and earthy squash, sweetened with real maple syrup.
- Pear & Ginger: Juicy, spicy, and fragrant—a sophisticated twist.
Winter: Decadent and Warming
- Dark Chocolate & Chili: Rich cocoa with a subtle heat finish.
- Salted Caramel & Toasted Almond: Sweet, salty, and crunchy.
- Mulled Wine Sorbet: Spiced red wine reduction, fruity and complex.
Cost Breakdown: Budgeting for the Craft
Initial Investment: Tools & Equipment
- Entry-Level Freezer Bowl Maker: $50–$100
- Compressor Ice Cream Maker: $250–$700
- Supporting Tools (spatula, thermometer, etc.): $40–$100
- Storage Containers & Scoops: $20–$50
Tip: Many tools double as everyday kitchen equipment, spreading out their value.
Ingredient Costs: Per Batch Analysis
- Milk & Cream (organic, per quart): $4–$7
- Eggs (for custard base, per batch): $1–$2
- Sugar & Stabilizers (per batch): $0.50–$1
- Flavorings (seasonal produce, chocolate, etc.): $3–$8
Average Cost per Quart: $6–$12, depending on quality and seasonality of ingredients.
Cost-Saving Strategies
- Buy in Bulk: Purchase sugar, vanilla, and stabilizers in larger quantities.
- Seasonal Shopping: Use fruit in peak season for best price and flavor.
- Grow Your Own Herbs: Mint, basil, and lavender are easy to cultivate at home.
- Collaborate with Friends: Share ingredient costs and swap flavors for variety.
Craft Techniques: Achieving Creamy Perfection
French vs. Philadelphia-Style Bases
- French (Custard) Base: Egg yolks create a rich, smooth texture, but require careful tempering and cooking to 170–175°F (77–80°C).
- Philadelphia (Eggless) Base: Faster and lighter, relying on cream and milk—ideal for highlighting delicate flavors.
The Science of Texture: Overrun, Fat, and Stabilizers
- Overrun: The amount of air incorporated during churning. More air means lighter texture, but too much leads to iciness.
- Fat Content: 14–20% fat yields the creamiest results; use a blend of heavy cream and whole milk.
- Stabilizers: Small amounts of tapioca starch, guar gum, or commercial stabilizers can extend shelf life and prevent ice crystals.
Infusions, Swirls, and Inclusions
- Infusions: Steep herbs, spices, or zest in your warm dairy base for 10–30 minutes, then strain.
- Swirls: Add fruit compotes or caramel after churning but before final freezing for distinct ribbons.
- Inclusions: Fold in nuts, chocolate chunks, or cookie pieces at the very end to keep them crisp.
Chilling & Churning: The Timeline
- Cool base to 40°F (4°C) or below before churning—ideally overnight for flavor development and smoothness.
- Churn until the consistency of soft serve (20–30 minutes), then transfer to a shallow, pre-chilled container.
- Harden in the coldest part of your freezer for at least 4 hours before scooping.
Common Mistakes and How to Avoid Them
1. Skipping the Chill
Churning a warm base leads to large ice crystals and a grainy texture. Always chill thoroughly.
2. Overloading with Mix-ins
Too many chunks can disrupt freezing and result in a slushy product. Stick to 1–1.5 cups of mix-ins per quart.
3. Incorrect Sugar Balance
Too little sugar yields a hard, icy texture. Too much makes it syrupy. Use about 15–20% sugar by weight of the base.
4. Neglecting Cleanliness
Ice cream is prone to bacterial contamination. Scrupulously clean all equipment before use.
5. Not Adjusting for Alcohol or Acidic Ingredients
Alcohol and acids lower freezing point. Reduce the amount or blend with stabilizers to prevent soupiness.
Maintenance and Safety: Keeping Your Craft Pristine
Machine Care
- Always disassemble and wash all removable parts after each use.
- Wipe down compressor vents and avoid water contact with electrical components.
- Store your machine in a dry, cool place.
Ingredient Storage
- Keep cream and milk refrigerated below 40°F (4°C).
- Store nuts and chocolate in airtight containers away from heat and moisture.
- Label and date all ingredients and finished products.
Food Safety Checklist
- Wash hands thoroughly before handling ingredients.
- Use pasteurized dairy and eggs, especially if serving to children, elderly, or immunocompromised guests.
- Sanitize work surfaces before and after preparation.
- Discard any batch with off smells, separation, or mold.
Marketing Strategies for the Home Artisan
Sharing, Selling, or Gifting
- Social Media: Share images and flavor stories on Instagram or TikTok—engage followers with polls on new flavors.
- Pop-Up Tastings: Collaborate with local cafés or farmers’ markets for limited-batch tastings.
- Gift Packaging: Use eco-friendly, insulated packaging for gifting or local delivery.
- Storytelling: Highlight the seasonal and local inspiration behind your flavors for added appeal.
Compliance for Sales
- Check local cottage food laws and health department regulations before selling.
- Obtain necessary permits, insurance, and food safety certifications if scaling up.
Conclusion: The Joy and Culture of Homemade Artisanal Ice Cream
Embarking on the journey of crafting artisanal ice cream at home is more than a culinary project—it’s a celebration of creativity, seasonality, and the simple joys of sharing. Armed with the right tools and a mindset attuned to quality, you can transform everyday ingredients into extraordinary frozen expressions of taste. Each batch offers an opportunity to explore new flavor frontiers, support local growers, and deepen your appreciation for the science (and magic) behind perfect ice cream texture. With careful budgeting, smart ingredient sourcing, and an eye toward maintenance and safety, this pursuit remains accessible and sustainable for cooks at any level. Perhaps the greatest reward is the community you build—through gifting, sharing, or even selling your creations, you participate in a broader tradition that values craft, connection, and flavor innovation. So whether you’re swirling in roasted peaches at the height of summer or experimenting with brown butter pecan come autumn, remember that every scoop tells a story. Savor the process, relish the results, and let your ice cream craft become an edible reflection of your culinary curiosity and care.


You noted that electric compressor machines deliver superior consistency, but are there any troubleshooting steps you’d recommend for someone using a manual maker to achieve that creamy, scoopable texture? Sometimes mine turns out a bit icy, and I’m not sure what I’m missing.
For creamier results with a manual ice cream maker, chill your base thoroughly before churning and make sure the bowl is fully frozen. Add a bit more fat (like extra cream or egg yolks) to help prevent iciness. Try not to overfill the canister and churn briskly to incorporate enough air. Once churned, let the ice cream firm up in the freezer for a couple of hours before serving for that perfect scoopable texture.
You talk about cost-effective strategies for making artisanal ice cream at home. Could you share more specifics on ingredients or equipment that give the best value for a family on a budget, without sacrificing too much on taste or quality?
For families on a budget, consider using basic but reliable equipment like a manual ice cream maker or even the freeze-and-stir method with a standard mixing bowl. For ingredients, whole milk and cream from discount stores work well, and adding seasonal fruit or homemade mix-ins keeps costs low while boosting flavor. Vanilla extract and cocoa powder are affordable staples for classic flavors, so you won’t need expensive add-ons to enjoy delicious results.
You mention using seasonal flavors and cost-effective strategies for homemade ice cream. Could you elaborate on your favorite ways to source quality but affordable ingredients, especially for those of us not near a big farmers’ market?
If you don’t have easy access to a big farmers’ market, there are still great ways to find quality, affordable ingredients. Try shopping at local grocers or neighborhood produce stands, which often carry in-season fruits at lower prices. Frozen fruits can also be a cost-effective and high-quality option, especially for flavors like berries or mango. Buying in bulk when you spot sales and keeping an eye out for local co-op deals can help as well.
The article mentions seasonal flavor inspiration and cost-effective strategies. Do you have tips for sourcing local, high-quality ingredients on a budget, especially when certain fruits or dairy options aren’t in season?
When certain fruits or dairy options are out of season, consider connecting with local farmers for surplus or slightly blemished produce, which is often sold at a discount and perfect for making ice cream. For dairy, look for community co-ops or farm shares, which sometimes offer deals on bulk purchases. Freezing or preserving in-season fruits is also a smart way to enjoy their flavors year-round without paying premium prices later.
Could you elaborate on how seasonal ingredients can affect the texture or quality of artisanal ice cream? I try to use local produce when possible, but sometimes the water content or ripeness seems to impact my results.
Seasonal ingredients can definitely impact both texture and flavor in artisanal ice cream. Fruits with high water content, like berries or melons, can create iciness if not balanced with enough sugar or by cooking them down first. Ripeness also matters—a riper fruit brings more natural sugars and a smoother texture, while underripe produce can make the ice cream less sweet and a bit grainy. Adjusting your recipe based on the moisture and sweetness of each batch of local produce helps ensure the best results.
I’m curious about the manual vs. electric ice cream makers you mentioned. As a parent with limited time, is investing in an electric compressor machine really worth it if we only plan to make ice cream a couple of times a month?
If you only plan to make ice cream a few times a month, a manual ice cream maker can work well and is more budget-friendly, though it does require some hands-on effort and time. Electric compressor machines are convenient—they chill and churn automatically—but are pricier. For occasional use, a less expensive electric model that requires pre-freezing the bowl might strike the right balance between convenience and cost.
You mention electric compressor machines are pricier but save time and improve consistency. For someone on a tight budget, are there specific models or types of less expensive machines that still produce decent texture, or would it be better to invest in a higher-end compressor?
If you’re on a tight budget, consider a manual or freezer bowl-style ice cream maker. These are much less expensive than compressor models but can still produce good results with a bit more effort. Brands like Cuisinart or KitchenAid (with the ice cream bowl attachment) are popular choices. You’ll need to pre-freeze the bowl, but with proper timing, they deliver a surprisingly creamy texture. If you make ice cream frequently or value convenience, saving up for a compressor machine might be worthwhile in the long run.
You mention drawing inspiration from seasonal flavors and local farmers’ markets — can you suggest flavor pairings that work well for kids, especially those who might be picky eaters? I’d love to incorporate more fruit but want to keep it appealing for my family.
Absolutely! For kids, pairing familiar fruits with creamy bases works well. Try strawberry and banana, blueberry and vanilla, or peach with a touch of honey. Blending mild fruits like apple or pear with a hint of cinnamon can also be a hit. Adding mix-ins like mini chocolate chips or swirls of fruit jam can make fruity flavors extra appealing for picky eaters.
You mention getting inspired by local farmers’ markets for seasonal flavors. Do you have any recommendations for figuring out which seasonal ingredients work best for ice cream, especially if some flavors might not have the best texture when frozen?
To choose seasonal ingredients that work well in ice cream, focus on fruits and herbs that are naturally sweet, low in water content, and not too fibrous, like berries, peaches, or basil. Some ingredients, such as watermelon or cucumber, can become icy, so you might want to puree and strain them or cook them down to intensify flavor and reduce water. Roasting or macerating fruits before adding to your base can also improve both texture and taste.
I want to try making artisanal ice cream without spending a lot on equipment. Are there any hacks for achieving a smooth, scoopable texture using just basic kitchen tools, or is an ice cream maker really essential for good results?
You can definitely make smooth, scoopable artisanal ice cream without an ice cream maker. A popular hack is to use the freeze-and-stir method: mix your base, pour it into a shallow container, and freeze. Every 30–45 minutes, stir vigorously with a fork or whisk to break up ice crystals. Repeat several times until fully frozen. Adding a bit of alcohol or sweetened condensed milk can also help maintain a creamier texture.
I noticed the article mentions electric compressor machines as being pricier but better for consistency. For someone just starting out, is it worth investing in one of those right away, or can you still get good results with a more affordable manual or old-fashioned ice cream maker?
You can definitely achieve delicious results with a manual or traditional ice cream maker when starting out. While compressor machines offer more convenience and precise control, many beginners find that hand-crank or freezer-bowl models are great for experimenting with flavors and techniques. Once you’re sure you’ll stick with making ice cream regularly, you can consider upgrading to an electric compressor for easier, more consistent batches.
Can you give some examples of easy seasonal flavors that someone totally new to ice cream making could try without needing a ton of special ingredients or tools?
You can start with flavors like strawberry in the spring, peach in summer, or apple-cinnamon in the fall. These only need fresh fruit, sugar, cream, and maybe a little lemon juice or cinnamon. You can use a blender and your freezer, so no ice cream machine is required. Just blend, freeze, stir every hour, and enjoy your homemade treat.
For someone completely new to making ice cream, how steep is the learning curve with electric compressor machines compared to manual makers? How much trial and error should I expect before getting good results?
Electric compressor ice cream machines are generally more beginner-friendly than manual makers. They automate much of the freezing process, giving you consistent results and letting you focus on balancing flavors and textures. You may need a few tries to perfect your recipes and technique, but most people see good results within two to three batches. Manual makers require more attention to timing and technique, so they often involve a bit more trial and error.
When it comes to creating scoopable texture at home, are there common mistakes beginners should watch out for, especially when using seasonal fruits? Any advice on adjusting technique or ingredients to avoid icy or grainy results would be really helpful.
Absolutely, using seasonal fruits can sometimes introduce extra water, which leads to icy or grainy ice cream. One common mistake is not reducing the fruit puree enough; try cooking fruits down to concentrate their flavors and remove excess liquid. Also, make sure your mixture is thoroughly chilled before churning and consider adding a bit of corn syrup or alcohol to help keep the texture smooth. Don’t skip the sugar, as it plays a big role in softness.
Could you elaborate on how to achieve that creamy, scoopable texture with a manual ice cream maker? I’m curious if there are any tricks or techniques that help avoid ice crystals without the consistency offered by electric compressor machines.
To get that creamy, scoopable texture with a manual ice cream maker, focus on two things: first, chill your base thoroughly before churning. Second, churn quickly and consistently, scraping the sides often. Adding a touch of corn syrup or a small amount of alcohol can help prevent ice crystals. Also, higher fat ingredients like whole milk and cream contribute to a smoother result. Once churned, cover the surface directly with plastic wrap before freezing to minimize ice buildup.
When you say the guide helps avoid common pitfalls, what are some specific mistakes first-timers make with homemade ice cream texture or flavor? Any troubleshooting tips for achieving that creamy, scoopable consistency without commercial stabilizers?
Some common mistakes first-timers make include over-churning (which can make ice cream icy and dense), not chilling the base thoroughly before freezing, and using too much water-rich fruit without compensating with sugar or fat. To get creamy, scoopable texture without commercial stabilizers, try using a custard base with egg yolks, add a bit of alcohol (like vodka) to lower freezing point, or incorporate a small amount of cornstarch. Chilling your base overnight also helps improve texture.