
Introduction: Why Craft Homemade Artisan Vinegars?
Vinegar is far more than a simple condiment; it’s a culinary cornerstone that transforms flavors and preserves the seasons. From zesty salad dressings to tangy marinades, artisan vinegars add nuanced depth to dishes and drinks alike. Yet, in the world of home cooking, few realize the artistry and satisfaction that come from crafting your own vinegars. Homemade vinegars offer a unique opportunity to infuse flavors, control ingredients, and create unforgettable taste experiences tailored to your table. With the right tools, a few key techniques, and a dash of patience, you can produce gourmet vinegars that rival high-end bottles—at a fraction of the cost. Whether you want to preserve autumn apples in a cider vinegar, capture the essence of summer berries, or experiment with aromatic herbs, this comprehensive guide takes you on a step-by-step journey through the craft. We’ll demystify the process, break down budgeting, and reveal the secrets to safe, flavorful, and rewarding vinegar making at home. Ready to elevate your culinary culture and impress your guests? Let’s begin.
Understanding Vinegar: The Science and Tradition
The Basics: What Is Vinegar?
Vinegar is produced through the fermentation of ethanol by acetic acid bacteria. This process converts sugars from fruits, grains, or other carbohydrate sources into alcohol, then further ferments that alcohol into acetic acid. The result: a tart, aromatic liquid with a range of culinary applications.
Traditional vs. Quick-Process Vinegars
- Traditional (Orleans) Method: Slow fermentation, often in wooden barrels, allowing complex flavors to develop over months.
- Quick (Submerged Culture) Method: Faster fermentation in aerated vessels, ready in weeks but with less nuanced flavor.
Flavor Profiles by Base Ingredient
- Fruit-Based: Apple cider, raspberry, pear, or blueberry for fruity, floral notes.
- Wine-Based: Red or white wine yields robust, complex vinegars.
- Grain-Based: Rice or malt vinegars offer mild, delicate acidity.
- Honey-Based (Mead Vinegar): Subtle sweetness and rich aroma.
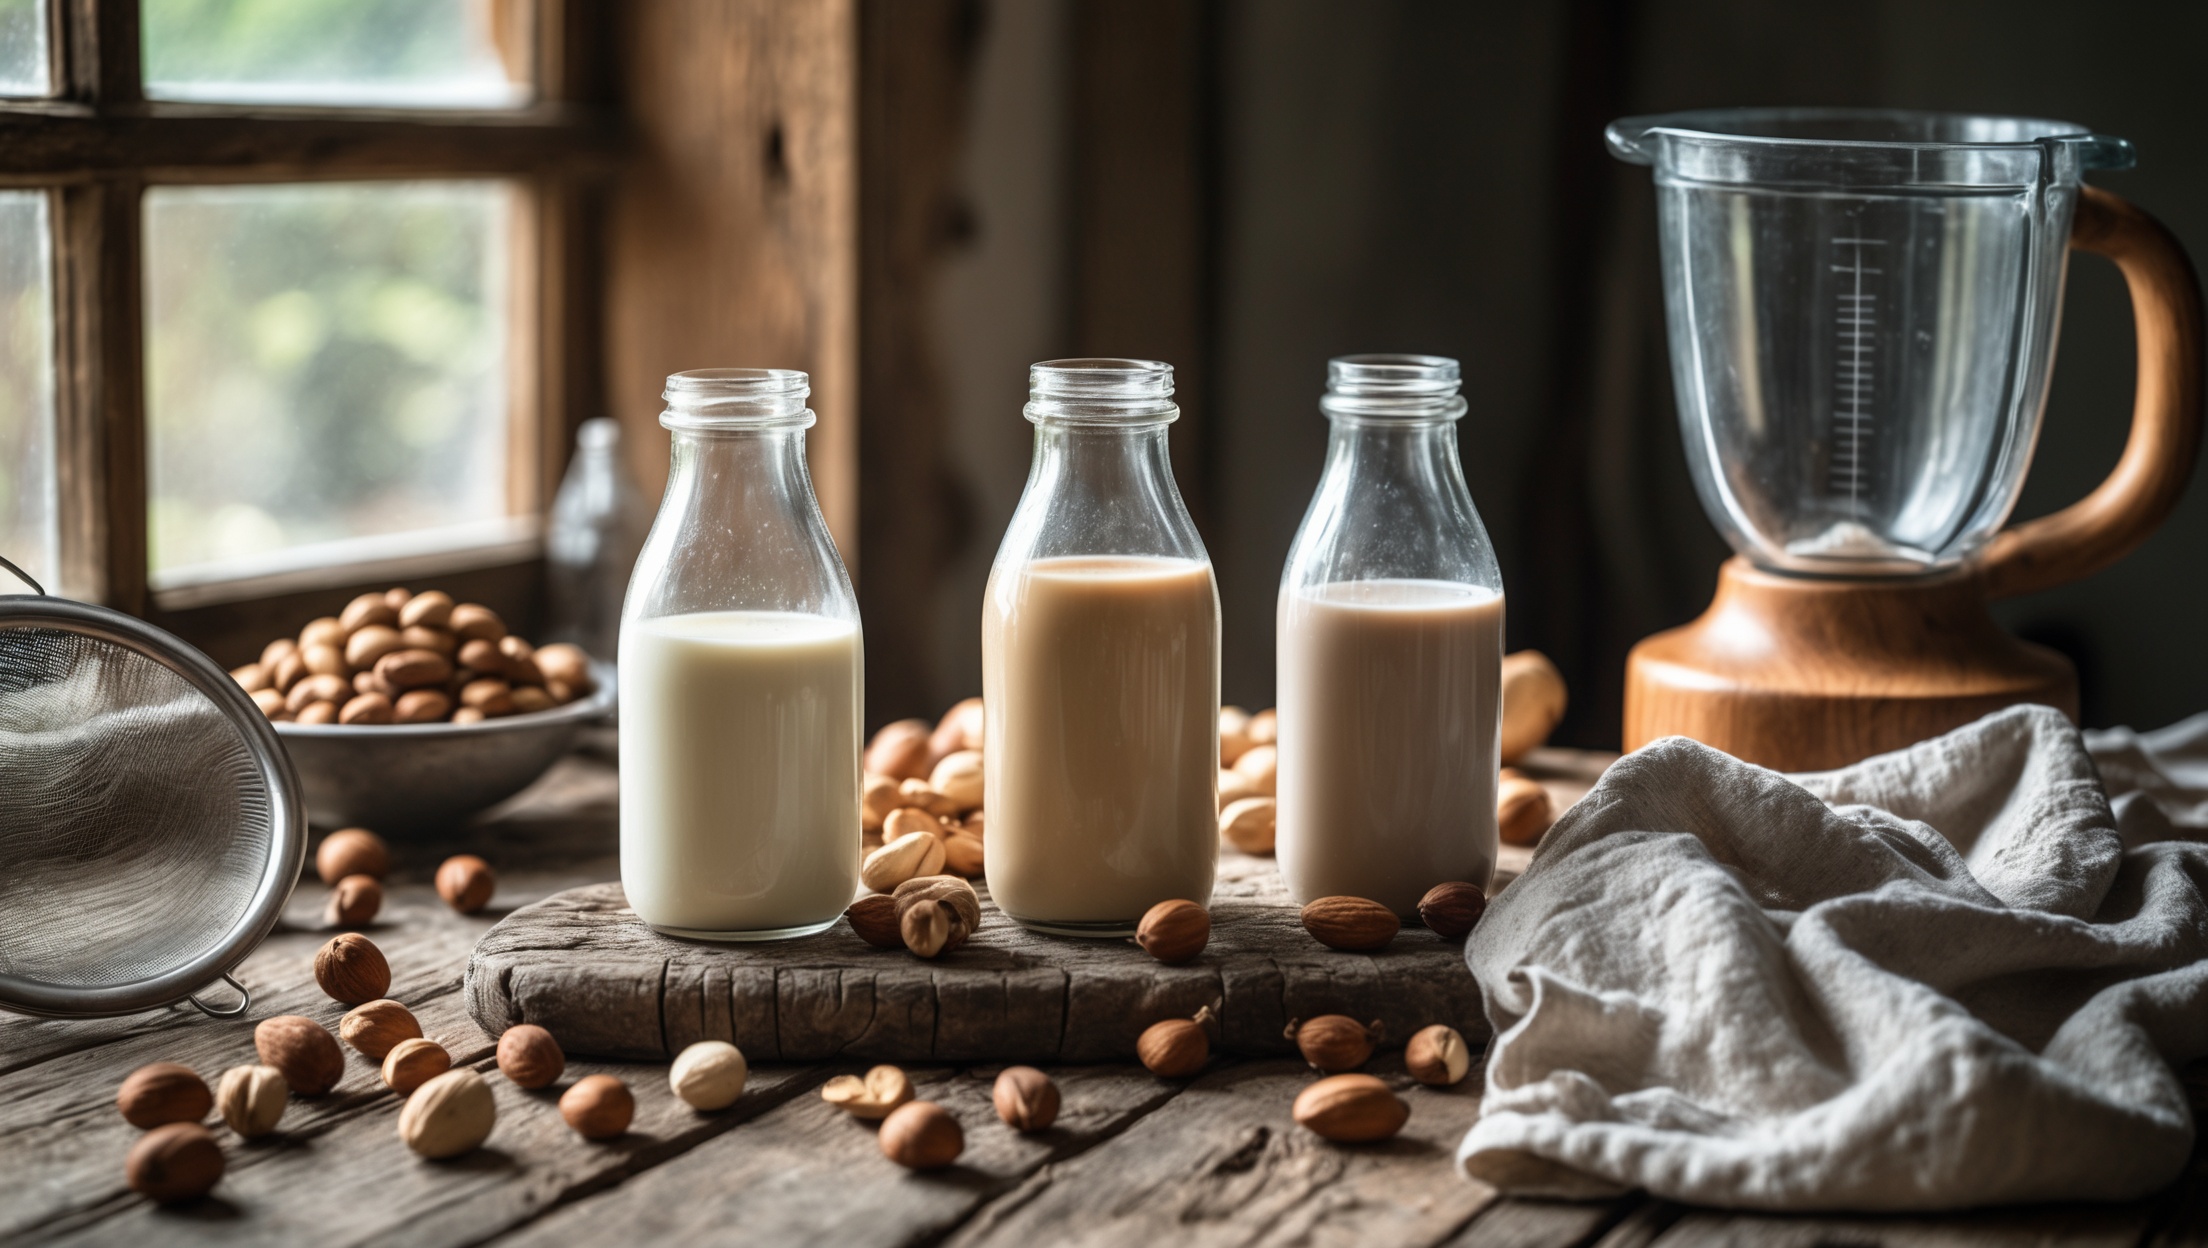
Essential Tools & Equipment: Setting Up Your Vinegar Workshop
- Glass Jars or Ceramic Crocks: Non-reactive vessels for fermentation (1–2 gallon size ideal).
- Cheesecloth or Muslin: Breathable covers to allow airflow while keeping out contaminants.
- Rubber Bands or Twine: To secure coverings.
- Funnel: For easy transfer of liquids.
- Wooden or Silicone Spoons: Non-reactive stirring tools.
- pH Strips: For monitoring acidity (safe vinegar is below pH 4.0).
- Glass Bottles with Tight Stoppers: For storing finished vinegar.
- Labels and Pens: For tracking batches and flavors.
- Optional: Heating pad (to maintain fermentation temperature in cool climates), strainer, and measuring cups.
Cost Breakdown: Crafting Vinegar on Any Budget
Upfront Equipment Costs
- 1-Gallon Glass Jar: $10–$20
- Cheesecloth/Muslin: $5–$10 (reusable)
- pH Test Strips: $8–$15 (multi-pack)
- Bottles for Storage: $2–$6 each
- Miscellaneous (funnels, spoons, labels): $10–$15
Total Initial Investment: $35–$65 (for multiple batches)
Ingredient Costs per Batch
- Base Alcohol (wine, cider, beer, mead, or fruit juice): $6–$12 per gallon
- Flavor Infusions (herbs, spices, fruits): $2–$8 per batch
- Mother of Vinegar (if not using raw vinegar): $5–$10 (one-time, reusable)
Cost per 500ml bottle (homemade): $1.50–$3.50 vs. $8–$25 for premium store-bought
Step-by-Step Guide: Crafting Your First Batch
1. Choose Your Base
Select a base with natural sugars: wine, hard cider, beer, mead, or fruit juice. Avoid bases with preservatives (like potassium sorbate), as these inhibit fermentation.
2. Inoculate with a “Mother”
The mother of vinegar is a mass of acetic acid bacteria that kickstarts fermentation. You can use:
- Raw, unpasteurized vinegar (with visible “mother”)
- Commercial mother of vinegar culture
Add about 1/4 cup of mother per quart of base.
3. Set Up for Fermentation
- Pour your base and mother into the fermentation jar, filling only 2/3 to allow space for airflow.
- Cover the jar with cheesecloth and secure with a rubber band.
- Place in a dark, warm spot (60–80°F/16–27°C).
4. Monitor Progress
- Check weekly for aroma and the formation of a new “mother” on top (a gelatinous disk).
- Test pH after 3–4 weeks. When below 4.0, the vinegar is safe for culinary use.
- Fermentation may take 4–12 weeks depending on temperature and base.
5. Strain, Bottle, and Age
- Strain out the mother and solids.
- Bottle the clear vinegar in sanitized glass bottles.
- Optional: Age for 1–6 months to develop richer flavor.
Flavor Infusion: Creating Signature Vinegars
Infusion Techniques
- Cold Infusion: Add fresh or dried herbs, fruit, or spices to finished vinegar. Steep for 1–4 weeks; taste every few days.
- Hot Infusion: Gently heat vinegar with flavorings (never boil), then strain and cool.
Inspiring Infusion Ideas
- Raspberry & Thyme
- Fig & Black Pepper
- Shallot & Tarragon
- Blood Orange & Rosemary
- Chili & Garlic
- Ginger & Lemongrass (for rice vinegar)
Best Practices for Safe, Flavorful Infusions
- Use only fully fermented vinegar (pH < 4.0).
- Sterilize all jars, utensils, and bottles before use.
- Store infused vinegars in the fridge if using fresh ingredients; shelf-stable if using dried.
- Label each batch with date and ingredients.
Maintenance and Troubleshooting: Keeping Your Craft on Track
Mother of Vinegar Maintenance
- Retain a portion of the mother for starting new batches.
- If the mother sinks or disintegrates, a new one will likely form at the surface.
- Discard if mold (fuzzy, colored spots) develops—start over with clean equipment and fresh ingredients.
Common Problems & Solutions
- Vinegar Smells Off: May indicate contamination; discard and clean all equipment thoroughly.
- Fermentation Stalls: Check temperature and sugar content; too cold or lack of sugar will slow fermentation.
- Vinegar Too Harsh: Age for several months to mellow acidity.
Cleaning and Sanitizing Equipment
- Wash all jars, bottles, and utensils with hot, soapy water before each use.
- Sanitize with a boiling water rinse or food-safe sanitizer.
- Air dry thoroughly to prevent mold.
Seasonal Crafting: Vinegars for Every Time of Year
Spring
- Strawberry Basil Vinegar
- Chive Blossom Vinegar
Summer
- Peach Ginger Vinegar
- Blueberry Lavender Vinegar
Autumn
- Apple Cider Vinegar (classic and spiced)
- Plum & Star Anise Vinegar
Winter
- Cranberry Sage Vinegar
- Pomegranate Chili Vinegar
Use seasonal produce at peak ripeness to maximize flavor and color.
Myths Debunked: The Truth about Homemade Vinegar
- Myth: “Homemade vinegar is unsafe to eat.” Fact: If the pH is below 4.0, it is safe for culinary use. Always test with pH strips.
- Myth: “Making vinegar requires expensive equipment.” Fact: Basic glass jars and kitchen tools suffice for most home batches.
- Myth: “You can use any alcohol base.” Fact: Avoid bases with preservatives or high sulfites.
Marketing and Gifting: Sharing Your Craft with Style
Labeling and Presentation
- Design attractive labels with batch, date, and flavor notes.
- Use swing-top or corked glass bottles for a refined look.
Gifting Ideas
- Pair infused vinegars with recipe cards for dressings, marinades, or cocktails.
- Create seasonal gift sets (e.g., berry trio, herb sampler).
Small-Scale Selling: Basics of Compliance
- Check local cottage food laws and labeling requirements.
- Ensure all products are pH tested and properly bottled for safety.
Conclusion: Vinegar as a Canvas for Culinary Creativity
Homemade artisan vinegar is more than a pantry staple—it’s a celebration of craft, seasonality, and personal taste. By choosing your own bases and infusions, you create a product that reflects your culinary imagination and elevates everyday meals. The process encourages patience and experimentation, rewarding you not only with vibrant flavors but with a deeper connection to your food. Whether you’re gifting bottles to friends, selling at a local market, or simply enjoying a splash over a fresh salad, your homemade vinegar tells a story of creativity and care. With just a handful of tools and a modest investment, you can unlock a world of flavors that store-bought products can’t match. Embrace the tradition, savor the process, and let your kitchen become a laboratory of taste and craft. Your next signature vinegar awaits—start your batch today and let each bottle inspire new culinary adventures.


Could you explain more about the difference in flavor complexity between the traditional Orleans method and the quick-process method? I’m trying to decide if the longer wait with wooden barrels is truly worth it for a home cook and how noticeable the results are.
The Orleans method, using wooden barrels and a longer fermentation, produces vinegars with deeper, more complex flavors—think subtle notes from the wood, mellow acidity, and layered aromas. Quick-process methods are faster but often result in sharper, simpler flavors without the nuanced character. If you enjoy rich, rounded tastes and are willing to wait, the traditional approach is definitely noticeable and rewarding, even for home cooks. Otherwise, the quick method is fine for basic culinary uses.
I’m on a tight college budget but love cooking. When it comes to gathering the right tools for homemade vinegar, which items are absolutely essential, and which are just nice-to-have? Could you suggest the minimum setup to safely get started without spending too much?
To get started making vinegar on a budget, all you really need is a clean glass jar or bottle, a breathable cover like a coffee filter or cheesecloth (secured with a rubber band), and something to stir with—regular kitchen utensils work fine. Items like fancy fermentation crocks or special airlocks are helpful but not required. Focus on cleanliness and airflow for safe fermentation, and you’ll be set with just these basics.
You touched on budgeting and making artisan vinegar for less cost than high-end bottles. Could you share some tips on sourcing ingredients and tools affordably, or pitfalls that might end up making homemade vinegar more expensive than expected?
To keep costs down, use leftover wine, fruit scraps, or cider as your vinegar base since these are often less expensive than buying fresh ingredients. For tools, basic glass jars or repurposed bottles work well—no need for specialized gear. Watch out for hidden costs like pricey organic fruit or fancy equipment, and be cautious with infusions, as exotic spices can add up quickly. Keeping it simple is both budget-friendly and effective.
I’m curious about the safety side of homemade vinegar. When preserving autumn apples or summer berries, are there common issues to watch out for to ensure the finished product is safe for customers, and do you have tips for troubleshooting if something seems off during fermentation?
When making vinegar from apples or berries, always start with clean, sound fruit and sanitized equipment to prevent contamination. Watch for mold, off smells, or sliminess—these indicate spoilage and the batch should be discarded. If fermentation stalls or smells unpleasant, it may be due to too little oxygen or the wrong temperature. Keeping your vinegar covered with a breathable cloth and fermenting between 60-80°F helps maintain safety. Always taste and smell the vinegar before bottling to confirm it’s tangy and pleasant.